


A Beginner’s Guide to Serverless Computing with Azure
Azure Functions are a great way to build scalable, reliable, and cost-effective applications without the need to manage any servers. Azure Functions are event-driven, meaning they run in response to triggers such as HTTP requests, timers, queues, or blobs. In this blog post, I will show you how to create your first Azure Function, test it locally, and deploy it to Azure.
What You Need
- An Azure account.
- Visual Studio Code. You can download it here: Download Visual Studio Code – Mac, Linux, Windows.
- The Azure Functions extension for Visual Studio Code. You can install it from the VS Code marketplace here: Azure Functions – Visual Studio Marketplace.
- The Azure Functions Core Tools. You can install them from here: Develop Azure Functions locally using Core Tools | Microsoft Learn.
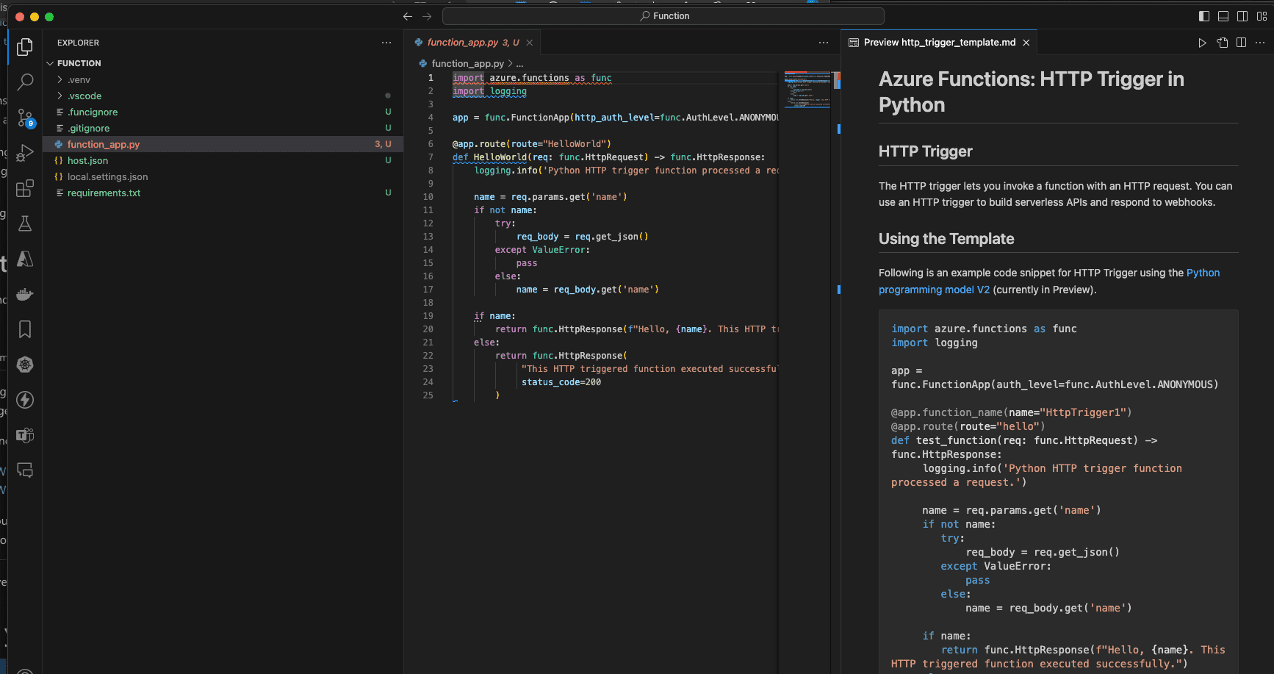
- A local development environment that supports your preferred programming language. For this blog, we will use Python, but you can also use C#, Java, JavaScript, TypeScript, Ballerina, or PowerShell.
Creating Your First Function
To create your first function, follow these steps:
- Open Visual Studio Code and create a new folder for your project.
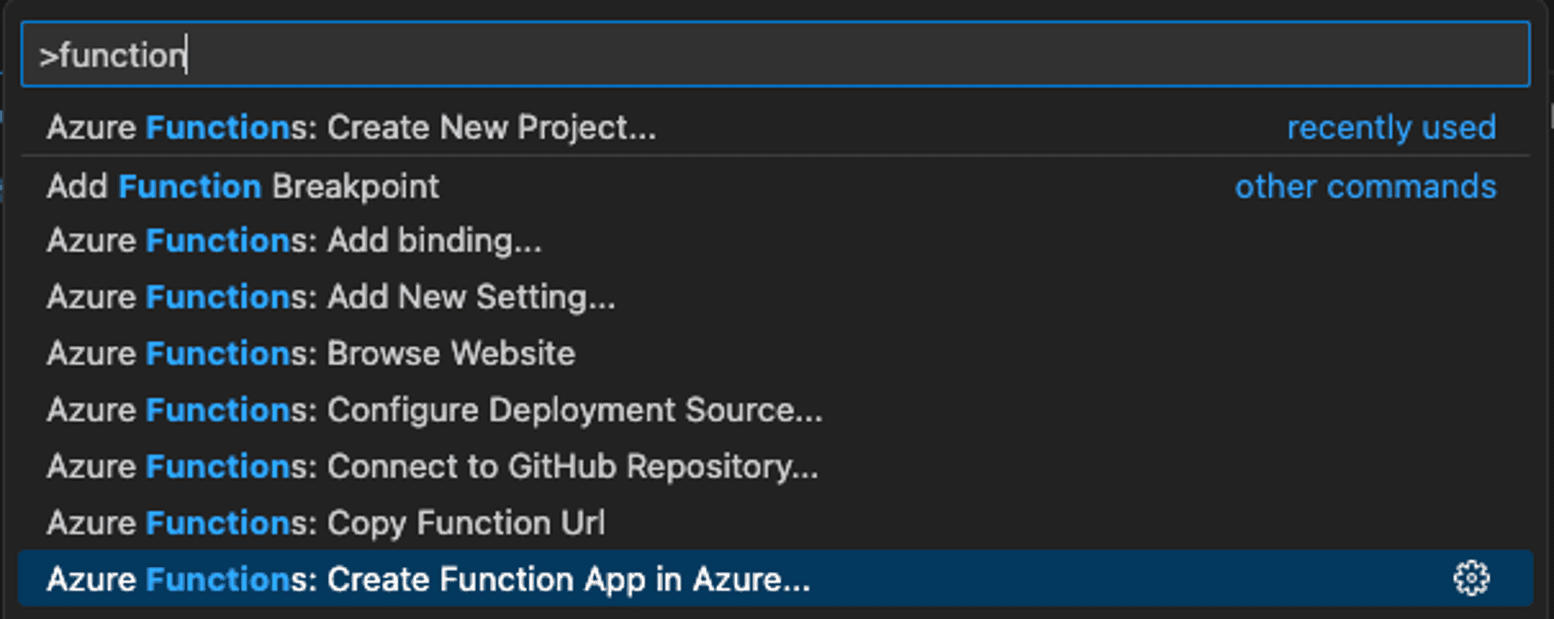
- In the VS Code menu, go to View > Command Palette and type “Azure Functions: Create new project”.
- Select the folder you created and choose a language for your function. We will use Python for this example.
- Select ModelV2 and Python <3.11.
- Choose a template for your function. We will use HTTP trigger, which means our function will run when we send an HTTP request to it.
- Give your function a name. We will use “HelloWorld” for this example.
- Choose an authorization level for your function. We will use “Anonymous”, which means anyone can call our function without a key. (Don’t use this for your production environment)
- Wait for the project to be created. You should see a new folder called “HelloWorld” with some files inside.
Testing Your Function Locally
To test your function locally, follow these steps:
- In the VS Code menu, go to Terminal > New Terminal and type “func start”. This will start the Azure Functions Core Tools and run your function locally.
- You should see a message like this: ‘Functions: HelloWorld: [GET, POST] [URL]’
- Copy the URL and paste it in your browser. You should see a message like this: “This HTTP triggered function executed successfully. Pass a name in the query string or in the request body for a personalized response.“
- Add a query parameter to the URL, like this: [URL]. You should see a message like this: “Hello Azure!” (Tip: If you want to test POST calls, use the VS code extension Thunder Client)
- Congratulations, you have successfully created and tested your first Azure Function locally!
Deploying Your Function to the Cloud
To deploy your function to the cloud, follow these steps:
- In the VS Code menu, go to View > Command Palette and type “Azure Functions: Deploy to function app”.
- Select your subscription and choose “Create new function app in Azure”.
- Give your function app a unique name. We will use “HelloWorldFunctionApp” for this example.
- Choose a runtime stack for your function app. We will use “Python 3.11” for this example.
- Choose a region for your function app. We will use “West Europe” for this example.
- Wait for the deployment to complete. You should see a message like this: “Deployment completed.”

- Copy the URL of your function app and append “/api/HelloWorld” to it. You should see a message like this: “Please pass a name on the query string or in the request body.”
- Add a query parameter to the URL, like this: [URL]. You should see a message like this: “Hello Azure!”
- Congratulations, you have successfully deployed your first Azure Function to the cloud!
Conclusion
In this blog post, you have learned how to create, test, and deploy your first Azure Function using Visual Studio Code and the Azure Functions extension. Azure Functions are a powerful and easy way to build serverless applications that scale automatically and cost you only for what you use. You can learn more about Azure Functions here.
Also, check out my recent post on Azure Services to Enhance Intune Automation.
