Endpoint Insights
Adding Office Location Details to a Report
Topics: Endpoint Insights
Fairly often I get asked, “How can I add a user’s office location details into a report?” The first question I always ask is, “Are you populating this information within Active Directory (AD)?” There is never one consistent answer to my question. It’s always a mix of, “No,” “Yes,” or “I’m not sure,” so I’ll start off by showing you how to check if a user’s office location details are populated in AD. The rest of this blog post will show you how to inventory these details in order for the results to be added into a report query.
Office Location Details
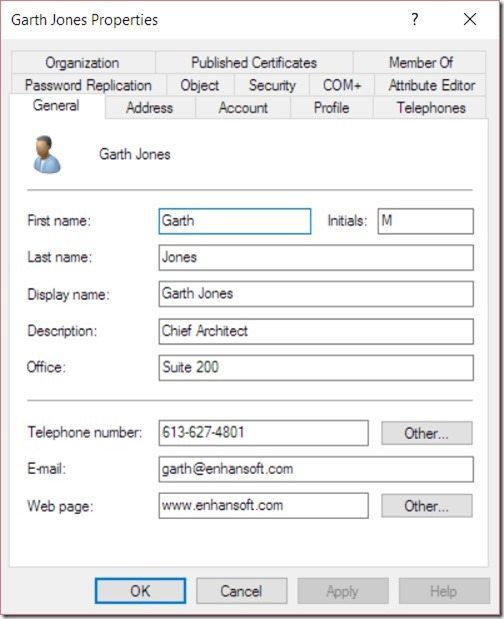
Open Active Directory Users and Computers (ADUC). Locate any user’s record and then right-click on it and select Properties. On the Properties page, under the General tab, check to see if the Office details are filled in. In my case, the office details are, “Suite 200.” Is this the type of information that you were hoping to see?
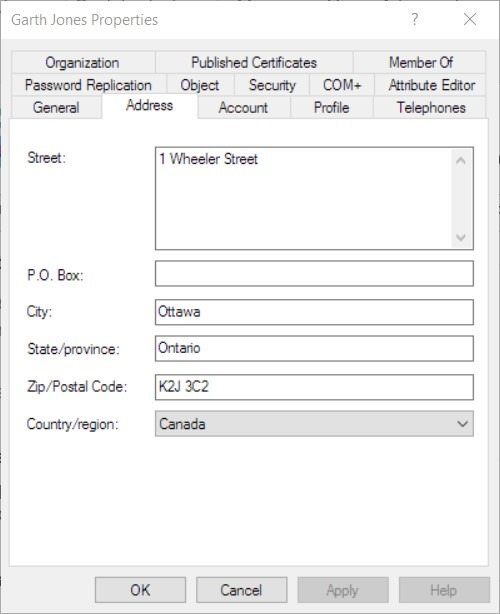
Keep in mind that these Office details are NOT the same as the address information shown below. In ADUC an office location is generally a specific location inside an address. If you were looking for the address information, then you would ultimately have to add each attribute (City, State, etc.) to Active Directory User Discovery, one at a time, in order to inventory these details.
AD Attributes
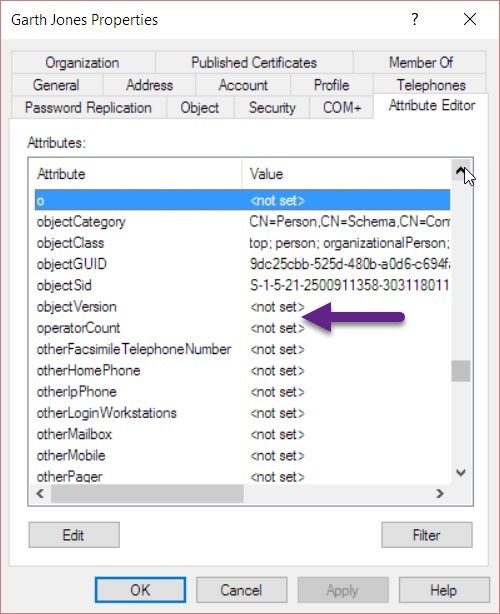
You might think that your first step is to enable the inventory of the Office attribute in Active Directory User Discovery, BUT hold on. As you can see from the screenshot below, there is no Office attribute listed within the list of attributes for this user.
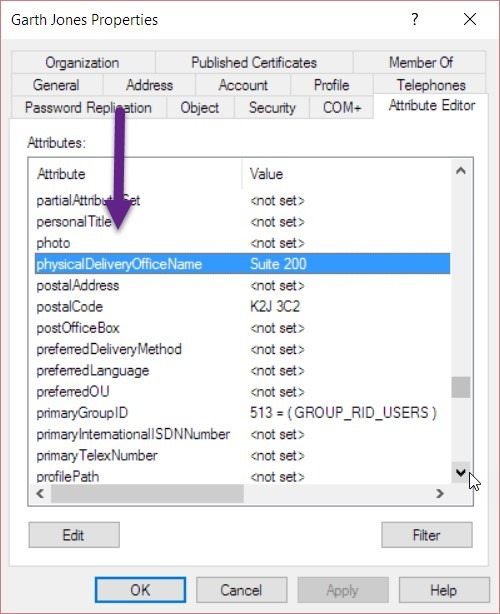
What is the attribute called that holds the Office location details? As you can see from the screenshot below it is called physicalDeliveryOfficeName. It is important to remember that AD is case sensitive when you query it for anything, so use the exact spelling.
Now that we know what the attribute is called we can inventory it with ConfigMgr.
Configuration Manager
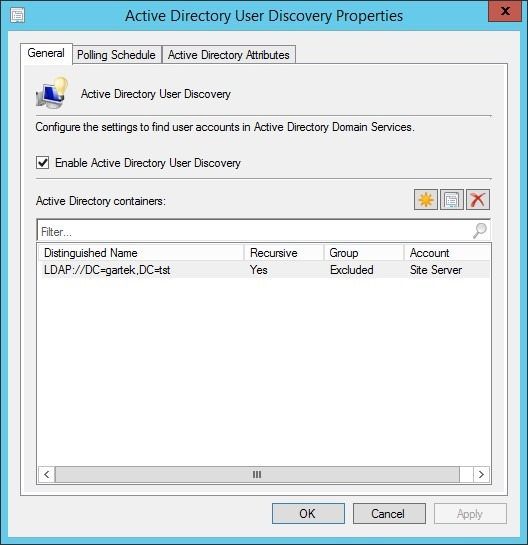
Open the ConfigMgr console, expand the Administration node | Overview | Hierarchy Configuration | Discovery Methods, and finally double-click on Active Directory User Discovery.
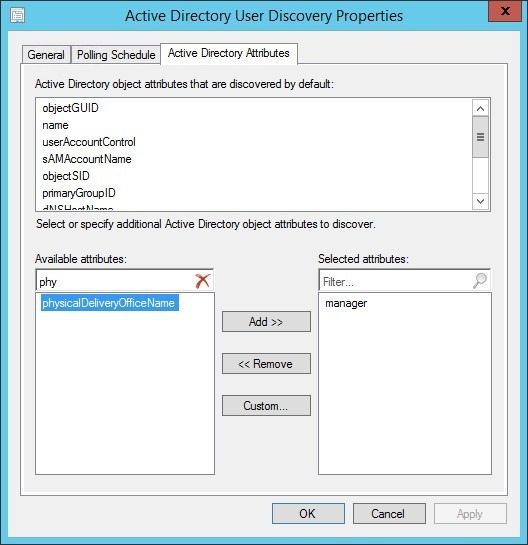
Next click on the Active Directory Attributes tab.
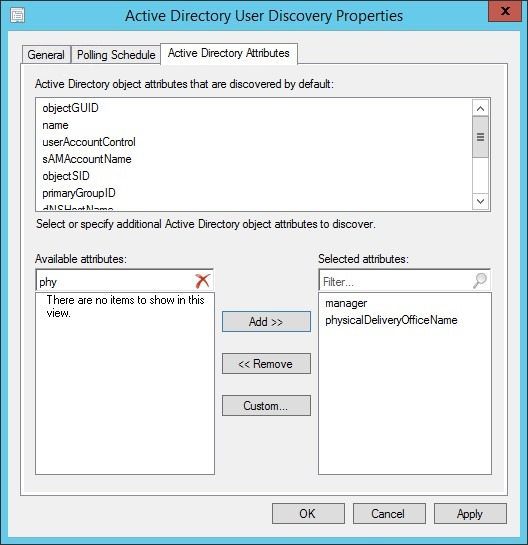
In the Available attributes section, start typing the AD attribute name. Once it is listed, select physicalDeliveryOfficeName and then click on the Add >> button.
Once added, click on the OK button to close the Active Directory User Discovery Properties window.
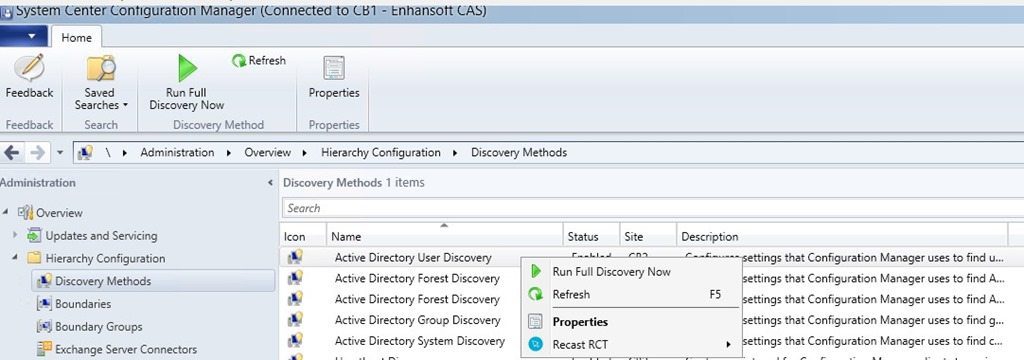
Back in the ConfigMgr console, right-click on Active Directory User Discovery and select Run Full Discovery Now. This immediately starts the collection process for all users’ Office location details. If this step is not performed, the Office details won’t be inventoried until the next full discovery takes place. That could take up to a week!
Report Query
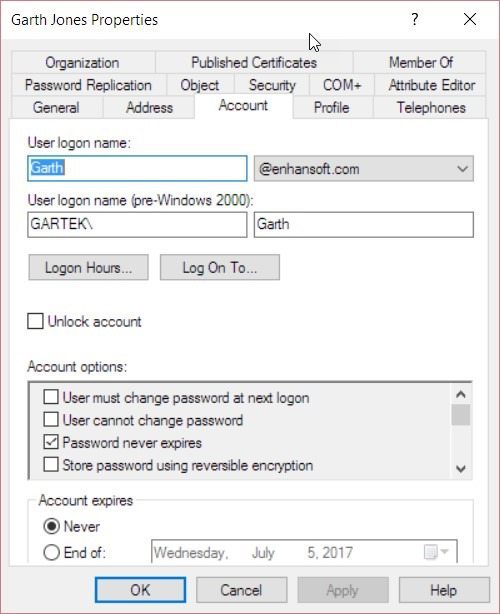
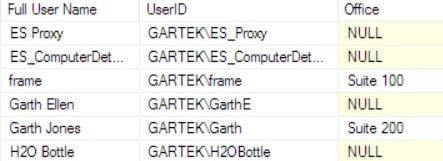
Once Active Directory User Discovery has collected all users’ Office location details, you can then query the results with a SQL Server query. My simple query will show you the full user name, unique user name (also known as the user logon name (pre-Windows 2000) as seen below GartekGarth) and the office location information that I showed you earlier in ADUC under the General tab.
You can see within the res
ults that only some of our AD accounts have their office location details inputted.
With that last step completed, you can now edit any report (or create new ones) by adding the Office location details.
I hope that you have found this tip useful and if you have any questions, please feel free to contact me @GarthMJ.
Do you have an idea for a blog post about a ConfigMgr query or reporting topic? Let me know. Your idea might become the focus of my next blog post!


