


Application Management and Patching
How to Deploy the Liquit Workspace Agent with Microsoft Autopilot and Intune
Many organizations use Microsoft Intune and Windows Autopilot to streamline and automate provisioning, policy management, and Windows updates. Liquit Workspace, on the other hand, is used to provide a Digital Workspace with SSO and Smart Icons for end users combined with advanced features for Win32 app Release and Patch management.
My colleague Rens Kattenberg and I have been working with a few partners to help them out deploying the Liquit agent using Windows Autopilot and Microsoft Intune. If you want to learn more about this combination, here’s the link to a recorded webinar called Autopilot, Intune and Liquit Workspace, a great combination by my colleague Nico Zieck. Additionally, check out this partner piece that digs more deeply into configuring and provisioning Liquit deployments with Autopilot with a focus on certificate management and the JSON file.
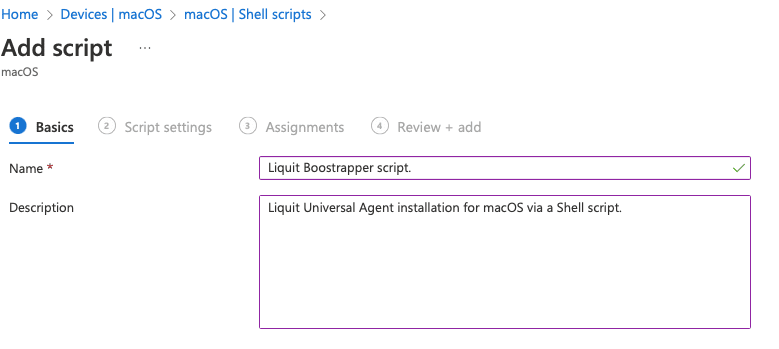
In this blog, we will describe how to create a Windows MSI Line-of-business app in Intune, which contains the MSI of the Liquit Workspace agent. This post will also explain how to replace the default agent.xml with a customized agent.xml, to trigger a ‘Deployment’ to install default applications after the agent has been installed.
Step-by-Step Guide to Deploying Liquit Workspace Agent with Autopilot
- Login into your Liquit Workspace as an administrator.
- In the upper-right part of your screen, click the user icon and select ‘Download Agent’.
- This MSI includes a default agent.xml for which we can configure different options which are documented here.
- For this blog, we’ve included an element in the agent.xml which triggers a deployment. Deployments are used to sequence a set of application installations during the imaging process of both virtual and physical devices.
- The Register element is used for registering the device with Liquit Workspace without requiring a user login. This allows you to manage the device without a user signed in. The user account used to register the agent only requires “Register device” privileges. When using this option, the user doesn’t need the “Register device” privilege, but they can still use the agent when installed with this option.
Script
<?xml version="1.0" encoding="utf-8"?>
<Config>
  <Log Id="agent">
    <Level>Info</Level>
  </Log>
  <Log Id="userhost">
    <Level>Info</Level>
  </Log>
  <Content>
    <Hash>True</Hash>
  </Content>
  <Login>
    <Enabled>True</Enabled>
    <SSO>False</SSO>
  </Login>
  <Icon>
    <Exit>True</Exit>
  </Icon>
  <Launcher>
    <State>0</State>
    <Close>True</Close>
    <Start>True</Start>
    <Minimal>False</Minimal>
    <Enabled>True</Enabled>
  </Launcher>
    <Deployment>
        <Enabled>True</Enabled>
        <Start>True</Start>
        <Cancel>False</Cancel>
        <Events>False</Events>
        <AutoStart>
            <Enabled>True</Enabled>
            <Timer>4</Timer>
            <Deployment>Standard</Deployment>
        </AutoStart>
    </Deployment>
    <Register>
        <Type>1</Type>
        <Username><![CDATA[LOCALwksimport]]></Username>
        <Password>SecretP@ssw0rd</Password>
    </Register>
  <Server>https://yourliquitzone.liquit.com/</Server>
</Config>
Creating a Windows MSI Line-of-Business App in Intune
Creating a Windows MSI line-of-business app in Intune only supports single MSI files. You can’t add a transform or a transform with a cab file.
Normally, when we want to replace a file in an MSI using your favorite MSI editor, you create a cab and an MST file for this MSI. It’s best practice not to change the MSI as is. However, Intune doesn’t support this for line-of-business-apps.
Customizing the Agent.xml File for Deployment
So, we’ve written a PowerShell script which replaces the agent.xml in the MSI’s binary table with an agent.xml, which has all configuration options like the one I’ve described about a deployment.
PowerShell Script
#the original liquit agent MSI
$originalAgentMsiFilename = "c:\liquitagent-1234567890.msi"

#the xml to be replaced
$agentXmlFilename = "c:\liquitagent.xml"

#the updated liquit agent MSI
$updatedAgentMsiFilename = "c:\liquitagent.msi"

#create a copy of the original agent MSI
Copy-Item $originalAgentMsiFilename -Destination $updatedAgentMsiFilename -Force

#using this setting ths msi is overwritten
$msiOpenDatabaseModeReadOnly = 2

#start com object for MSI
$windowsInstaller = New-Object -ComObject WindowsInstaller.Installer

#open msi database
$database = $windowsInstaller.GetType().InvokeMember("OpenDatabase", "InvokeMethod", $Null,$windowsInstaller, @($updatedAgentMsiFilename, $msiOpenDatabaseModeReadOnly))

#query for the agent.xml in the table Binary
$query = "UPDATE `Binary` SET Data= ? WHERE Name= 'Agent.xml'"

#start sql update
$View = $database.GetType().InvokeMember("OpenView","InvokeMethod",$Null,$database,($query))

#start to create file stream
$binaryrecord = $windowsInstaller.GetType().InvokeMember("CreateRecord", "InvokeMethod", $null, $windowsInstaller, 1)

#update data with new file binary
$binaryrecord.GetType().InvokeMember("SetStream","InvokeMethod", $null, $binaryrecord, @(1,$agentXmlFilename))

#apply to msi database
$View.GetType().InvokeMember("Execute", "InvokeMethod", $Null, $View, $binaryrecord)

#close msi
$View.GetType().InvokeMember("Close", "InvokeMethod", $Null, $View, $Null)

# release all variables so msi has no lock any more
[System.Runtime.Interopservices.Marshal]::ReleaseComObject($View) | Out-Null
[System.Runtime.Interopservices.Marshal]::ReleaseComObject($binaryrecord) | Out-Null
[System.Runtime.Interopservices.Marshal]::ReleaseComObject($database) | Out-Null
[System.Runtime.Interopservices.Marshal]::ReleaseComObject($windowsInstaller) | Out-Null
Next Step
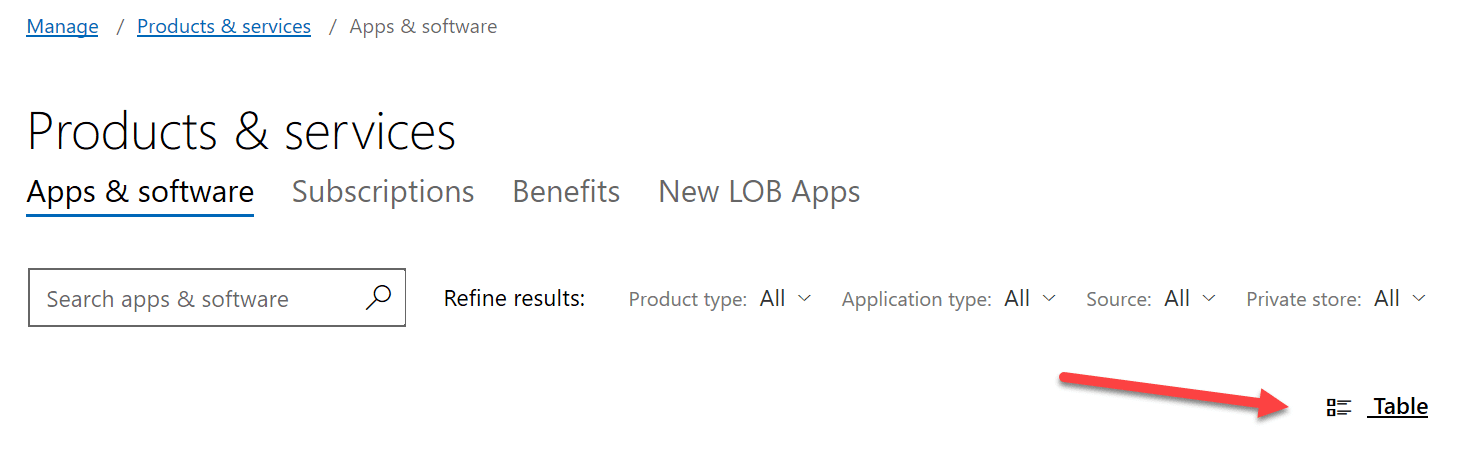
Then click ‘Add app’ and select the updated MSI for the package file.
Conclusion: Deploying the Liquit Workspace Agent with Microsoft Autopilot and Intune
Deploying the Liquit Workspace Agent with Microsoft Autopilot and Intune streamlines the application management process, providing a seamless and efficient experience for IT administrators. By following the steps outlined in this guide, you can ensure that your deployment is configured correctly, enabling advanced features like SSO, Smart Icons, and automated application installations. The integration of Liquit Workspace with Intune and Autopilot not only simplifies the provisioning and policy management but also enhances the overall user experience with robust app release and patch management capabilities. Embrace this powerful combination to optimize your IT operations and deliver a superior digital workspace to your end users.