


Application Management and Patching
Creating and Provisioning Application Workspace Deployments for Mac: An Addition to Enhance Intune
Note: Liquit Workspace has been rebranded as Application Workspace. Images in this post still reflect the historic Liquit branding.
In this post, we will walk you through using Application Workspace Deployments during Provisioning to offer your end users all their applications and anything else they would need while leveraging the Application Workspace platform. Although this is designed for those Provisioning scenarios from Intune, with minimal modifications, you can deploy out the Application Workspace agent and deployments from any deployment mechanism or MDM.
In this post, it is assumed you have already configured and Entra ID as an Identity Source. If you have not, please go here and configure your identity source first. This was put together through trial and error and Application Workspace documentation including this page. Along those same lines, if you are also leveraging the Microsoft Enterprise SSO plug-in for macs, you can take advantage of the same SSO experience as you would see on Windows machines, automatically logging you into the Application Workspace agent and your Microsoft 365 apps. Although this is how I did it, there are many settings and customizations you can do for your own environment. Please refer to the documentation for a full list of those settings for the JSON file for your environment. This post does not cover configuring your Autopilot settings, just the bootstrapper and agent settings for Application Workspace.
Leveraging Application Workspace Deployments During Mac Provisioning
Deployments are the pillar of the imaging process for both virtual and physical devices. Think of a deployment as a carefully orchestrated sequence of packages. But Application Workspace packages are not just for installing applications. They can also include driver installations, registry key settings, or even a combination of all these elements. This flexibility makes Application Workspace a powerful tool for managing your IT environment. Since the term “Deployments” can get confusing as there are many definitions and uses for the word in our line of work; in this context, it will be the section in the Application Workspace server called Deployments.
Let us start in our Application Workspace environment. After logging into your Application Workspace portal, there are a couple of areas we need to configure and download from here. First, we will create our deployment. A deployment is a group of packages that want to deploy to a machine during agent installation.
Application Workspace Setup
Deployment
Create your deployment in Application Workspace.
- In Application Workspace, go to Manage -> Automation -> Deployments.
- Click Create.
- Enter a name for your deployment and click Next.
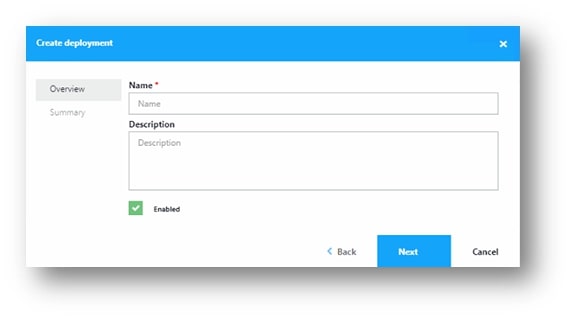
- Click Finish.
- Once the properties come up, follow the next steps.
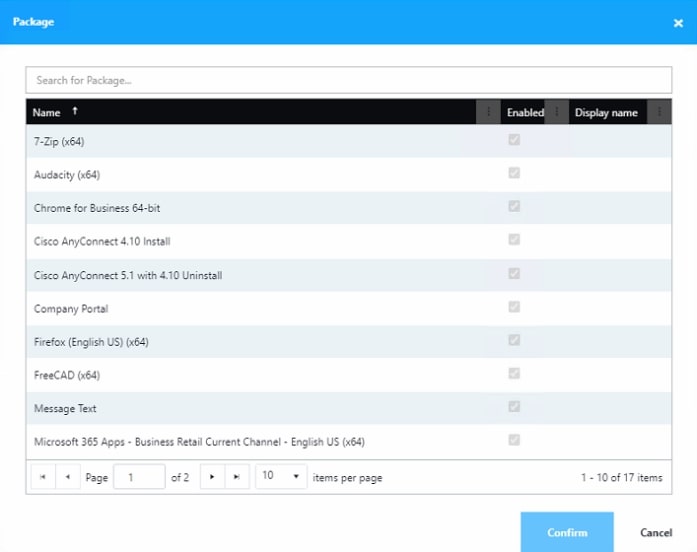
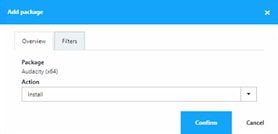
- Click Packages.
- Search for and add any packages that you would like for this deployment, be sure to specify the “Install” action.
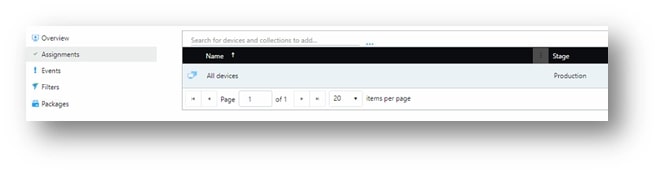
Click Assignments.
Create a new device collection that meets different criteria, as we call filters in Application Workspace. In most organizations, devices are prefixed by Intune, for example use that as a filter in combination with System Manufacturer and System Model. This way we have limited the deployment to Intune only. In this screenshot, it shows All devices, but in your environment, you should assign it to your collections that you created above.
Managing Certificates for Mac Agent Installation in Application Workspace
For optimal device registration, I found that using certificate-based registration worked very well. Listed below are the steps I took to make sure that it went without a hitch.
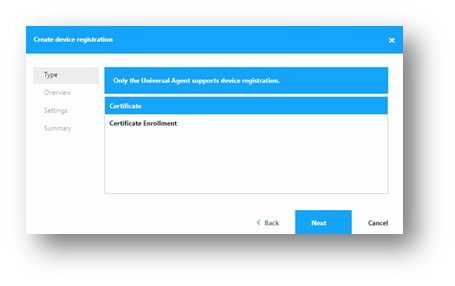
In Application Workspace, Manage -> System -> Device Registration, follow the below steps:
- Click Create.
- Keep the “Certificate” section highlighted, and click Next.
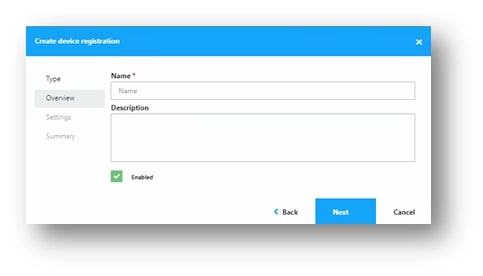
Name your Certificate and click Next.
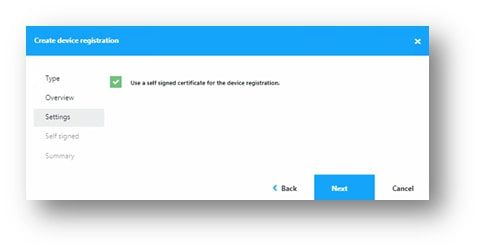
Select the box for Use a self-signed certificate for device registration and click Next.
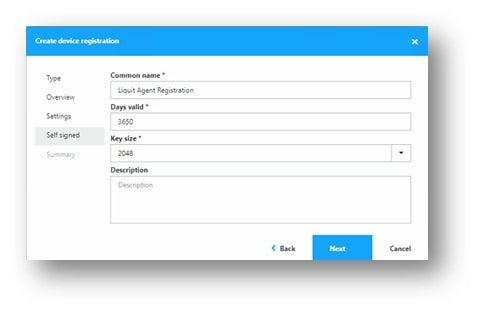
Give your certificate a name, validity period, and key size, and add a description if you’d like. Then click next.
Click Finish.
When the properties come up, click on Settings.
On the right-hand side, click the button for Download for agent registration button.
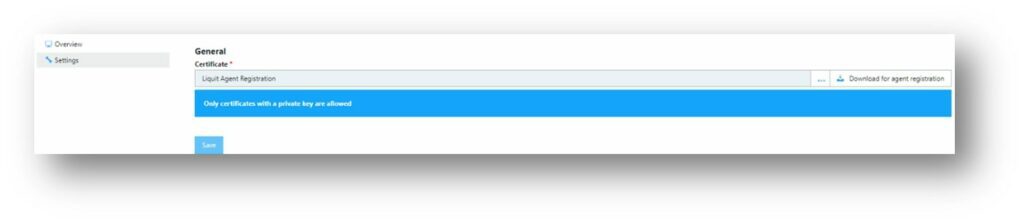
Save this file for future use for when creating the pkg file that we will use to upload to Intune
If you are using an internal Certificate Authority (CA) or the Self-signed certificate from installing the Application Workspace Server locally, then follow this step and step iii. If your Application Workspace server has a publicly signed cert, you can skip this step and step iii.
Then, export out the certificates from the Application Workspace Server and Certificate Management depending on what certificate you are using for your Application Workspace server. This may be different from your environment. We need to establish that trust chain between your client and the Application Workspace server.
- IIS Cert you used
- CA Cert for that IIS Cert
- Application Workspace Self-Signed cert
Create three profiles in Intune, one that pushes out the above three certs to devices in their root store https://learn.microsoft.com/en-us/mem/intune/protect/certificates-trusted-root.
Next, we are going to package up the files that we use Intune to deploy to launch the bootstrapper and install the agent. There are many ways to do this, and for another example, see Bootstrapper Script for Enrolling macOS Machines in Microsoft Intune.
Building a Custom .PKG for Intune Deployment
Download then Create Required Files.
Create a folder on your desktop (or any folder you choose) to store all the downloaded files
Navigate to the Downloads page and download the Agent Bootstrapper for Mac and save it in the above folder.
Copy the downloaded certificate file from above to the same folder
Use BBEdit (or your choice of editor) to create a Json file named “agent.json” and save it to that same folder.
Create your Json file. At the end of this document is the Json file that I used that you could copy and modify according to your own settings. I have highlighted the areas that you have to modify, but you can look through the others to determine if you want any other settings
- The Zone will be your zone that you have created.
- The deployment will be the name of the deployment you created in Step 2.
- The trusted zone is where you would put in your zone name. This can be multiple zones if you have more than one.
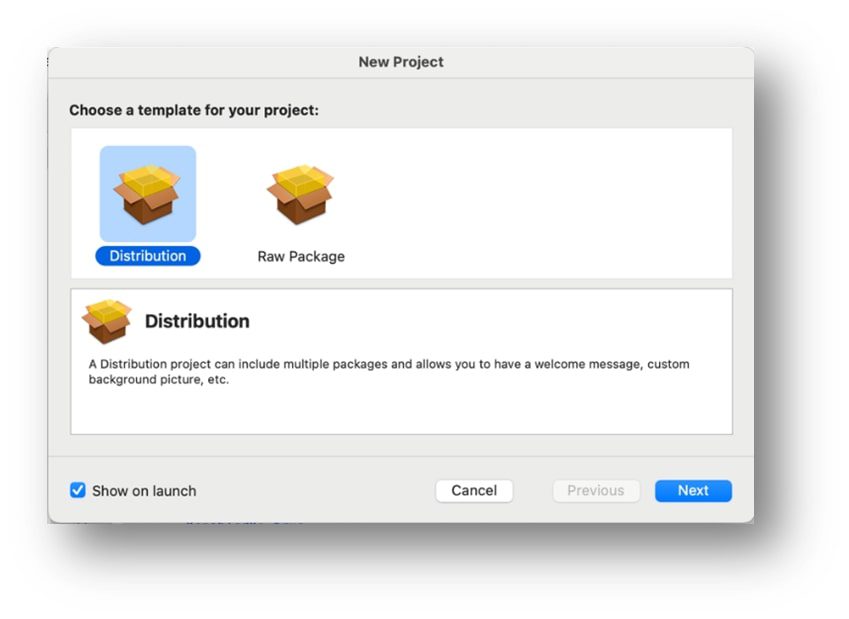
On a mac, install Whitebox’s Packages Application from http://s.sudre.free.fr/Software/Packages/about.html (this will allow you to easily create the pkg file needed for uploading into Intune)
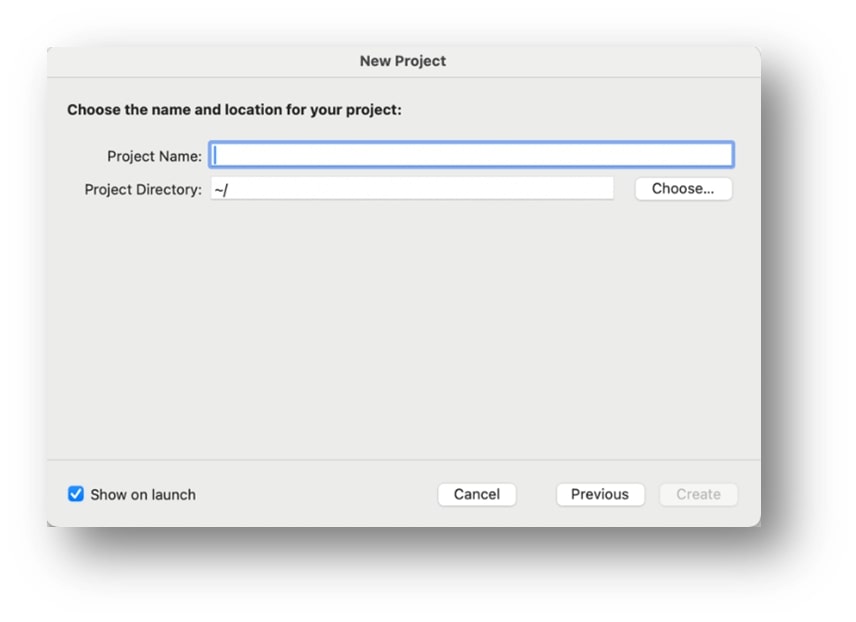
Create a new Distribution Package.
Enter a name and directory location to save it to.
Choose the Package entry on the left of the screen.
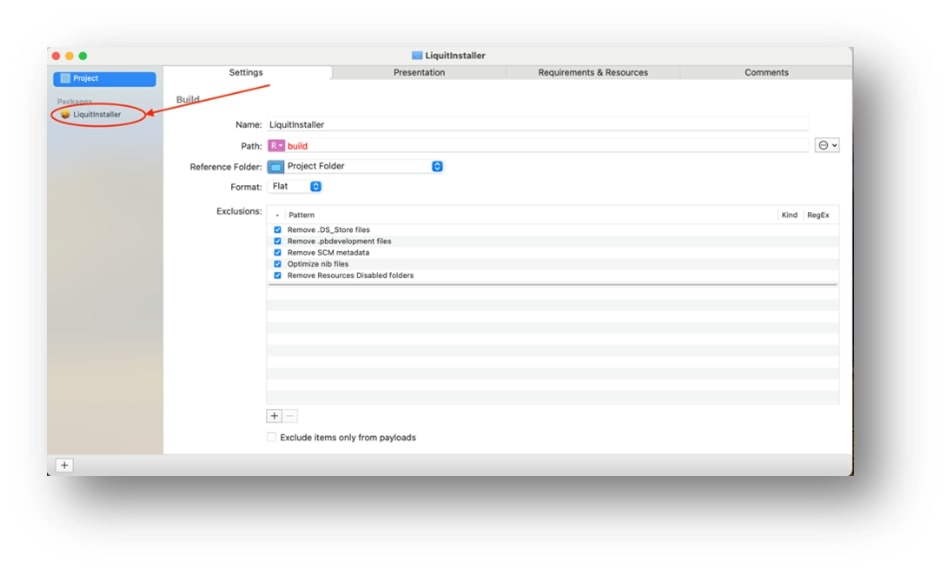
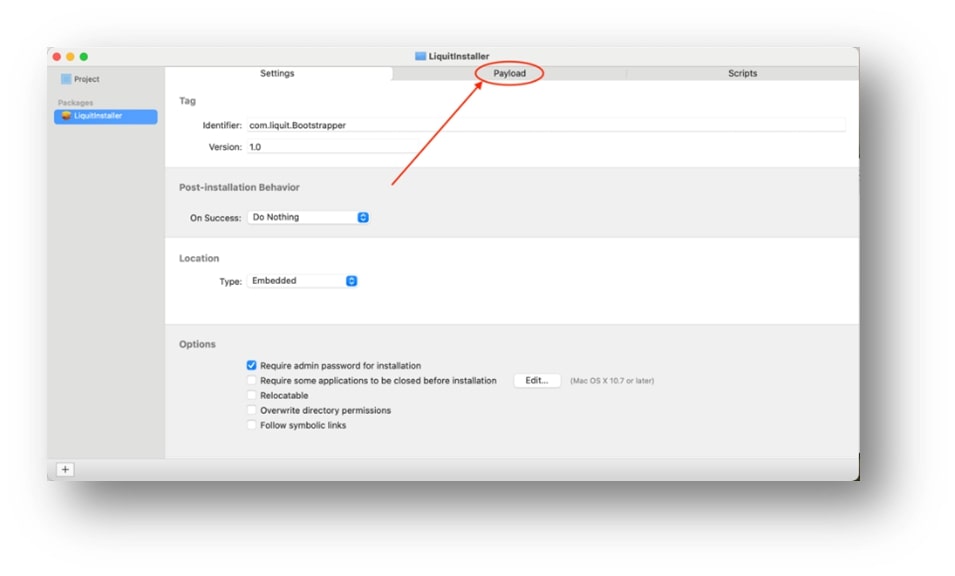
In the Identifier field, enter a desired identifier. I used com.liquit.bootstrapper.
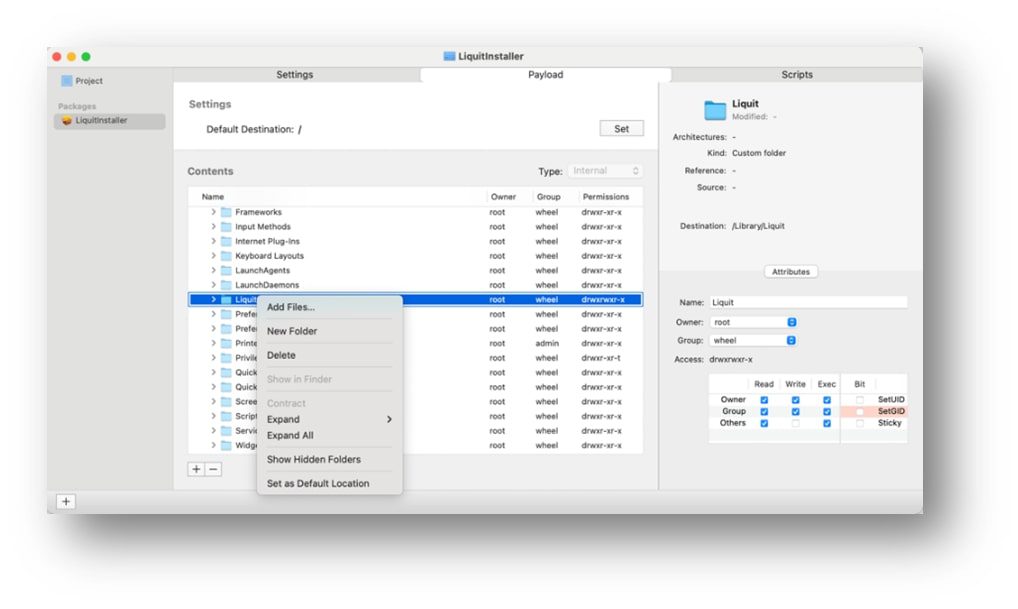
Click the payload tab at the top of the window.
Right-click the folder called Library and click New Folder, Enter “Application Workspace” for the folder name.
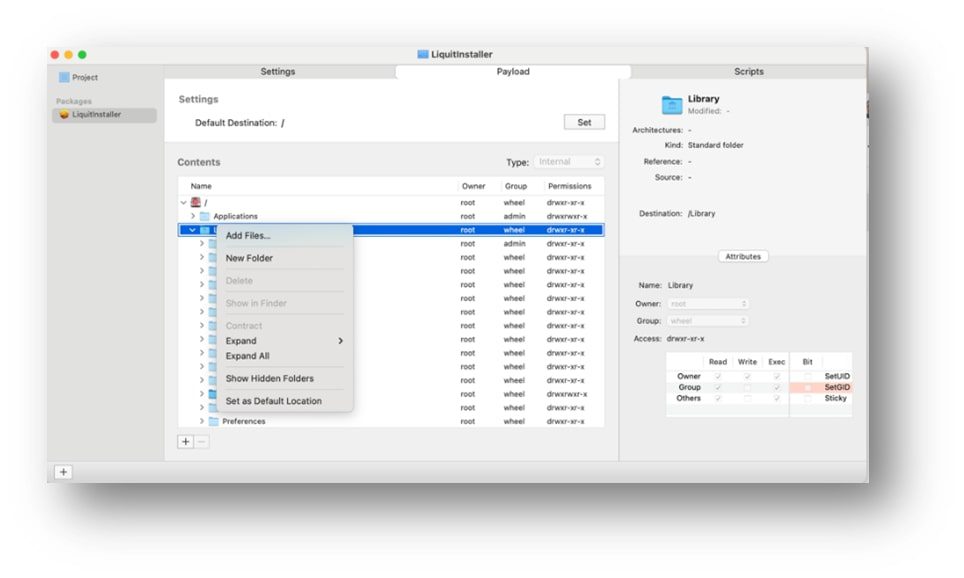
Create a new folder under the main folder for this package file, it should be ~/PackageFileName and name it “Resources.”
Copy the three files to this “Resources” folder.
- Agent.json
- AgentRegistration.cer
- AgentBootstrapper-Mac-2.1.0.2
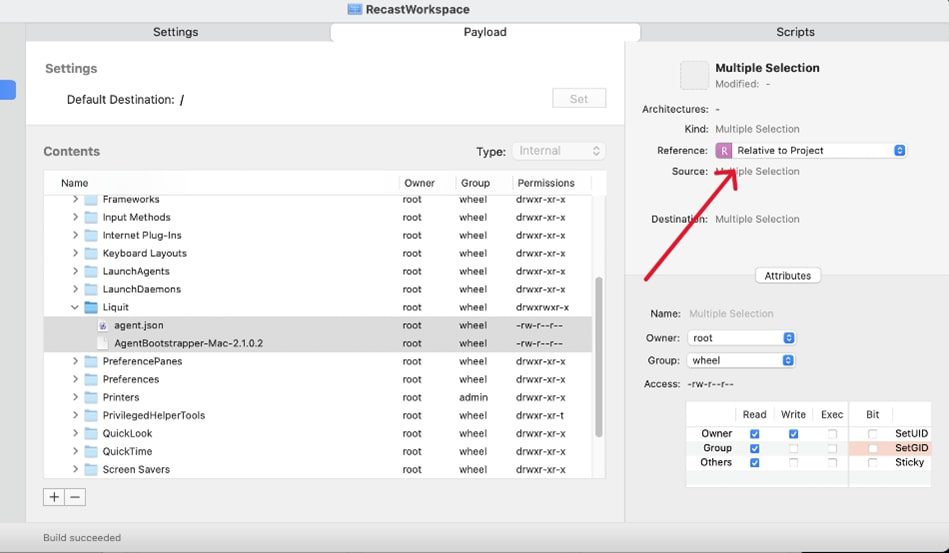
Right-click the new folder called “Application Workspace” and then select Add File for each of the files above to add them into your package.
- Agent.json
- AgentRegistration.cer
- AgentBootstrapper-Mac-2.1.0.2
With the files highlighted in your project, in the right-hand pane, change the section that says Reference to “Relative to Project” instead of Absolute Path. The reason for this is that if you copy this folder off onto a file share or some other location than here, including those files, it is easily opened and able to be rebuilt as all the references will still be there.
Save your project and then click the menu bar at the top, select “Build” and then “Build”. This will build the package file and save it in a build directory with your project file. You will upload this pkg file to Intune.
Deploying the Application Workspace Agent for Mac Using Intune
Create your Application in Intune.
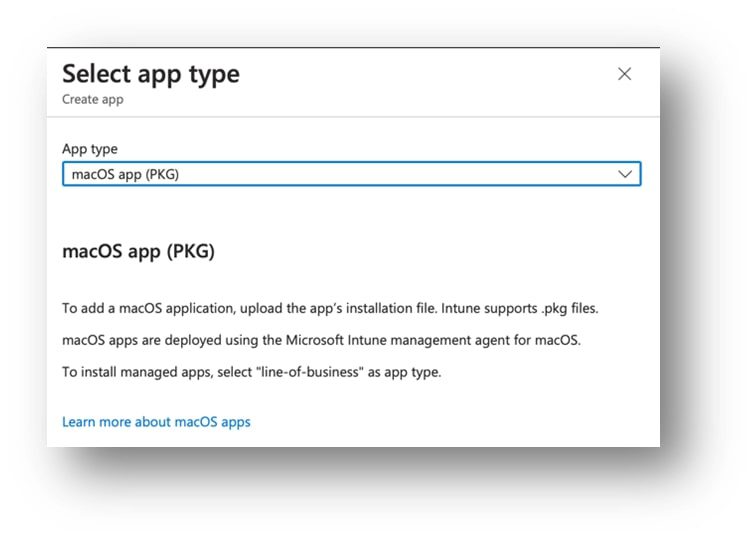
- Log into Intune and choose Apps and then MacOS apps.
- Click Add.
- Under App Type, Choose macOS App (pkg) and press Select,
Select your pkg file.
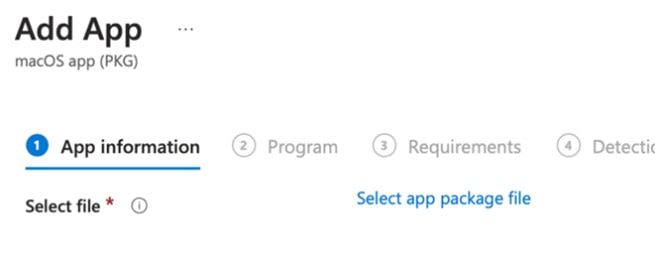
Add the required data. This can be to your specifications. I got the icon file from the installed agent. I went to Finder, right clicked on the application, chose Show Contents, and then navigated to resources, opened the icons file, exported the biggest icon file to PNG, and upload that to Intune for the application.
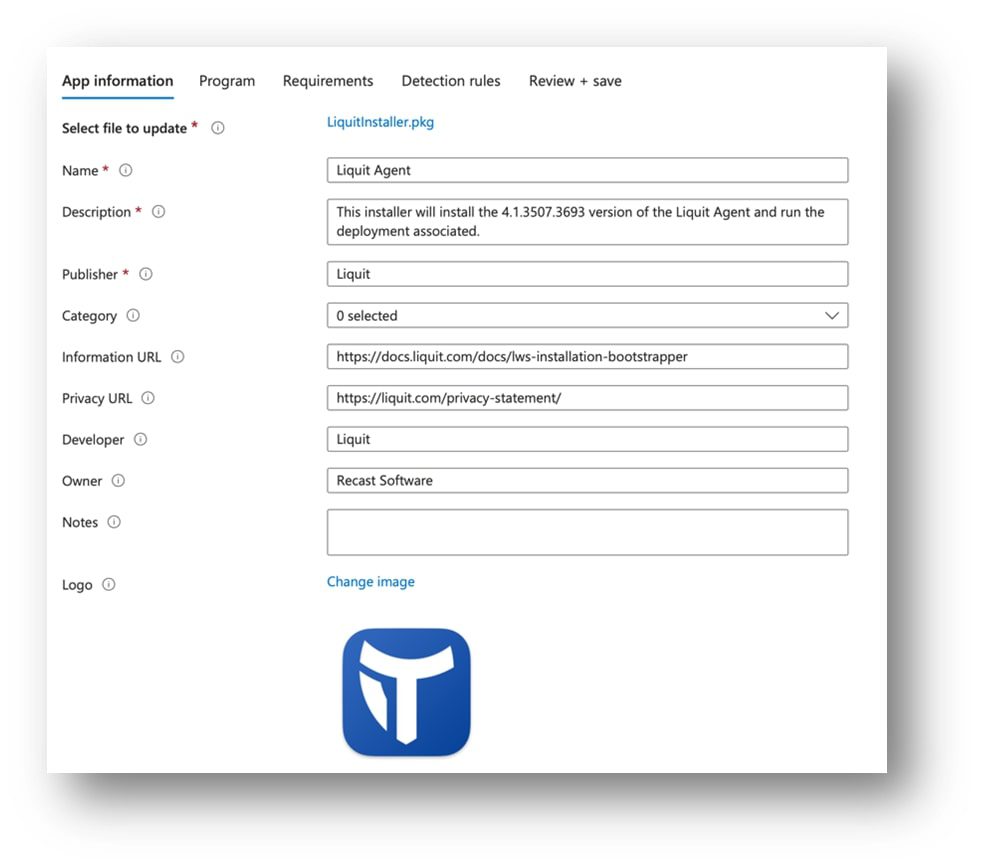
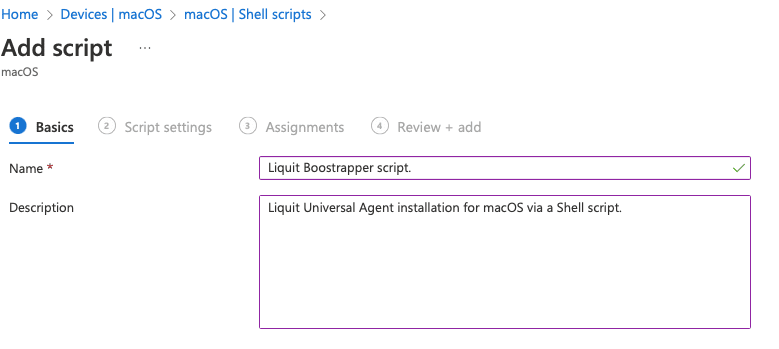
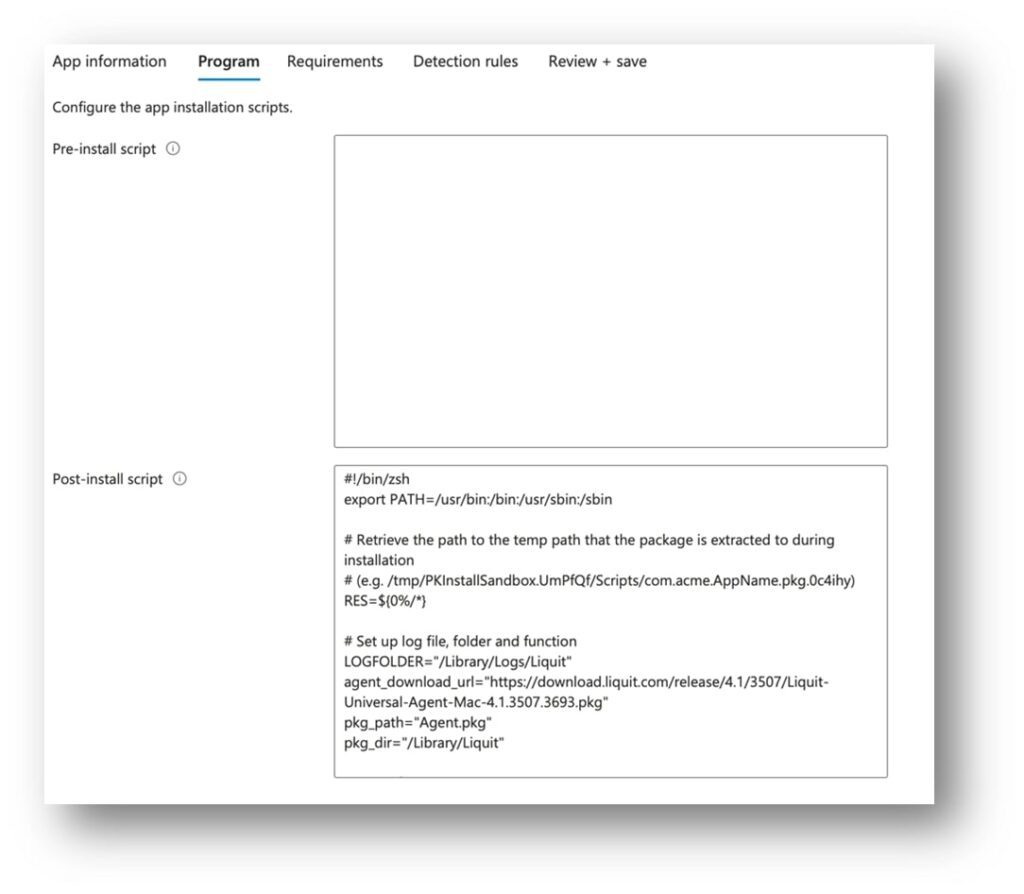
In the Post-Install section, add in the script shown below. This script will automatically download the latest version of the installer from your Application Workspace server.
In the Requirements Section, choose macOS Catalina 10.15, you may want to verify the latest supported version of macOS and choose that option here.
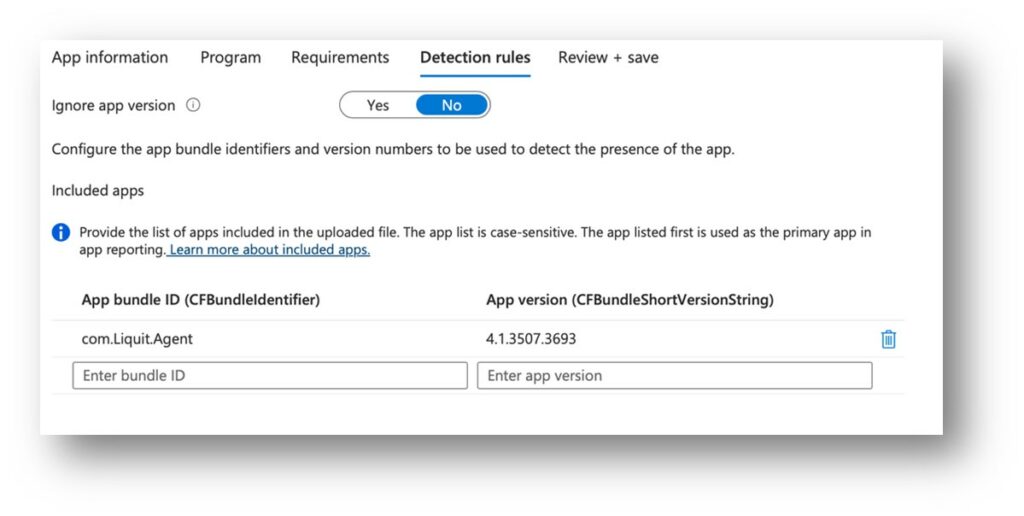
In the detection rules, use the graphic to change the information presented. This will detect the agent, not the bootstrapper that we are deploying. Modify the bundle version to the correct bundle version you want to deploy. This was set for the latest release of 4.1, it will need to be changed for 4.2.
Click Review and Save, adding in any scoping and tags you may wish.
Now you have the application in Intune, and you can scope it to any device and use it during the provisioning process for new managed macs.
I have not tested this through Intune. I have tested this process locally and the script and package work well, but I don’t have a managed instance for mac devices to play with the provisioning of them.
Happy deploying!