


Recast Kiosk Deployment via Task Sequence
Kiosk Manager by Recast is a fan favorite, used by many of our Enterprise customers to help control machines with a few clicks. Sometimes you want to deploy a computer and already have all of these settings applied. Using the process Kiosk Manager uses and stealing the end results, we can create a Task Sequence module to deploy Recast Kiosk settings during OSD.
The Kiosk Deployment via Task Sequence Process
- Create Clean Reference Machine
- Deploy Kiosk Template to Machine
- Verify Everything is to Your liking
- Gather the Recast Kiosk Setting Files
- Create a ConfigMgr Package with those Files
- Create a Task Sequence Module to Deploy
- Deploy a Machine with the Module and Watch…
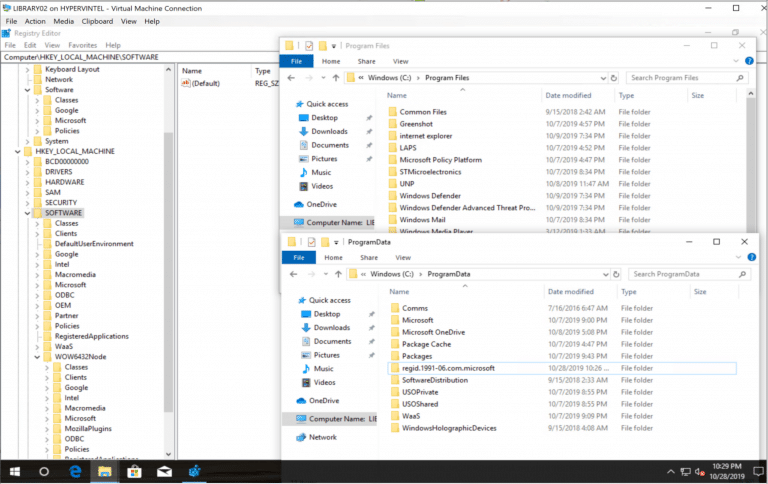
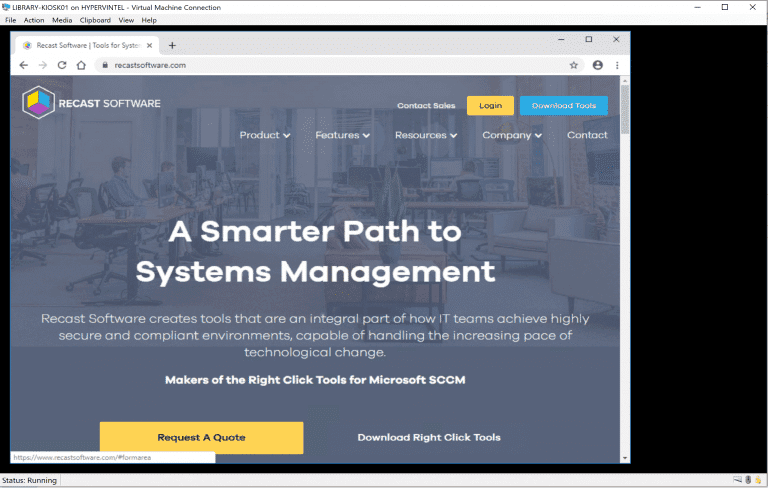
Here’s a clean machine with no signs of Recast yet…
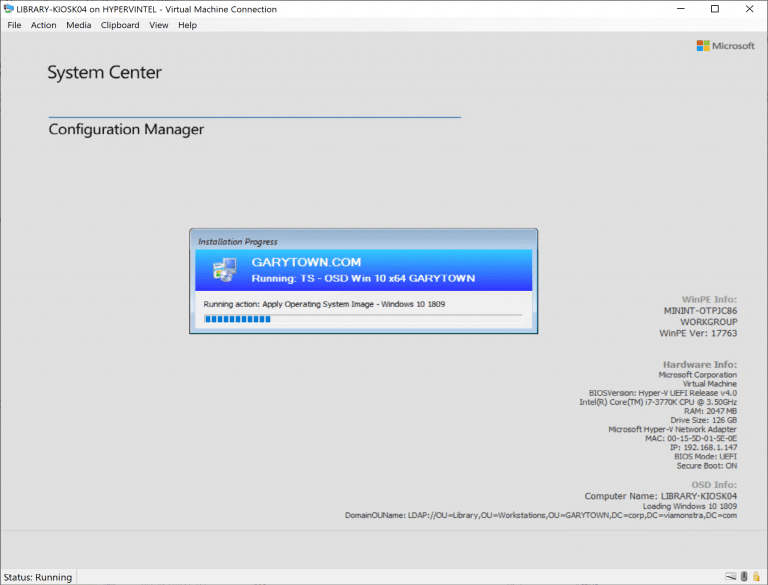
Now we apply the Kiosk Manager Profile.

You can actually see the folders being created while it’s applying, and then it automatically reboots when the apply is “Complete” in the dialog.
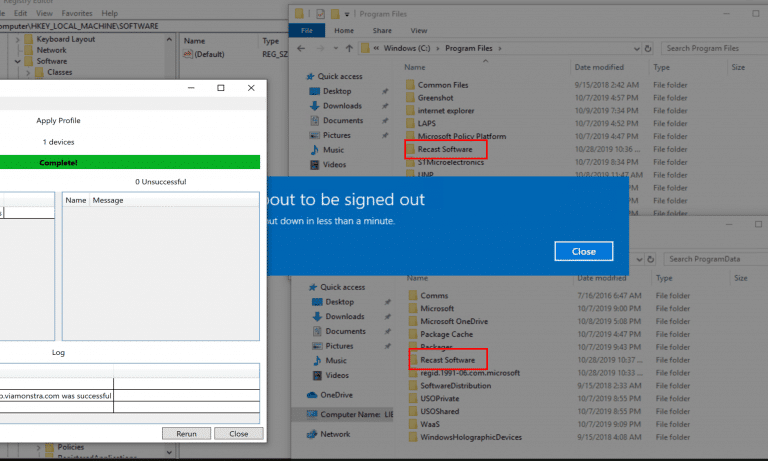
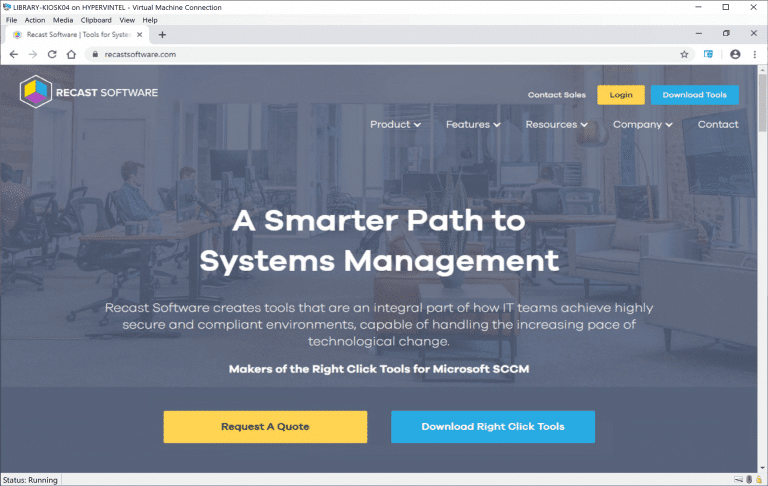
After the reboot, it automatically logged on and applied the settings we wanted.
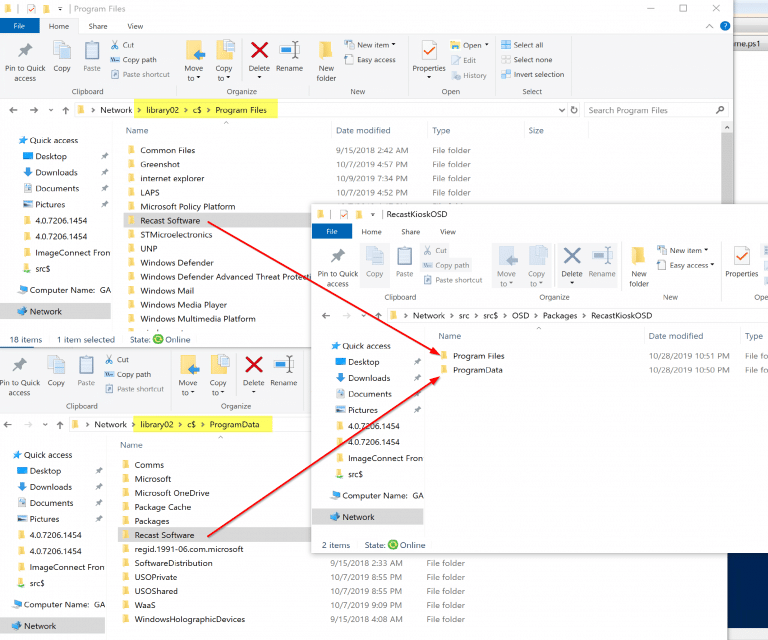
I then connect to the UNC path of the machine and grab the files needed for my source package.
Create your Recast Kiosk source folder and create three subfolders ProgramData and Program files. Then copy the Recast Software folders from both locations on your reference machine into your source.
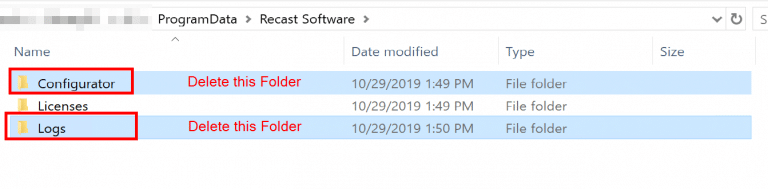
Then drill down to ProgramDataRecast Software and delete the Logs and Configurator folders. You don’t need that.
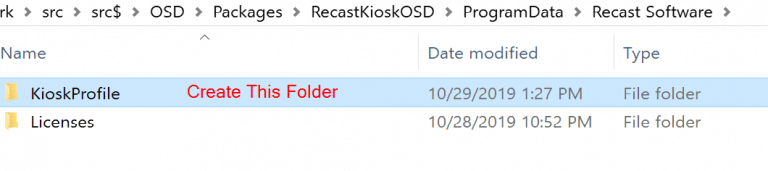
While you’re there, create the KioskProfile folder, for the one more thing you need, the Kiosk Profile XML file.
Now Export the Kiosk Profile to that folder.
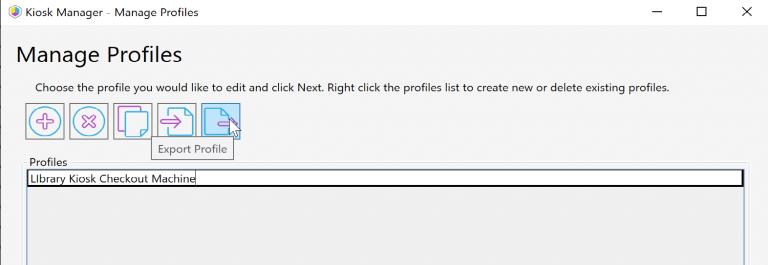
Export the Kiosk Template XML file to the ProgramDataRecast SoftwareKioskProfile folder.

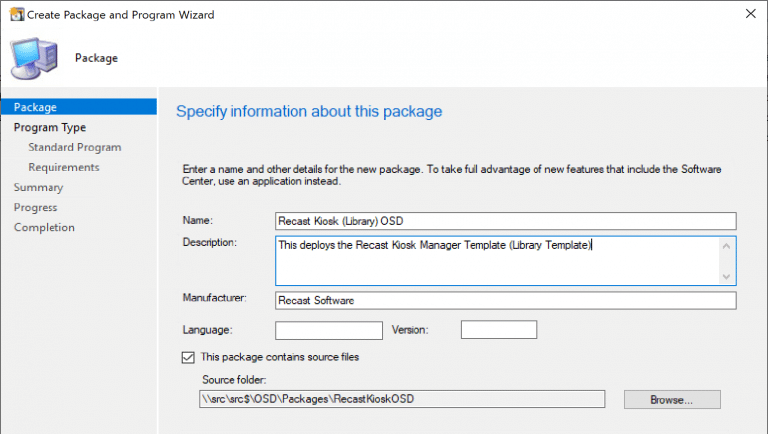
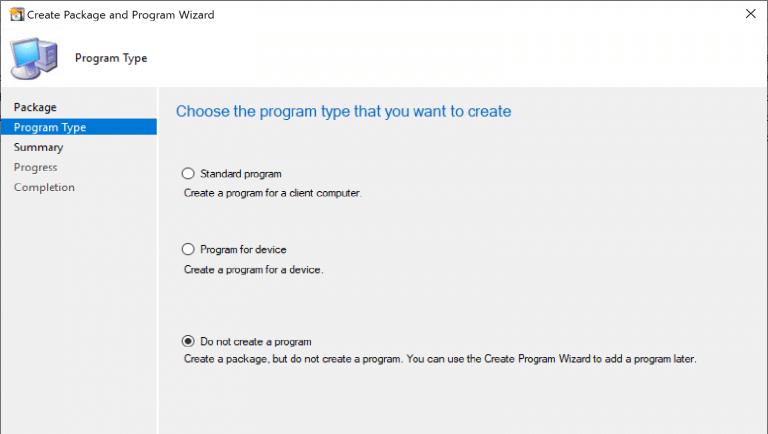
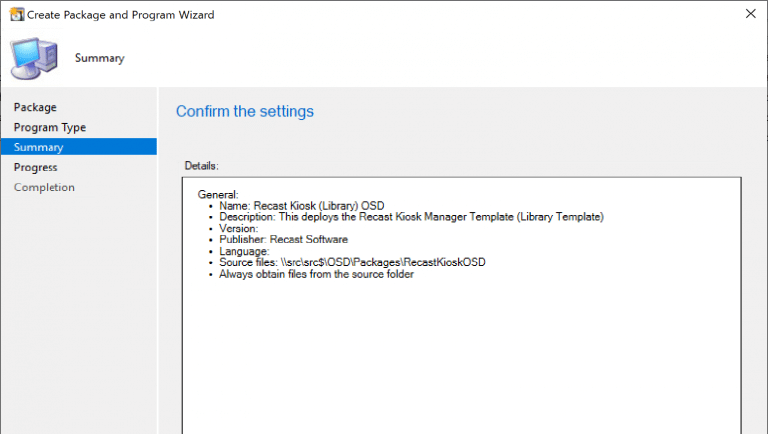
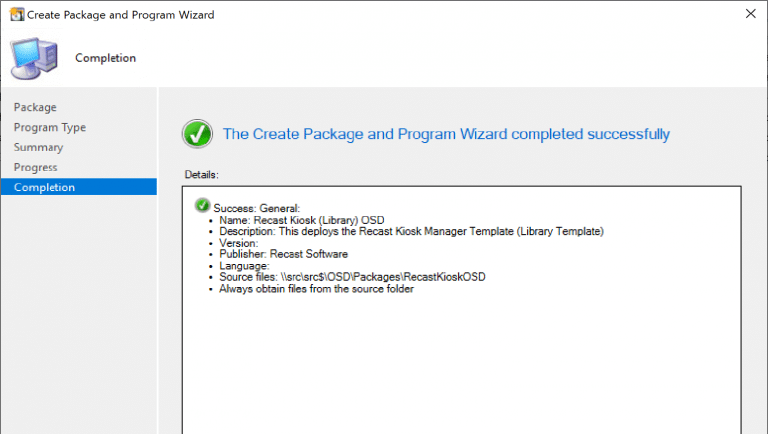
Once you have your source files, you can create a ConfigMgr package.
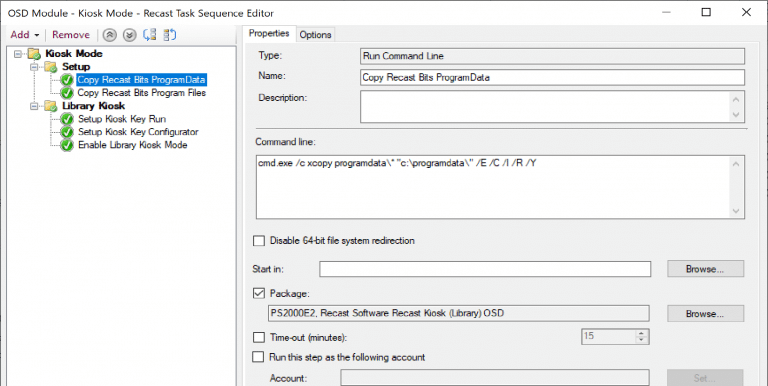
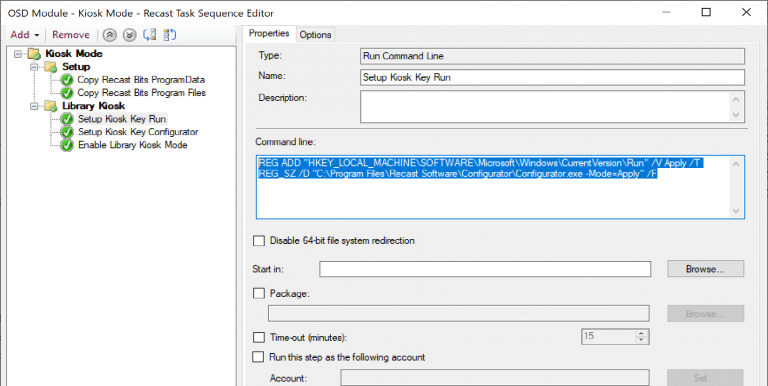
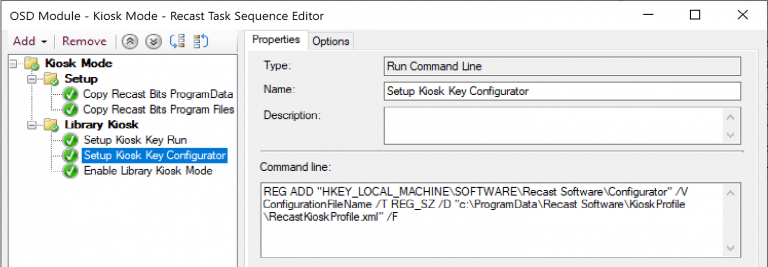
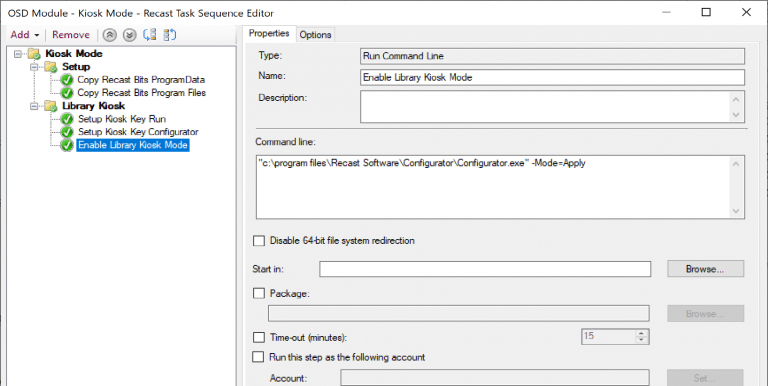
Now, we need to create the Task Sequence module by taking the following 5 steps:
- Copy ProgramDataRecast Software to Local Machine
- Copy Program FilesRecast Software to Local Machine
- Setup Registry Key: “Run Key”
- Setup Registry Key: “Configurator” (references Profile file)
- Enable Kiosk Mode (Trigger Right Click Action via Configurator)

Now you can add that “Module” Task Sequence as a sub task sequence and set the condition.
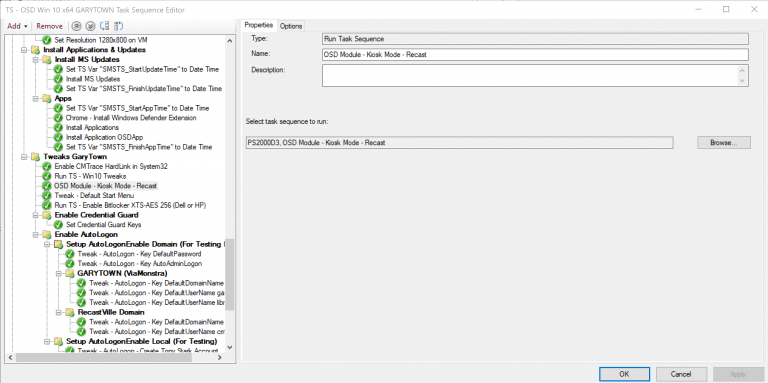
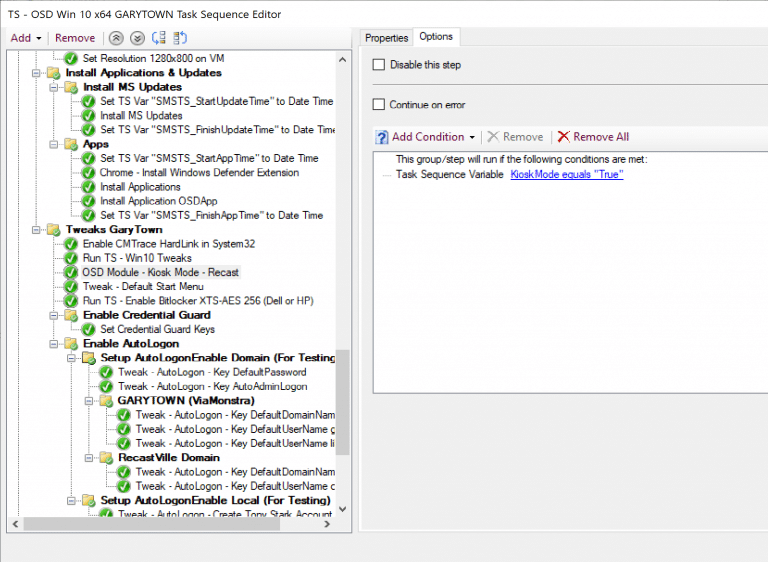
Now that the module is added to our primary OSD TS and we set the condition, we need to have a method of creating the condition (variable).
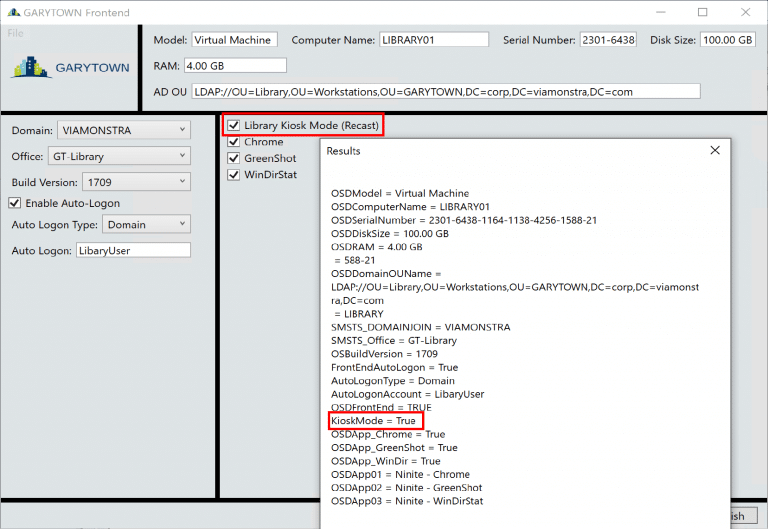
You can set the variable for the Task Sequence by using a Front End, or a Collection.

Now that we have everything set up, let’s run OSD!
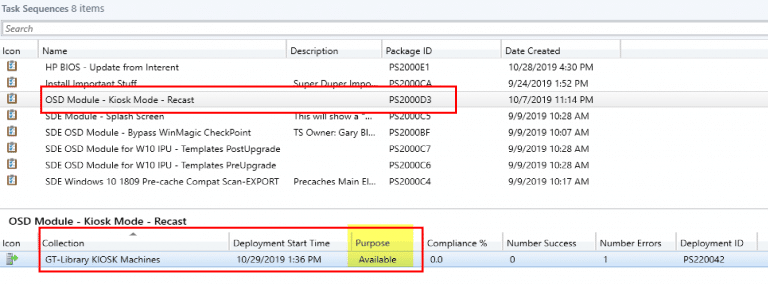
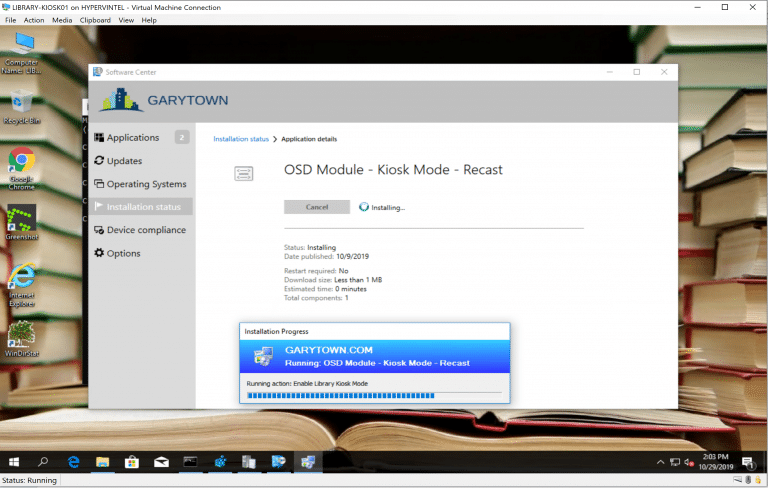
For quicker testing, you can deploy just the module to a set of workstations and give it a quick run.
Now that we confirmed our module works and applies the Kiosk Mode, we can run the full OSD Task Sequence.

After it runs for a while, and when it’s done, you have a built Windows 10 machine all ready and all setup in Kiosk Mode.
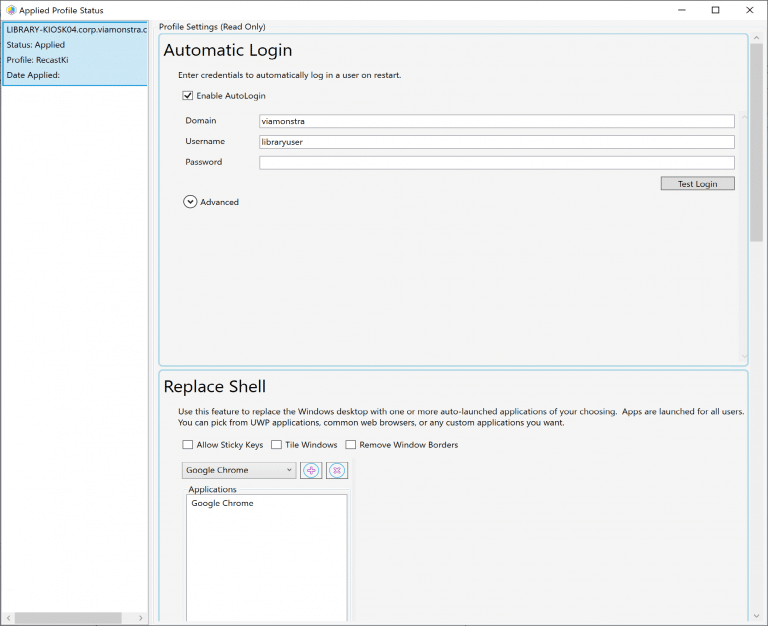
In the Console, you can confirm that all is well in the Kiosk Manager.
Conclusion: Kiosk Deployment via Task Sequence
Now you have another way to deploy kiosks. You can use this to do it during OSD or use the Task Sequence module to deploy as well. Using the information in this post, it would be pretty easy to create a “portable” deployment using a PowerShell script with the source files on a flash drive to deploy on non-networked machines.