Intune
How to Set Up a Device Compliance Policy for macOS Devices with Intune
Topics: Intune
I’m sure you’ve heard the term “compliance” thrown around, but today I’ll show you how to set up a compliance policy for macOS devices with Intune and explain the actions you can take when devices fall out of compliance.
But why is this important?
Simply put, a compliance policy sets requirements that a device must meet to be considered compliant. For instance, your security team might specify that devices need to run on a minimum OS version and have encryption enabled. Setting rules ensures that devices accessing corporate resources follow our standards. This enables us to use conditional access with Intune to enhance security by only allowing compliant devices to access corporate information.
Let’s dive into setting up compliance policies in Microsoft Intune. It’s time to fire up our Intune engines!
Setting Up Your Compliance Policy for macOS Devices
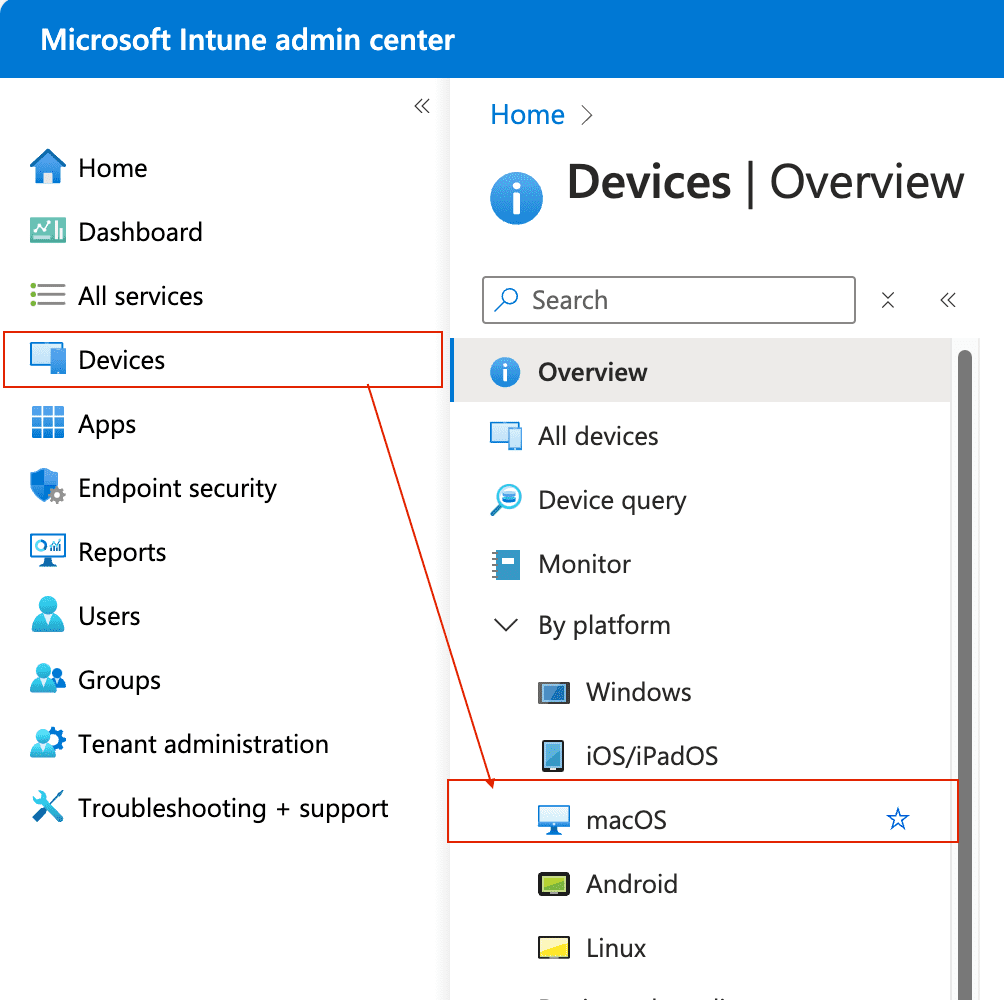
Go to Microsoft Intune admin center > Devices > under platform select macOS.
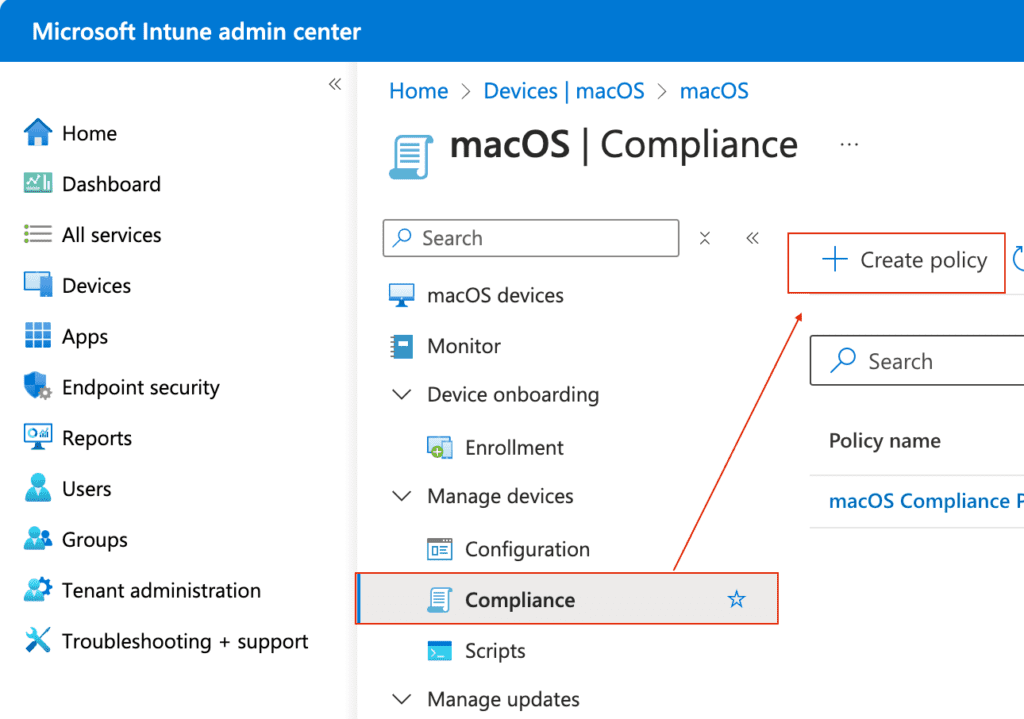
On the next page, select Compliance under Device onboarding > then select + New Create Policy > click Create when prompted to choose the Platform and Profile type.
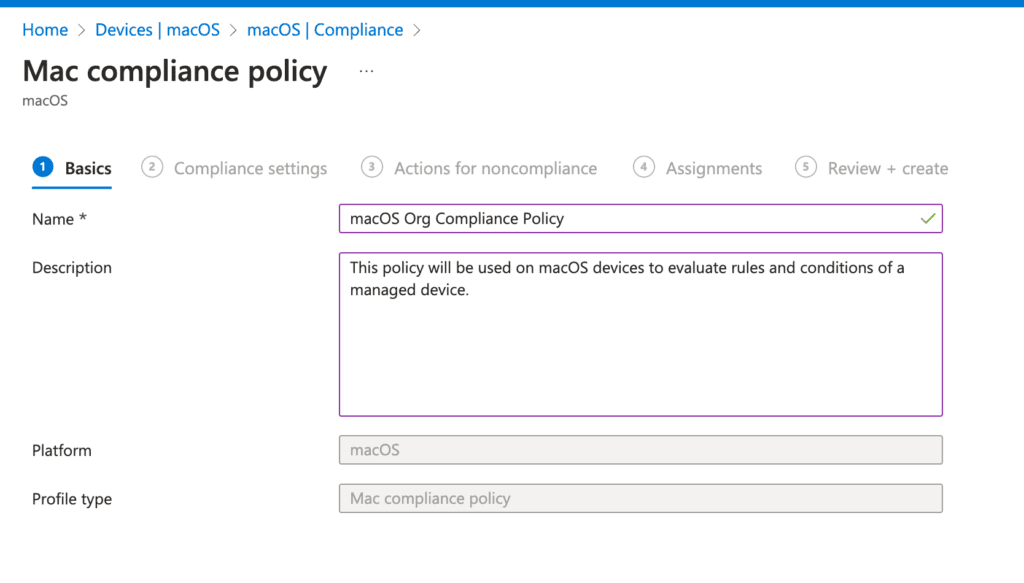
On the next page, fill in the basic information—such as a Name and Description for your policy that best meets your company standards—then click Next.
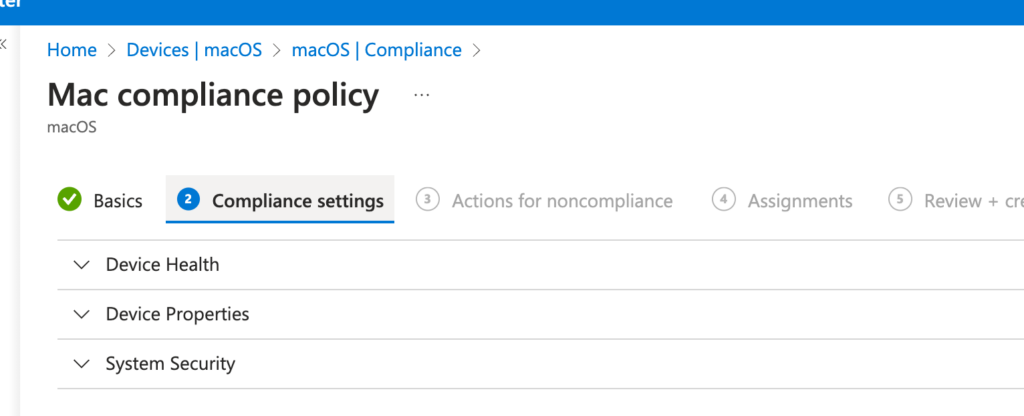
On the next screen, you’ll set up the compliance settings. These settings are divided into three sections: Device Health, Device Properties, and System Security. I’ll explain each section as we proceed.
Configuring Device Health Settings
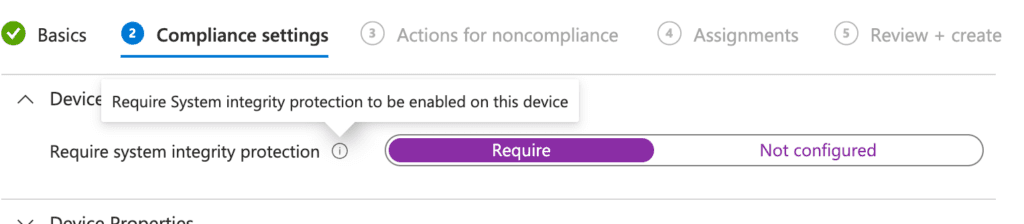
The first section is Device Health. This section lets you set a requirement for System Integrity Protection—a security technology that helps protect your Mac from malicious software. In this example, I’m setting it to Require.
Configuring Device Properties
In the Device Properties section, you specify the operating system versions by setting the minimum and maximum OS version, as well as the minimum and maximum OS build version that devices can have. In this example, I’m setting a minimum OS version of 14.0 (Sonoma) and a minimum OS build version of 23A344. Adjust these values to suit your organization’s needs.

Implementing System Security Measures
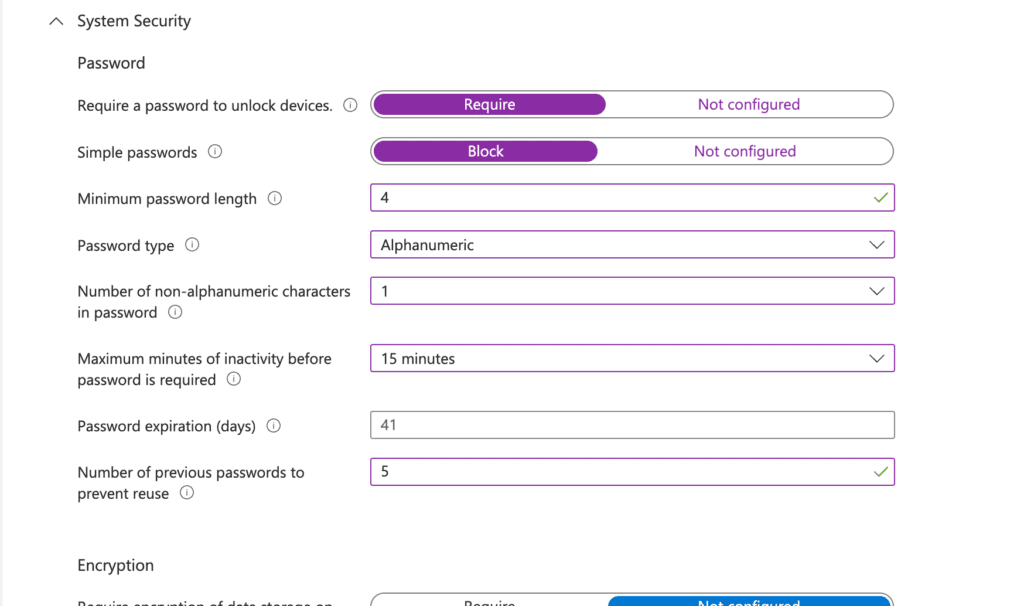
Now, let’s move on to the core of this compliance policy: System Security. In this section, you set rules that endpoints must follow to be compliant. I’ll cover a few key settings briefly. Essentially, you’re instructing the device that it must have a password to unlock it and that the password meets your specified requirements. For more detailed information on these settings, refer to Microsoft’s documentation on System Security Settings.
Some important settings to note in my setup include:
- Password Requirement: Enabling the requirement for a password to unlock the device, which forces users to enter a password before accessing it.
- Blocking Simple Passwords: Blocking simple passwords (we want to avoid weak choices like ‘1234’).
- Minimum Password Length: Setting a minimum password length of 4.
- Password Complexity: Requiring an alphanumeric password with at least one non-alphanumeric character. For example, ‘RecastRocks1’ would be compliant.
- Idle Timeout: Requiring the password after 15 minutes of inactivity.
- Password History: Preventing users from reusing any of the last 5 passwords to reduce the risk of credential breaches.
Now that these settings are configured, let’s move on to the next section of System Security.
Next, we have Encryption. Here, you decide whether to require encryption of data storage on the device. If your organization mandates FileVault encryption, select Require; otherwise, leave it as Not Configured. In this example, I’ll set it to Require.
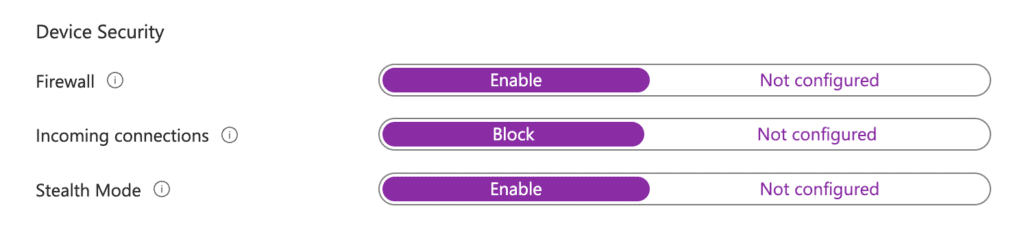
Next is Device Security, which includes three settings:
- Enable Firewall: This setting protects devices from unauthorized access. I’ll set it to Enable.
- Incoming Connections: By default, this is set to Not Configured, which allows all incoming connections and sharing services. I’ll choose Block to permit only connections necessary for basic internet services.
- Stealth Mode: This setting makes your macOS device less visible on a network, reducing the risk of detection by potential hackers.
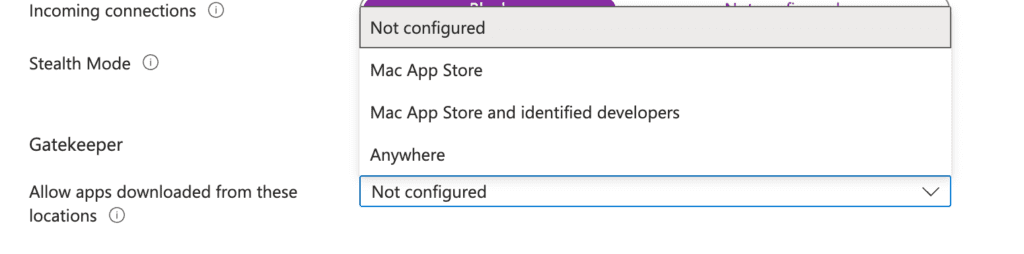
Now that Device Security is configured, let’s move on to the final piece of this section: Gatekeeper. This setting ensures that only trusted software runs on your Mac by restricting app installations based on their source, helping to protect against malware.
The options for Gatekeeper include:
- Not Configured (default): This setting has no effect on compliance.
- Mac App Store: This option allows only apps from the Mac App Store. Apps installed from third-party sources or unidentified developers will cause the device to be marked as non-compliant.
- Mac App Store and Identified Developers: This option permits apps from both the Mac App Store and from identified developers. Any app installed from another source will render the device non-compliant.
- Anywhere: This option permits apps from any source, making it the least secure option.
In this example, I’ll select Mac App Store and Identified Developers for a balance of flexibility and security.
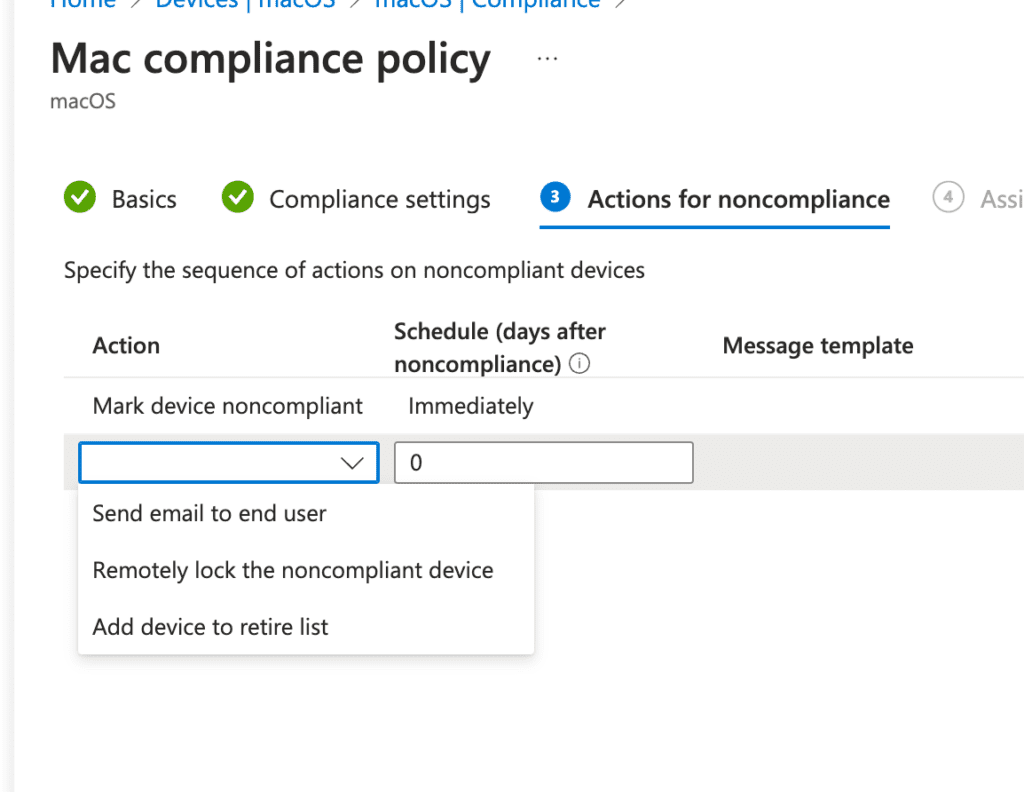
Now that we have created our rules and conditions, click Next to set the Actions for non-compliance. You can configure actions such as marking the device non-compliant immediately or after a specified number of days, sending an email to the end user, remotely locking the device, or adding the device to a retire list. In this example, I’ll leave it at the default setting of marking the device as non-compliant.
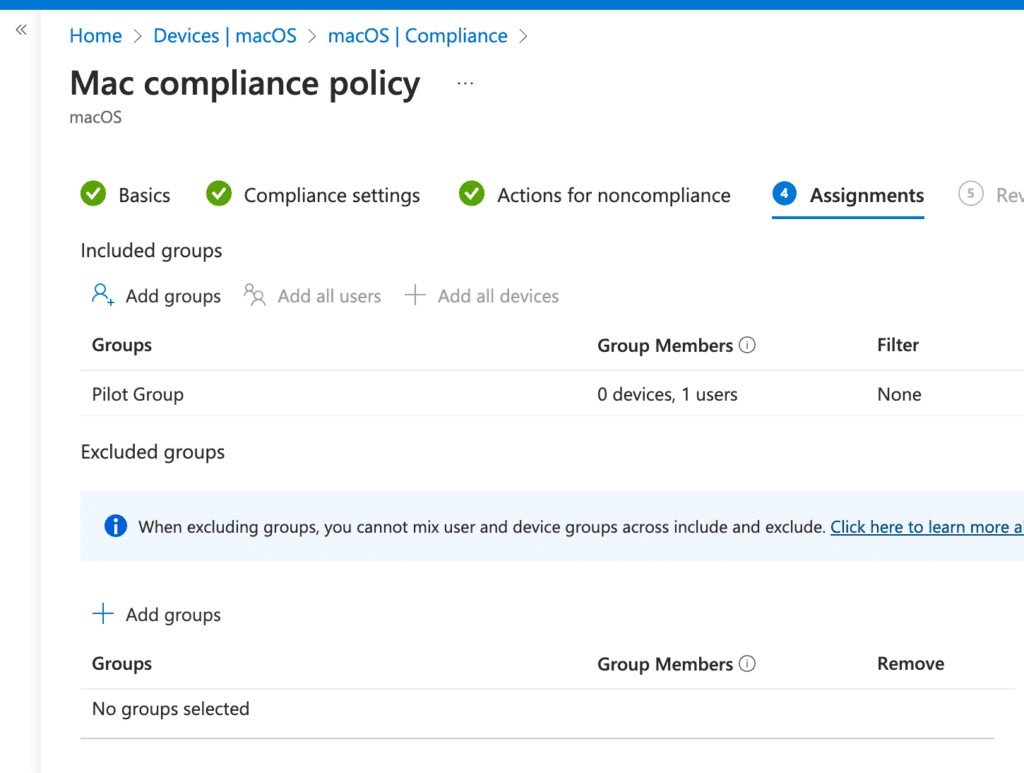
Click Next and select your assignments. I recommend setting up a pilot test group to observe the behavior and actions before rolling out the policy company-wide. Finally, review your settings and click Create.
We have now successfully set up a compliance policy for macOS devices and established the rules and conditions they must meet.
Verifying Device Compliance
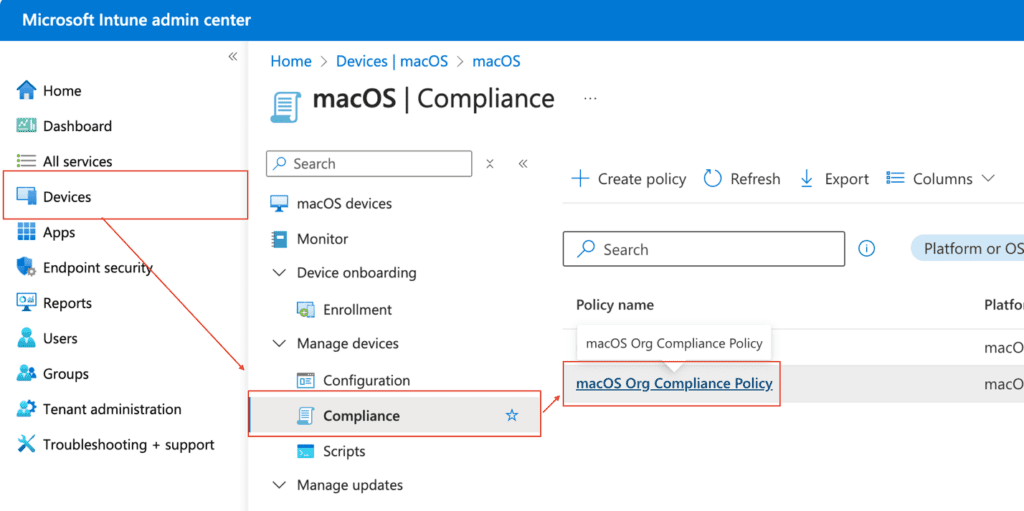
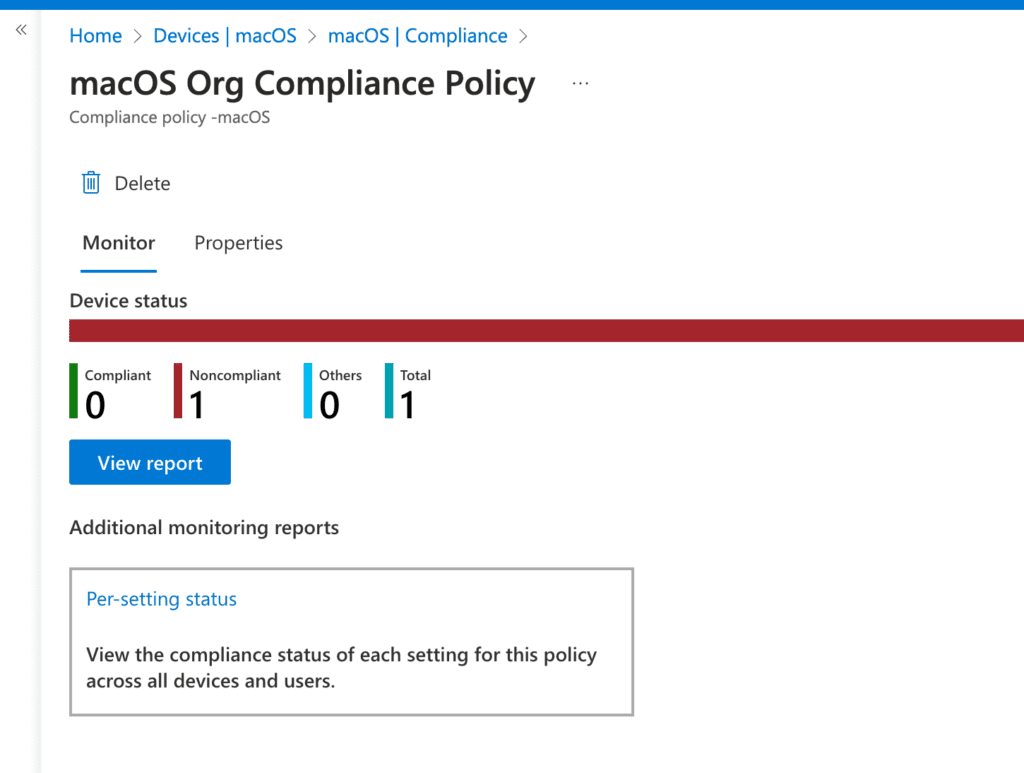
How can you verify if a device is compliant? There are several methods. One way is to check the compliance settings within Microsoft Intune. Go to Devices > macOS > select Compliance under Manage Devices > choose the assigned Compliance Policy (in this example, “macOS Org Compliance Policy”).
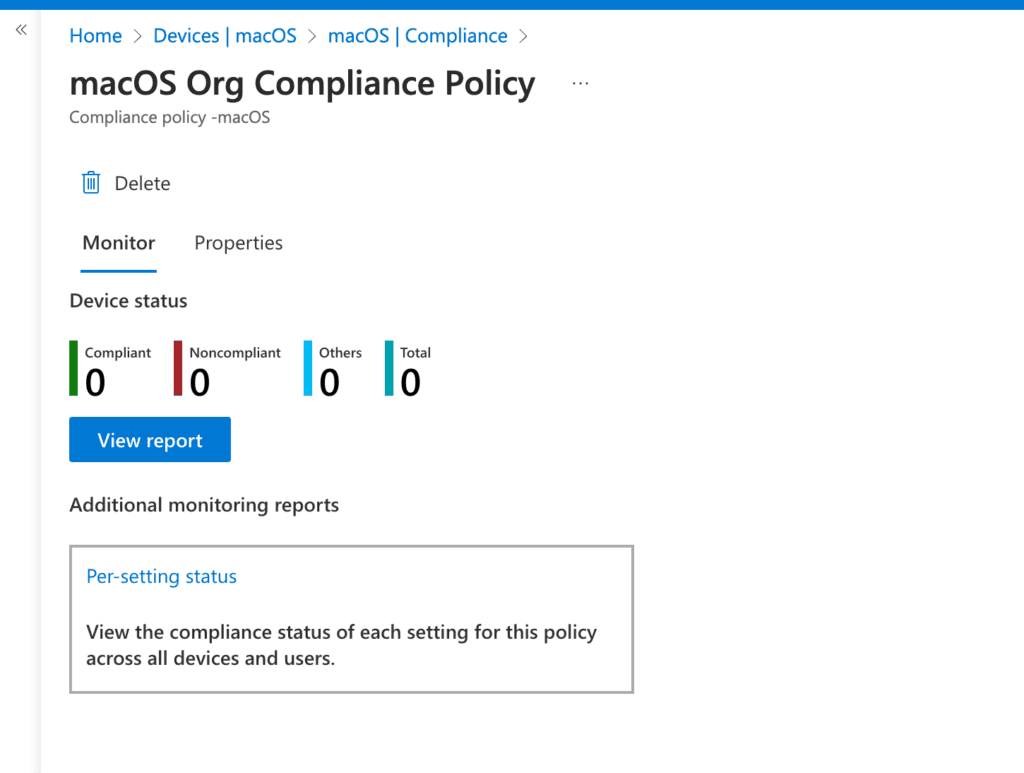
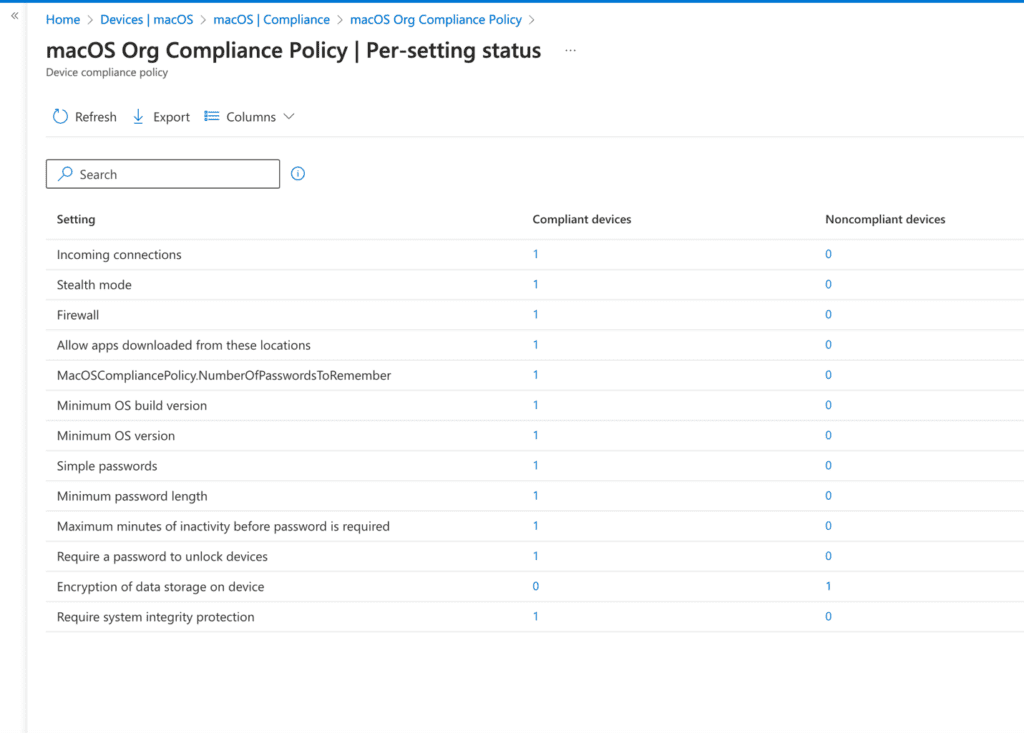
After selecting your Compliance Policy, click on View Report to see which devices are non-compliant. For additional monitoring, click on Per-Setting Status to view the compliance status for each setting in the policy. In this example, I want to see the exact details, so I’ll click on Per-Setting Status.
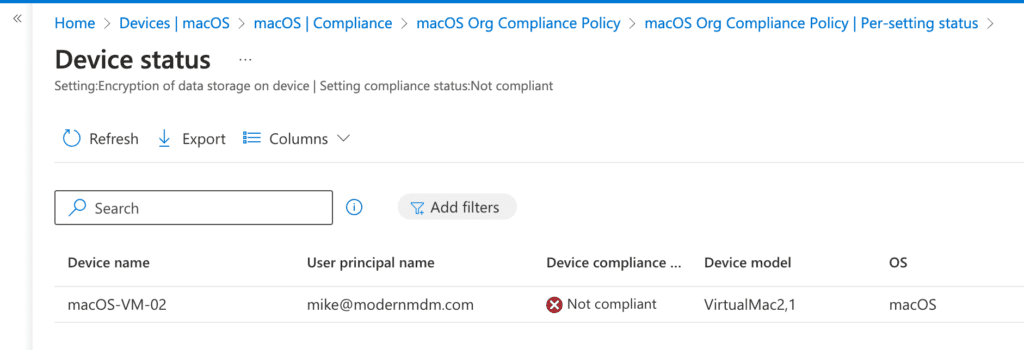
The report shows which settings are compliant and which are not. For instance, if Encryption of Data Storage is non-compliant, clicking the count (e.g., 1) will display a page listing the device name and user associated with that setting, helping you troubleshoot and remediate the issue.
You can also verify non-compliance by checking the status in the Company Portal on the end user’s device, which will indicate the reason for non-compliance as shown in the Microsoft Intune Admin Center.
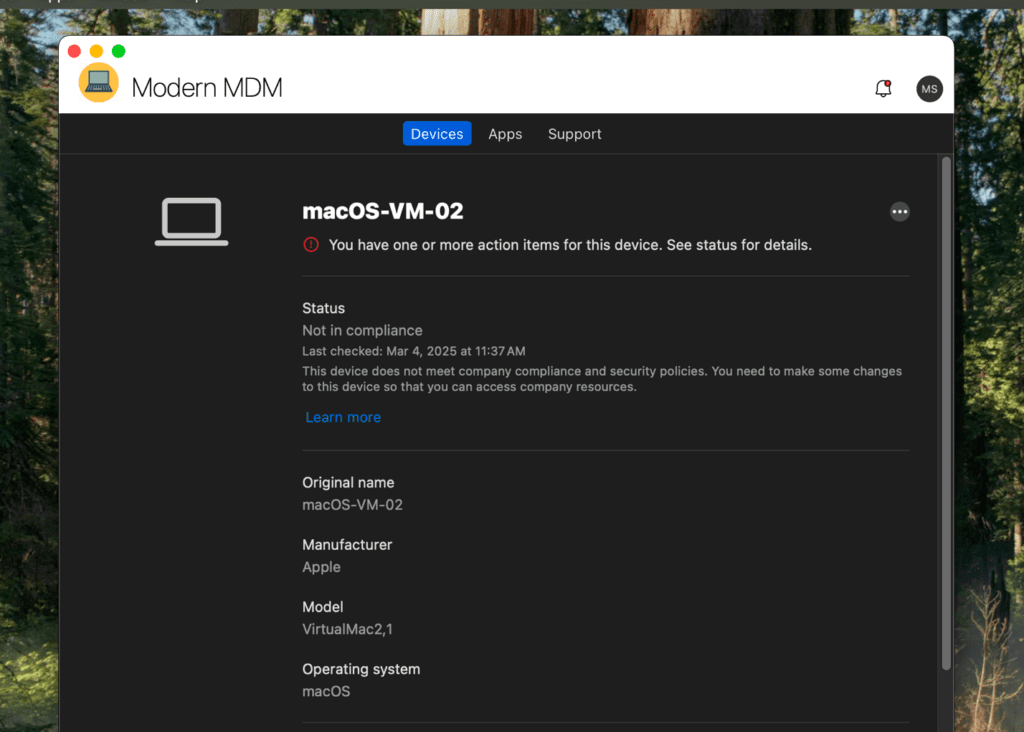
After enabling FileVault on the device and re-checking its status, you will see that it now meets the compliance rules and conditions set in the policy.
Conclusion: Device Compliance Policy for macOS Devices Now Active with Intune
Implementing a compliance policy for macOS devices with Intune standardizes your security settings and ensures that devices meet strict requirements before accessing corporate resources. This approach reduces vulnerabilities, simplifies troubleshooting, and strengthens your overall security posture. As you build on this foundation, integrating additional tools like conditional access can further protect your digital environment.
Check out more macOS management posts here.
Learn more about the Right Click Tools Browser Extension bringing the power of Right Click Tools to Intune and much more.