Building a ConfigMgr Lab from Scratch: Step 11 – Operating System Deployment
In this post, we're going to confirm OSD, and make sure we have what we need for basic OSD. This post will NOT cover the fancy stuff, but just the basics of getting OSD working.
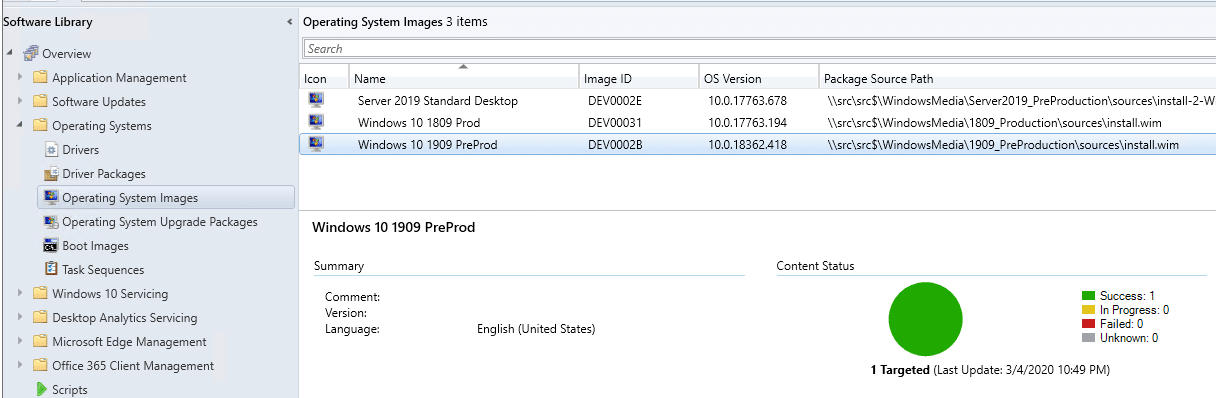
I’ve added media to my source location, and then created these System Images [MS Docs Instructions].
Boot Images
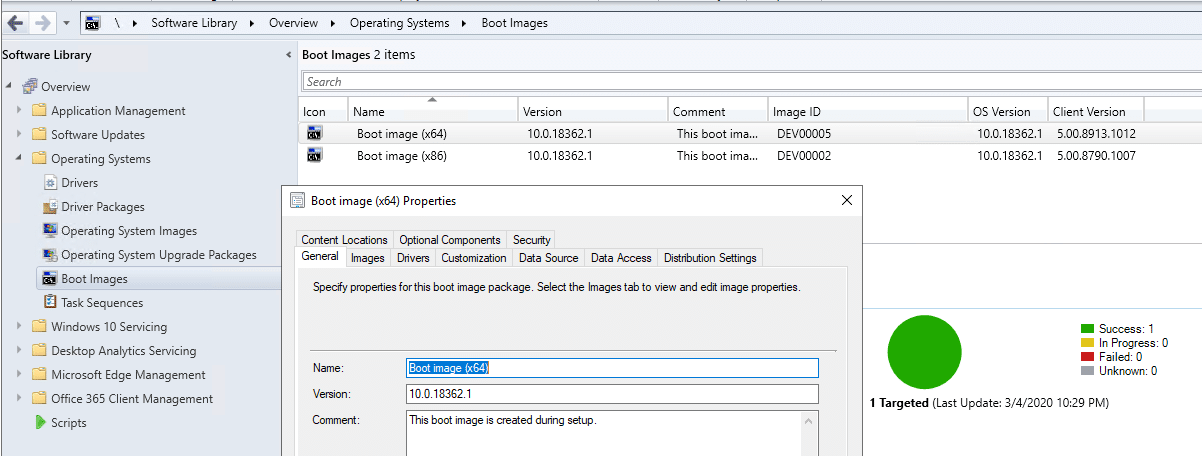
I then make sure I have Boot Media with the components I need to install the OS and support PowerShell scripts and a front end (Not covered here, but will need in the future):
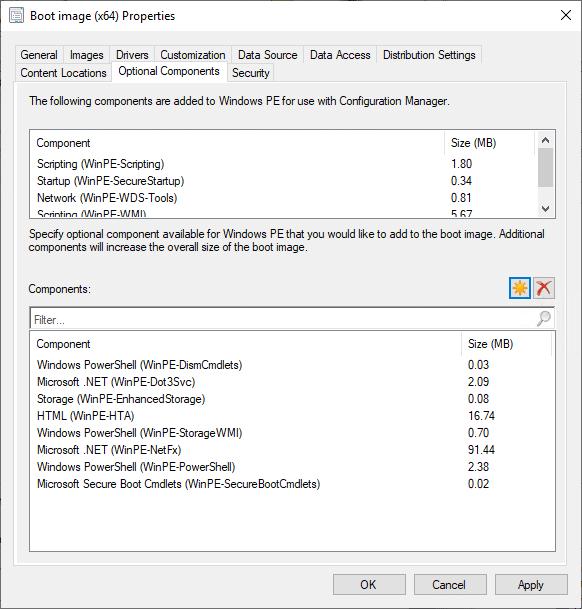
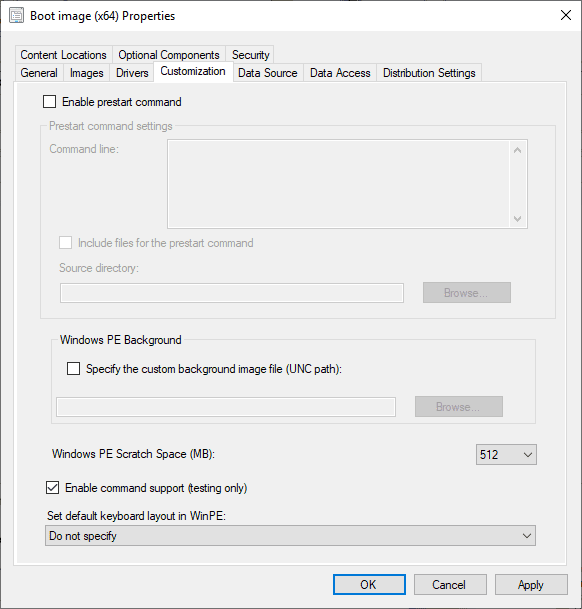
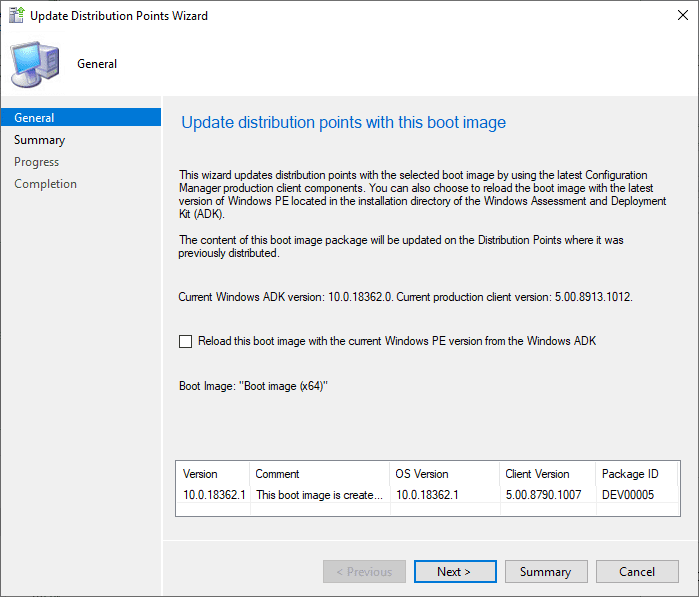
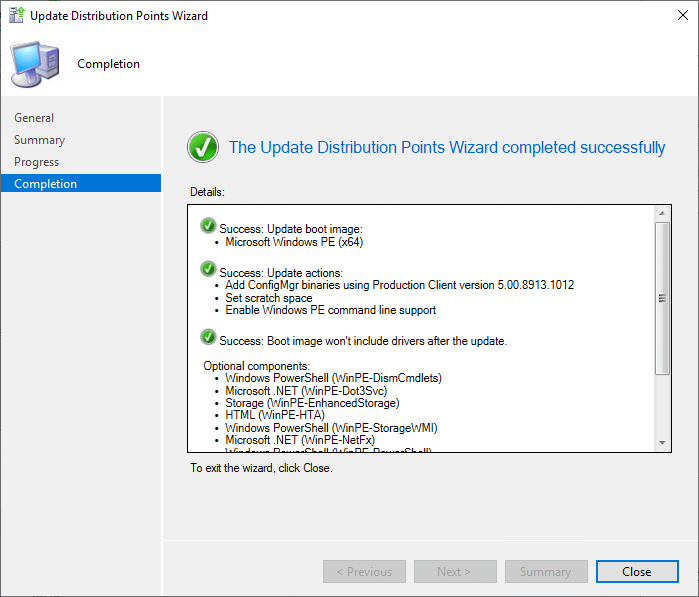
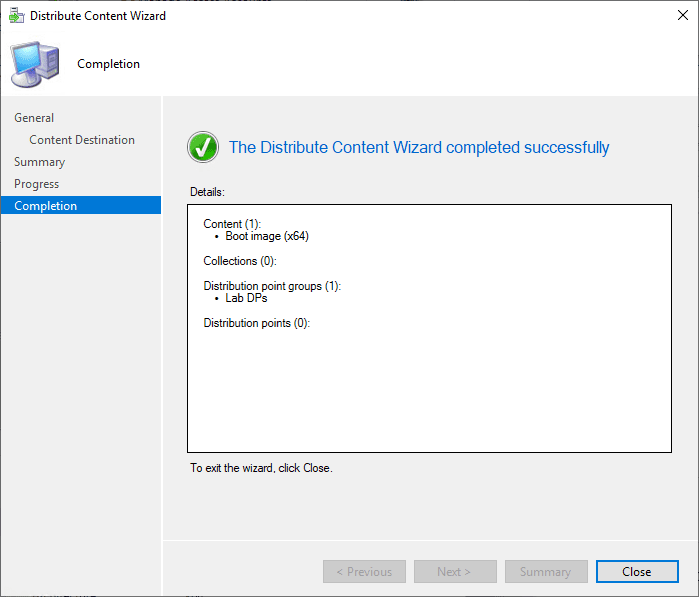
Here are the 2 default Boot Images. For my proposes, this is fine, so I take the x64 and edit it to achieve my goals.On the Optional Components, I’ve added all these things, which will get used by Scripts I use during WinPE, to update BIOS, gather information, etc.I also up the Scratch Space to 512, typically not needed, but I like to prepare for future.Once you’ve added your components and made you changes, you’ll need to update the DPs.Successfully updated Boot Media with the components I need.Once you’ve updated it, you need to make sure it’s distributed, so go ahead and right-click on it and distribute it to your DP group.
Task Sequence Boot Media
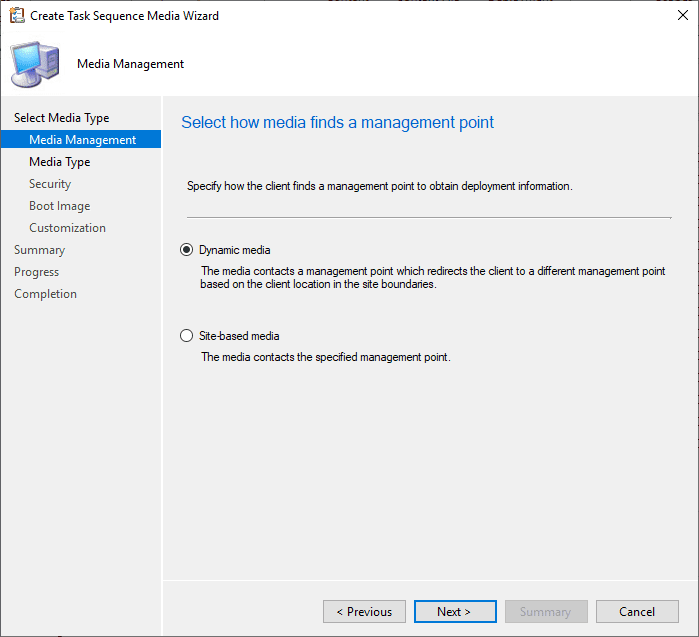
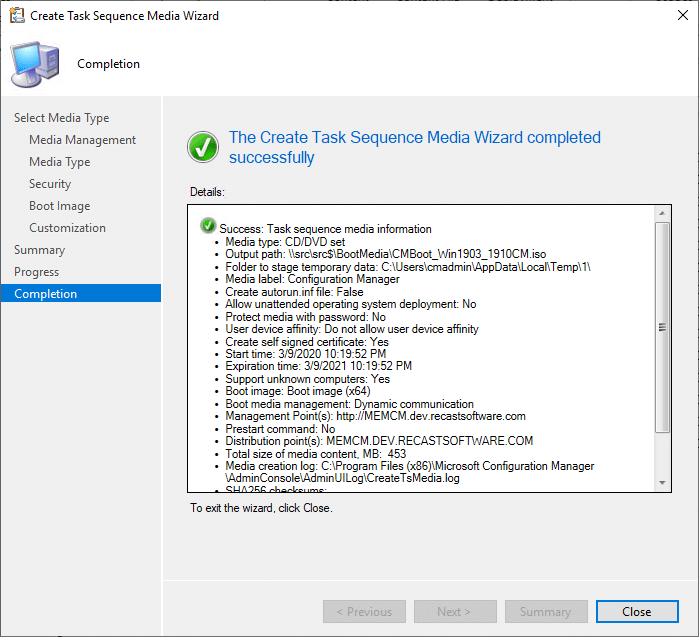
Now that we have Boot Images, we need to make Boot Media, running the wizard will make it a snap. [MS Docs]
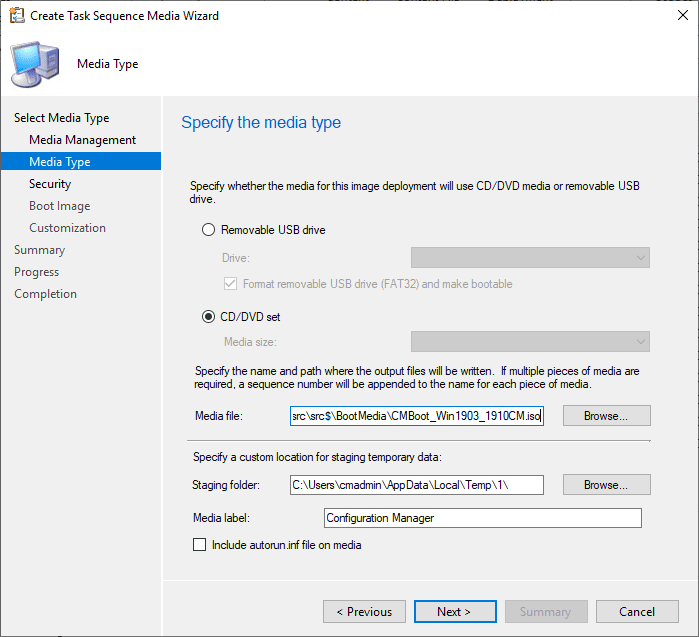
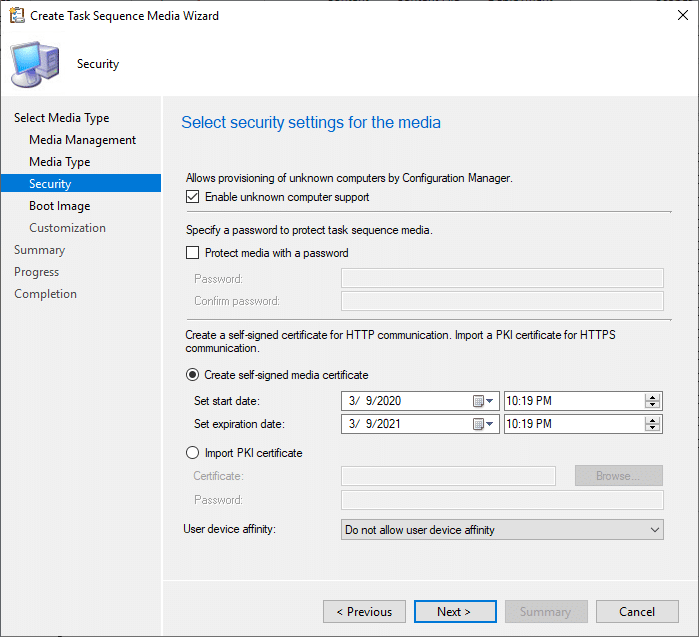
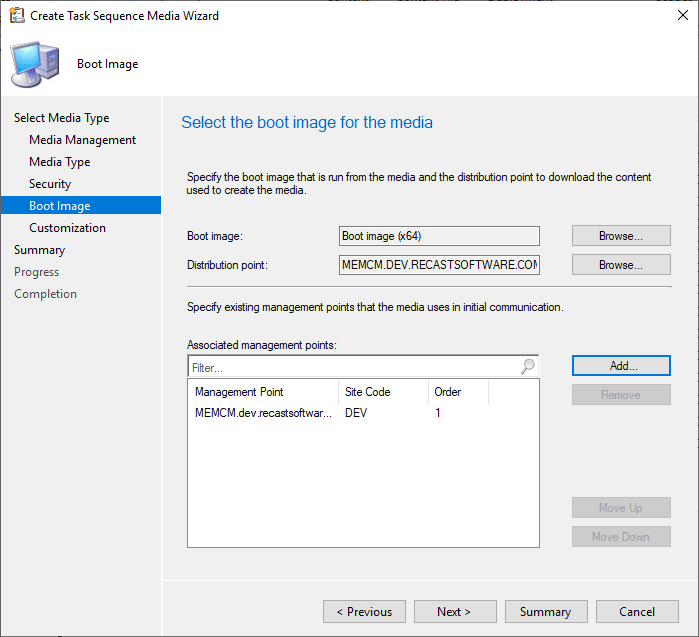
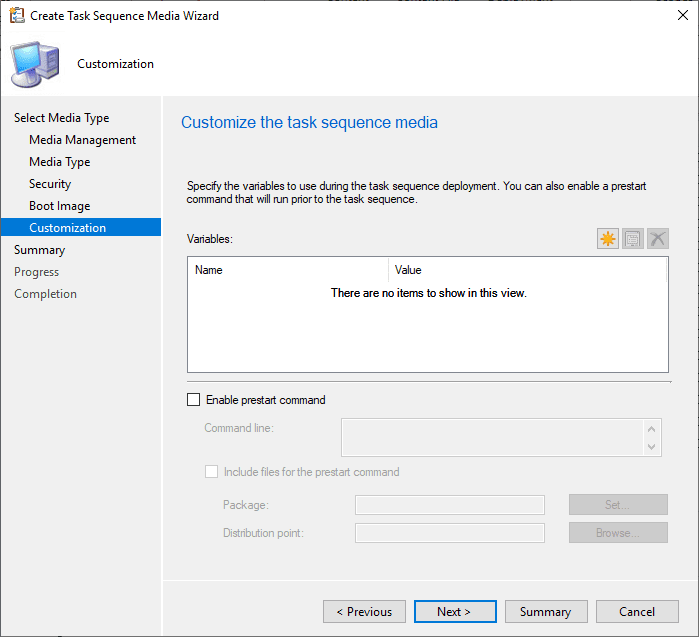
I typically use Dynamic, just because it’s the default and I’m too lazy to add the extra click.Since I’ll be using this on VMs, I want to make an ISO. I have it saving the ISO to my source server to a folder I’ve created called “BootMedia”.I’ve enabled Unknown computer support, as it makes it easier for testing, avoiding the requirement of importing objects. I disable the password because this is for my lab, and I’m in full control of the boot media.Here you pick the boot image, the DP, and Management Points (There is only one, so it’s not hard to pick the right ones)I don’t customize this typically, definitely no need for a proof of concept test.And Success… we’ll use this media to boot the VM shortly to test.
Deployment Collection
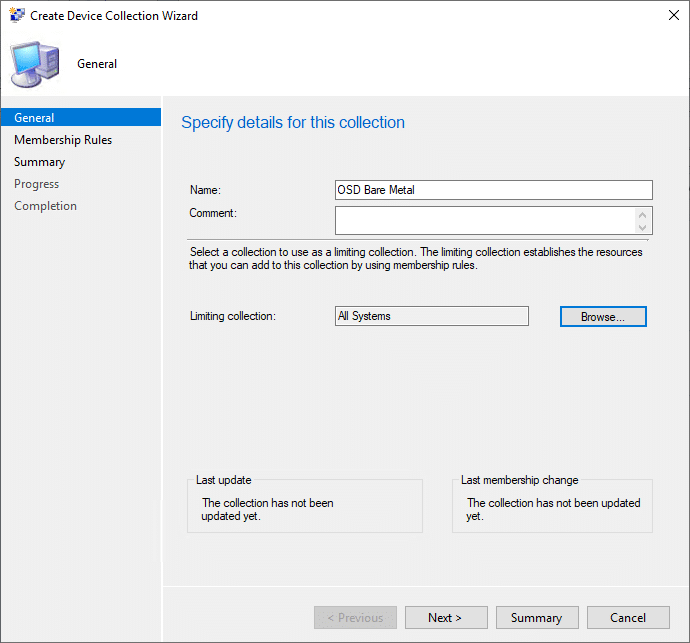
Now I’m going to make a Collection that I’ll use as my OSD Deployment Collection. It will contain unknown devices, as well as any devices I want to image. I’m going to name the Collection OSD Bare Metal, implying they are going to be clean installs.
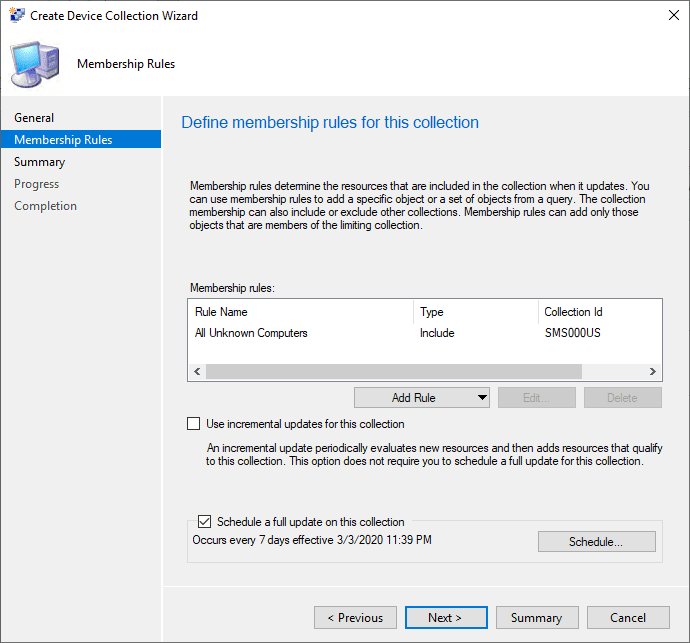
I’ve added the “All Unknown Computers” collection as an include rule. This will allow new machines never seen by CM before to be able to pull in a task sequence and be imaged without the need to import a record.
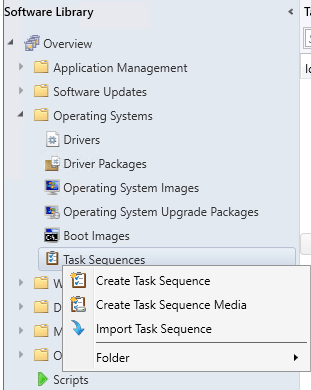
Create OSD Task Sequence
Now let’s make a new Task Sequence to test OSD with. [MS Docs]
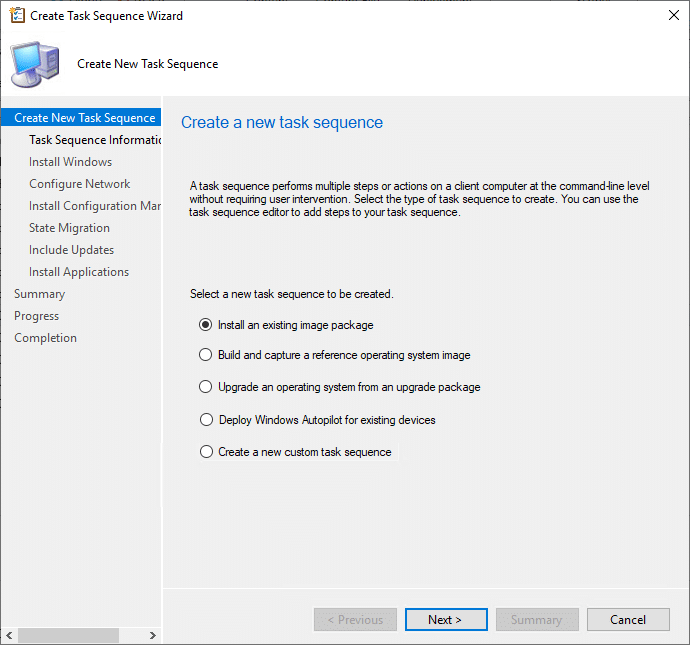
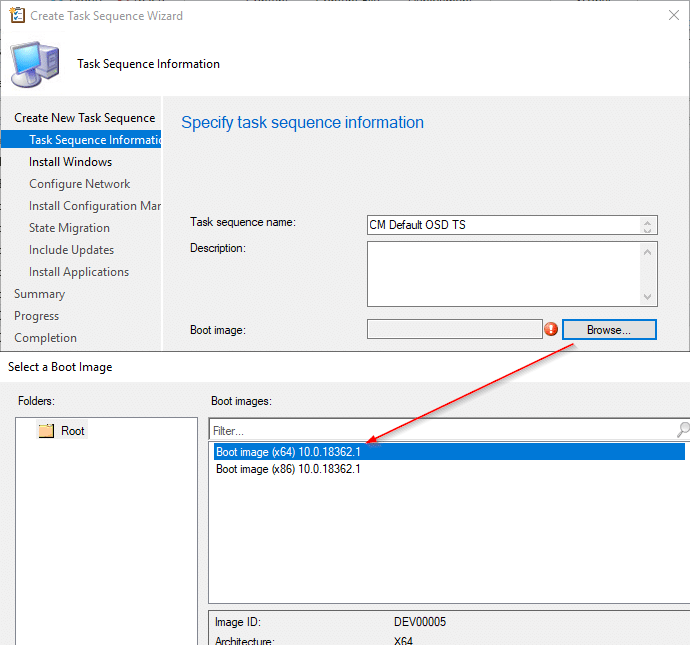
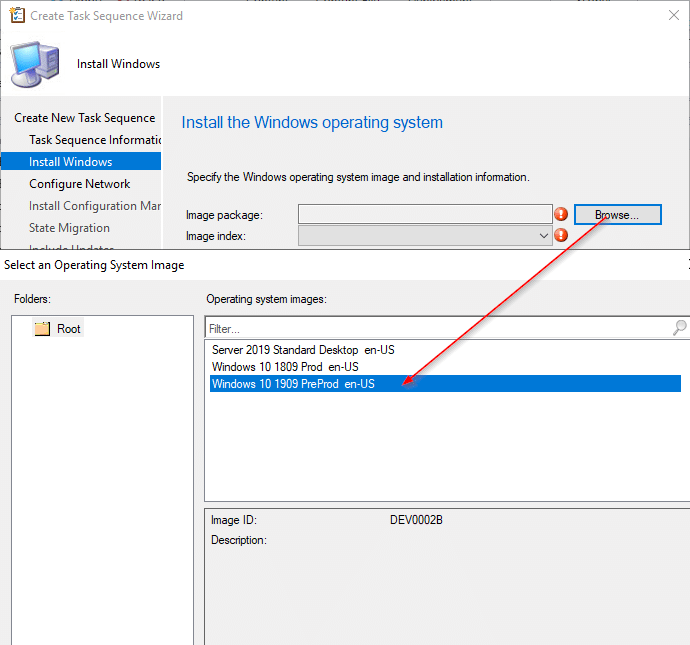
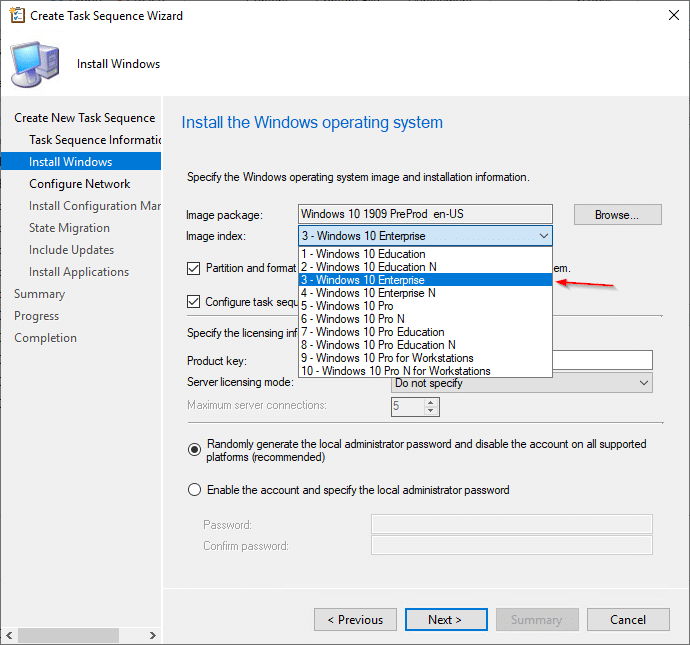
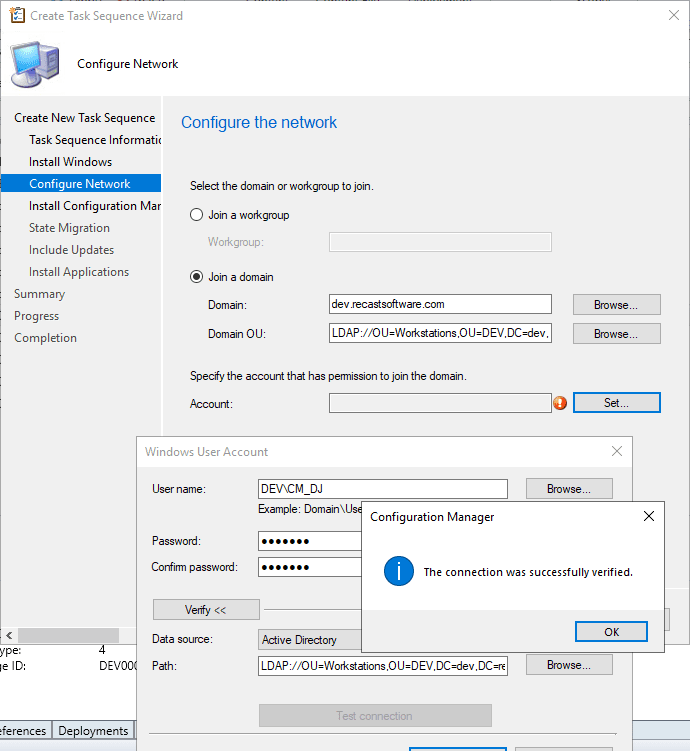
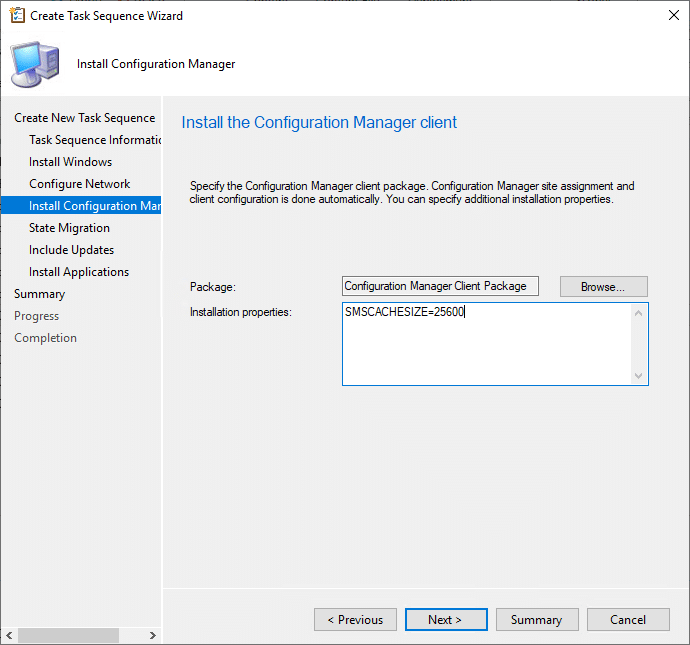
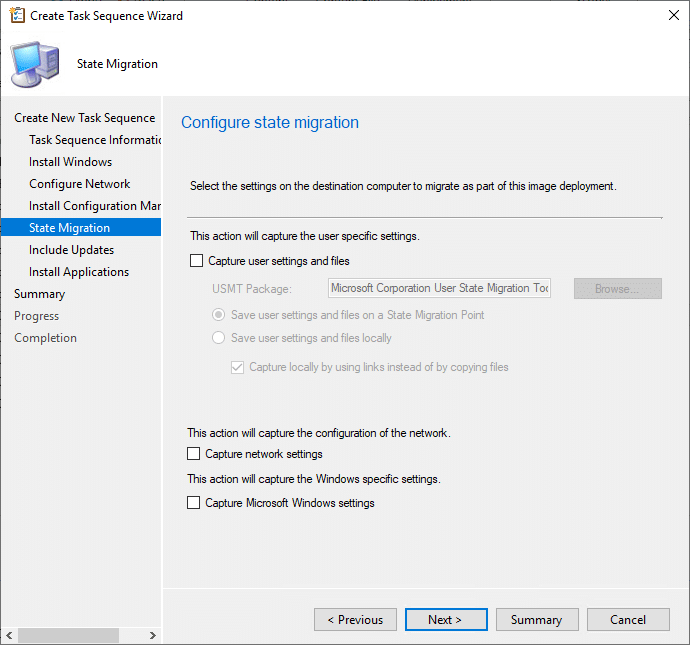
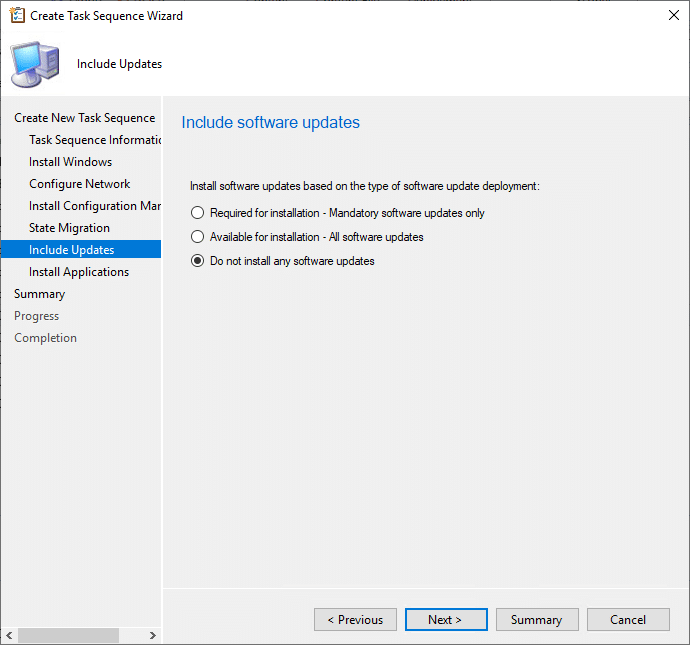
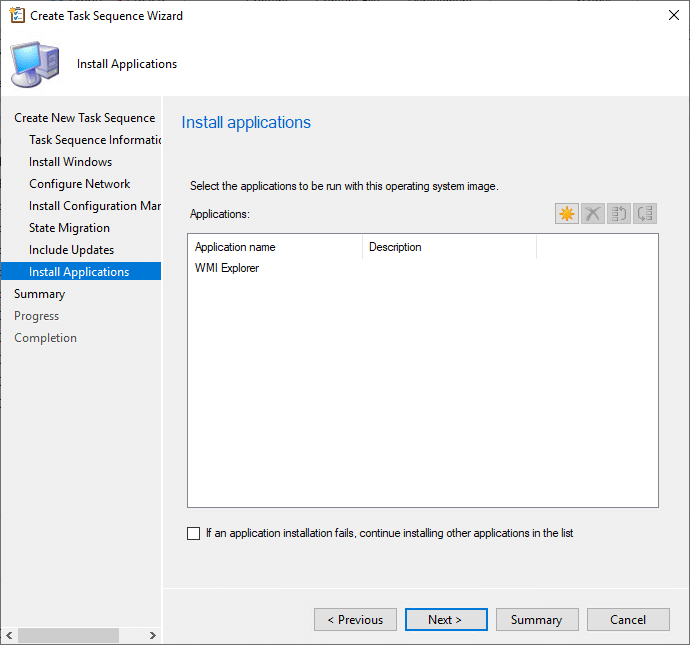
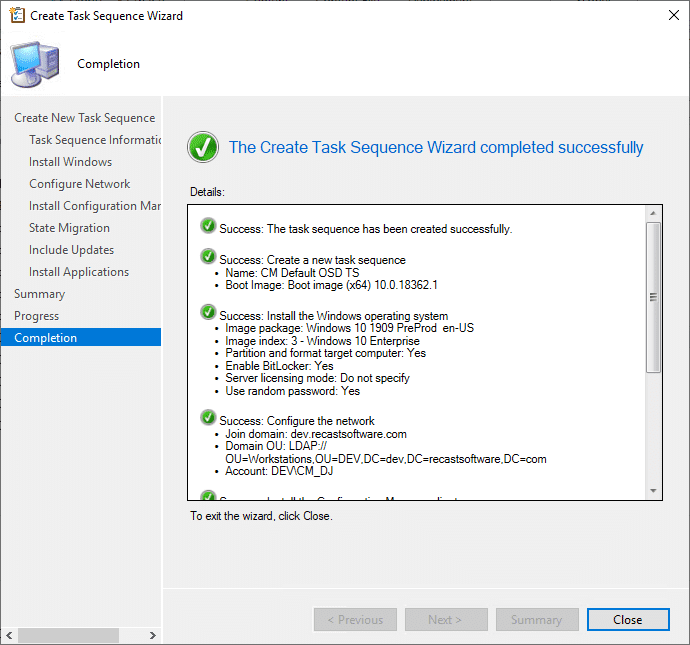
Ok, we’re going to make a New TS (Create Task Sequence)Install an existing image package is an option we want.Pick the Boot Image that we’ve setupThen we need to pick the OS Image, I’m going with the 1909 default VLSC mediaI want to deploy Index 3, Enterprise. Ideally, you’d only have 1 index for better performance. This has become much easier with recent CM releases where you can now choose the index you want to import. For the demo, I’m using basic media downloaded from VLSC with no modifications and imported using defaultsNext, we need to configure how we join the machine to the domain. First, pick the domain, then the OU. Then specify the account to join the machine to the Domain. See the previous posts where we cover accounts. [MS Docs]Here you can set the CM Client Properties, I’ve set the CCMCache size to 25 GB, depending on your environment, you might need to set more things. [MS Docs Client Settings] [MS Docs ConfigMgr Step]I don’t have any of these items selected, for our Bare Metal tests, there are no settings/files that need to be migratedFor our test, there is no point to install updates, I also haven’t set up a Software Update Point yet either, so there aren’t any updates available. [MS Docs]On the Apps, I’ve added WMI Explorer to just confirm that app installs work during OSD [MS Docs]Ok, and we have a TS.
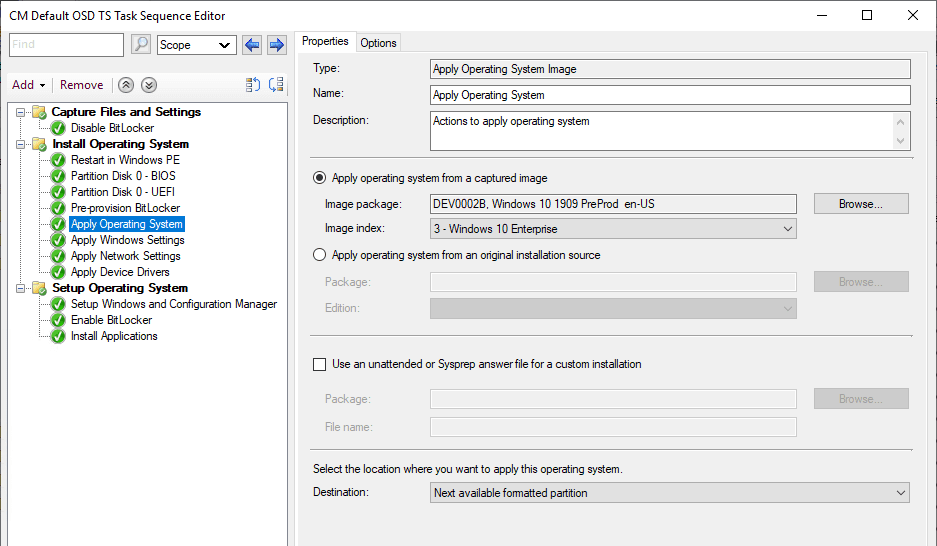
Let’s take a look it and see what CM made for us.
Well, it’s basic, but it will work for an initial test. To dive deeper into each step, MS Docs for each Step
Deployment:
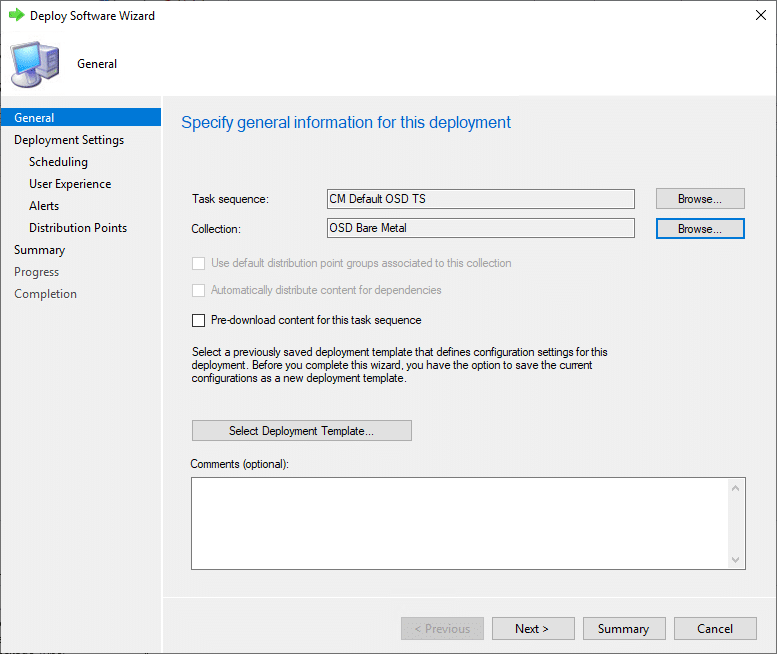
So now we need to Deploy the TS, and then we also need to create a Deployment.
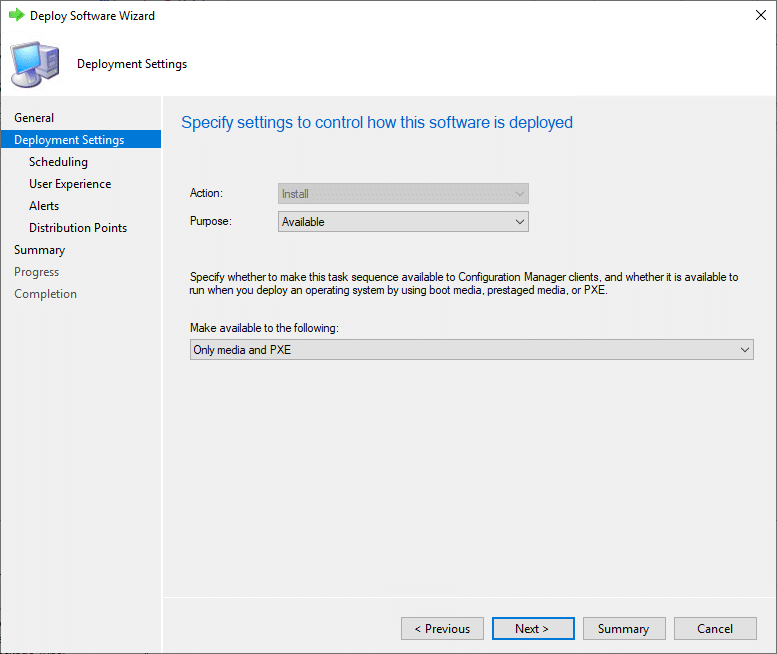
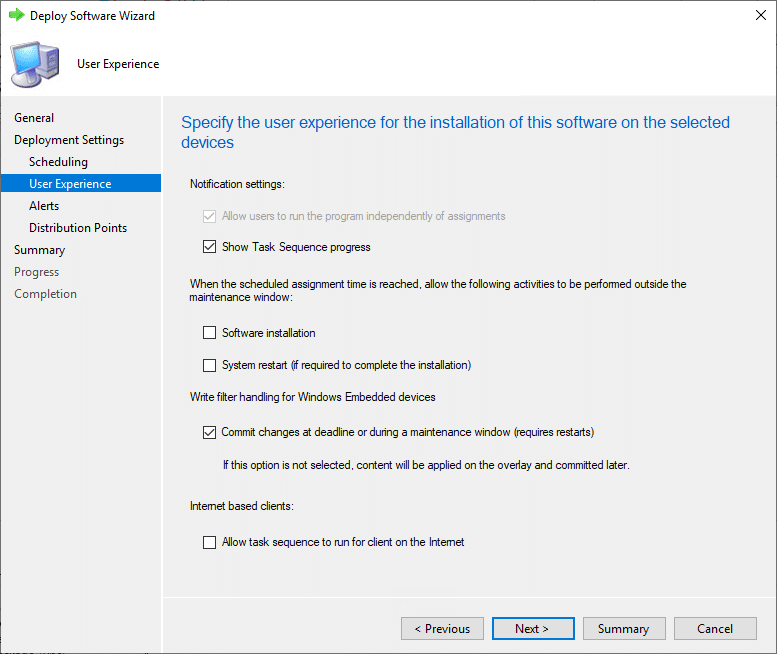
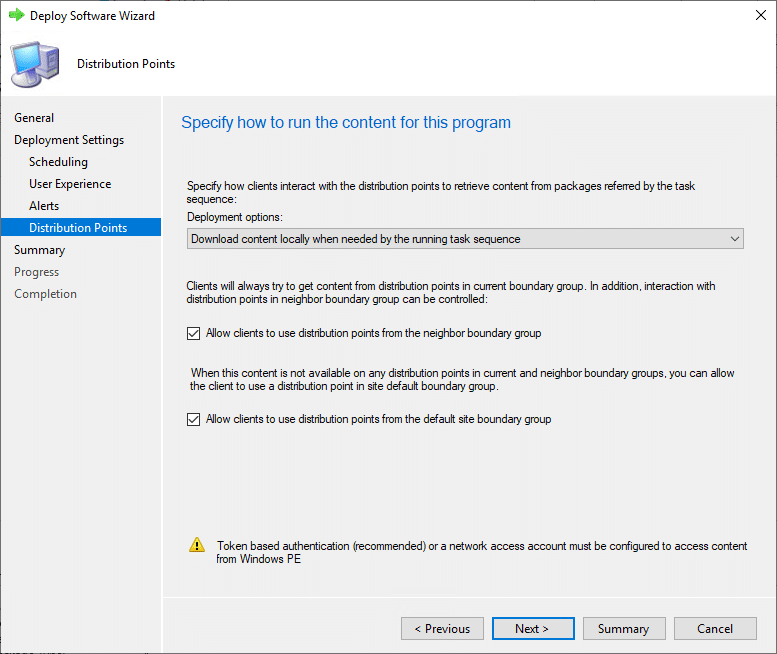
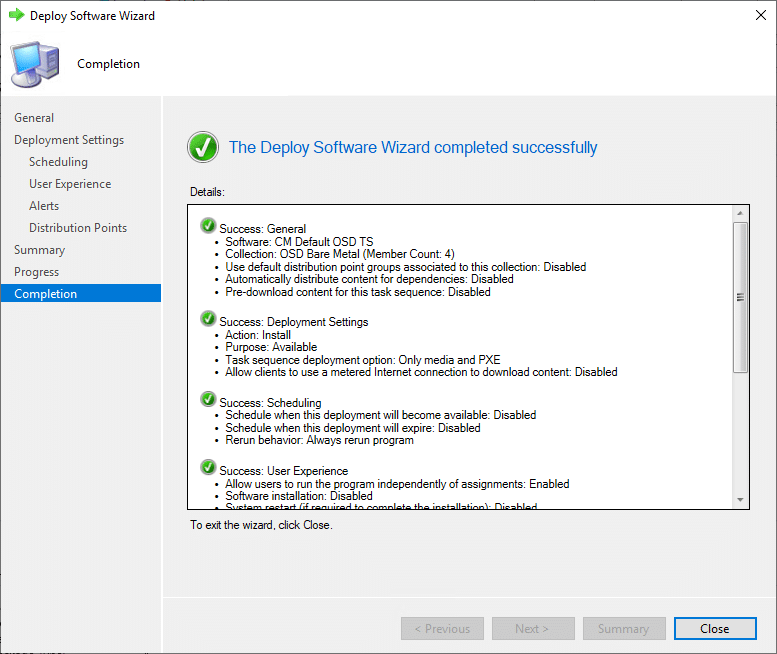
TS = the one we just created, and we’re going to deploy it to the OSD Bare Metal CollectionI’ve set it to available (Setting a TS Deployment to required on a collection that includes unknown devices.. bad idea. I’ve also set it to be restricted to Media (Boot Media) and PXE.Basic Defaults hereHere, you don’t have a ton of choice, if you setup a boundary group with the DP, you won’t need to two bottom boxes checked.Deployment is done.
Operating System Deployment
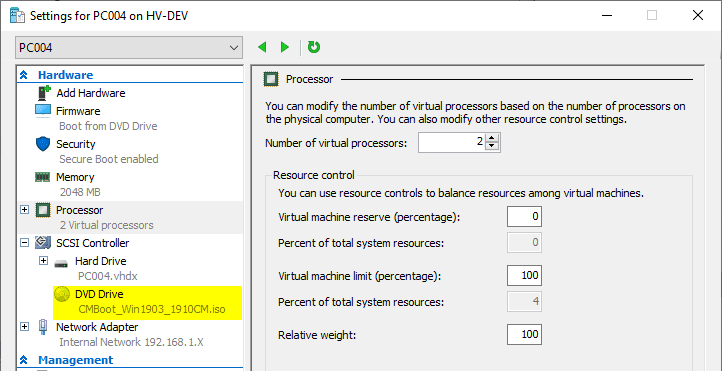
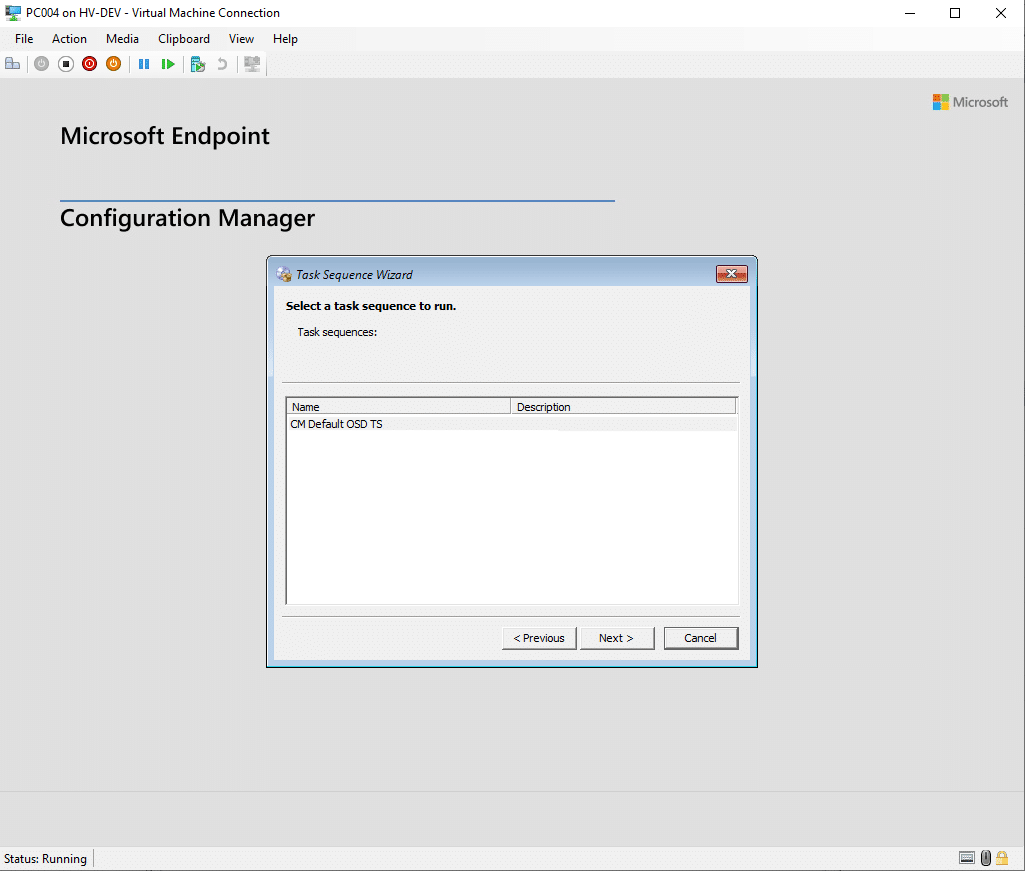
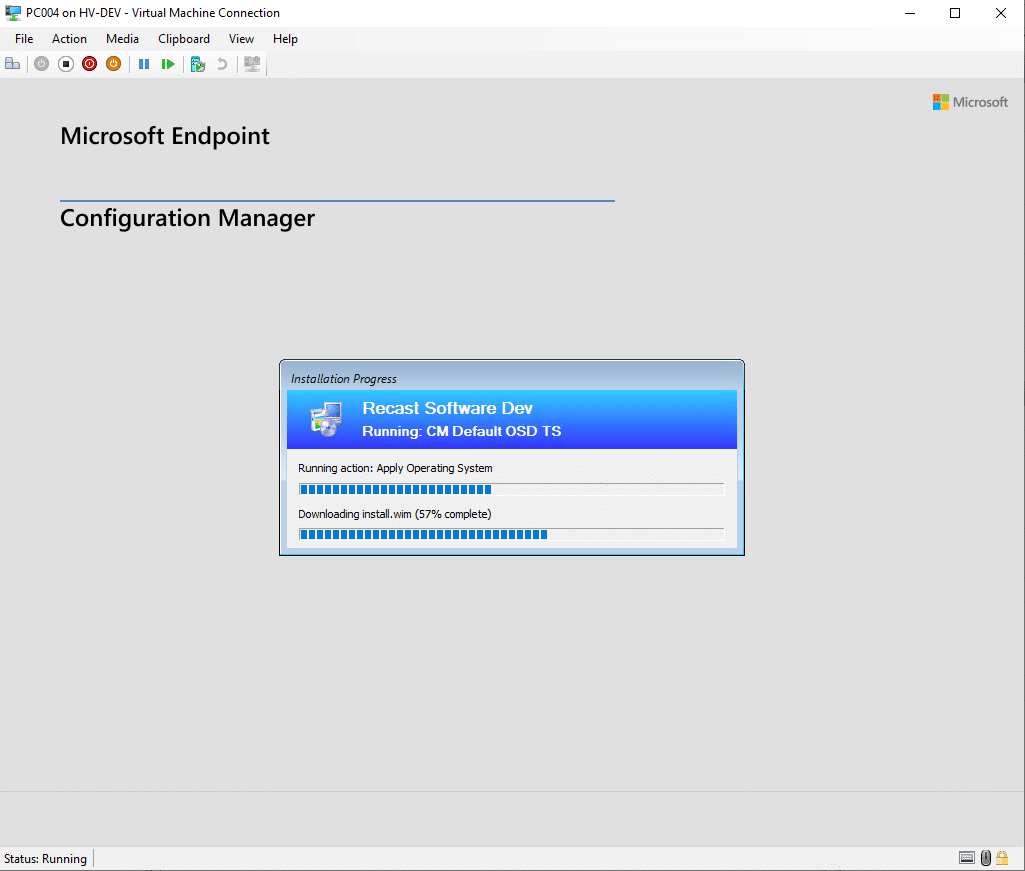
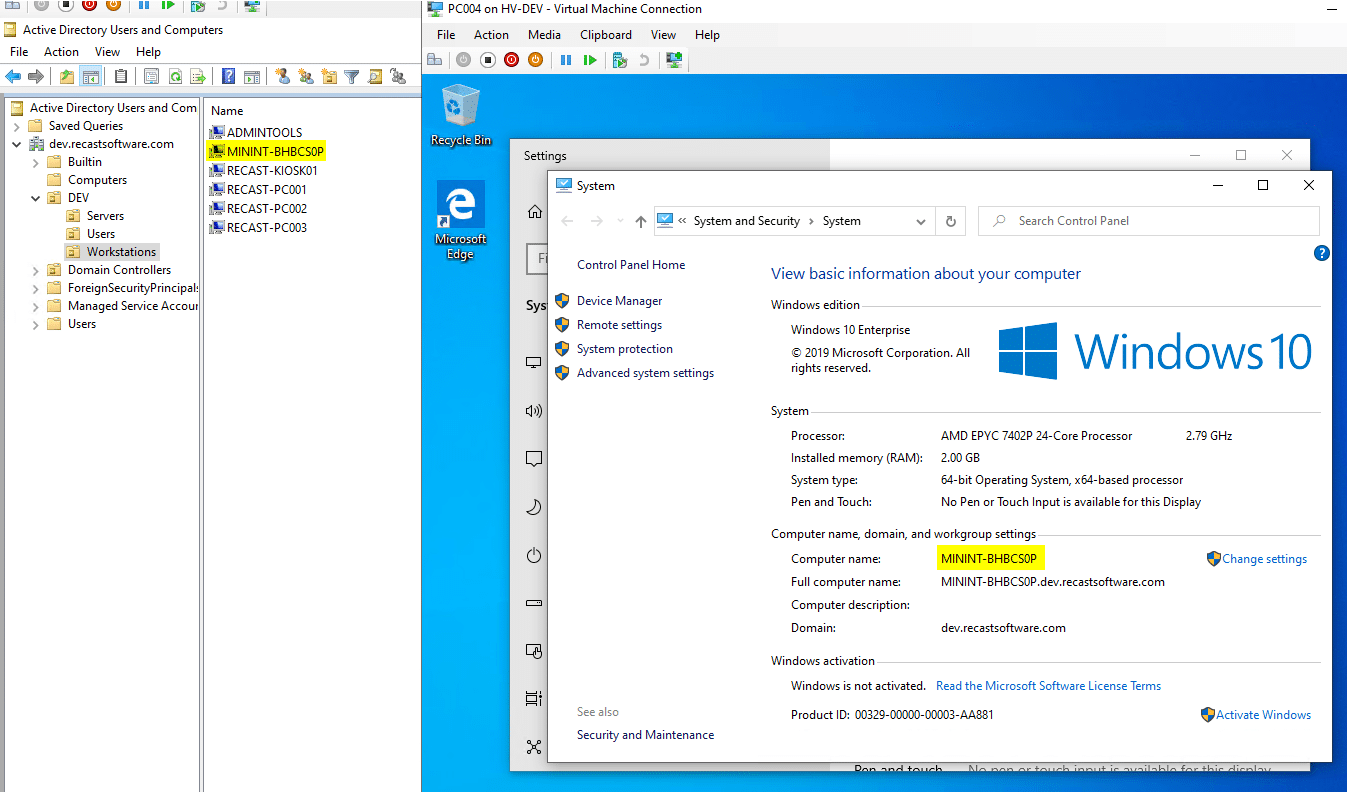
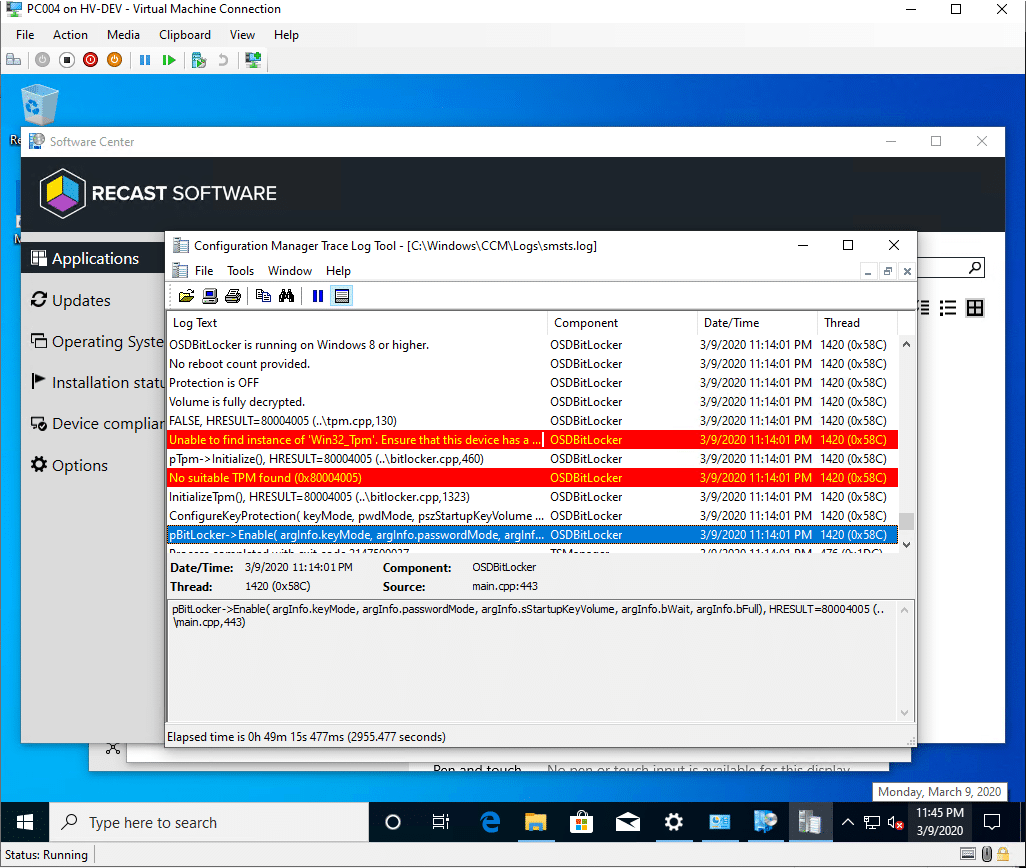
Using HyperV, I’ve created a New VM and have the ISO set to bootIt booted our media and found the Task SequenceThis is good, means the DP and boundary are set up and our VM is able to pull down content.Here you can see the machine joined the domain. I logged in with my domain credentials.So looking at the log, I can see we ran into an issue, the TS failed before it installed our application, as it hung on enabling Bitlocker, which makes sense in this situation. Probably should have unchecked the BitLocker stuff when making the TS.
So now we’ve set up CM, the requirements to get OSD up and running, and ran a test to confirm it’s all working.
Gary Blok is an experienced Software Engineer with a strong track record in the financial services industry. He brings deep expertise in enterprise IT operations, specializing in system deployment, data center management, and endpoint lifecycle management. Gary has extensive hands-on experience with Microsoft System Center Configuration Manager (SCCM/ConfigMgr/MEMCM), Windows 10 as a Service (WaaS), and technical support for complex IT environments.
With an Associate Degree in Computer Information Systems from Northcentral Technical College, Gary combines technical depth with a practical, solution-oriented approach. He is passionate about streamlining IT operations and delivering scalable, secure, and user-friendly systems.
You've done your research. Now, let's take the next step streamline your IT management in the modern workplace. Request a customized quote today for your organization.