


Building a ConfigMgr Lab from Scratch: Step 9
ConfigMgr Settings Setup
We now have CM installed, and we need to get some basic settings configured to make it work.
Things we need to do now that we have a server
- Setup Site & Hierarchy settings.
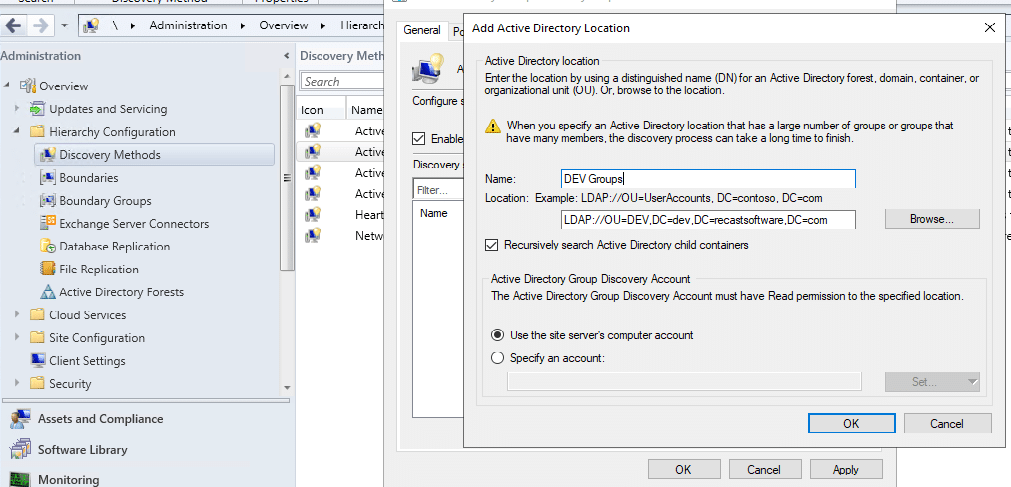
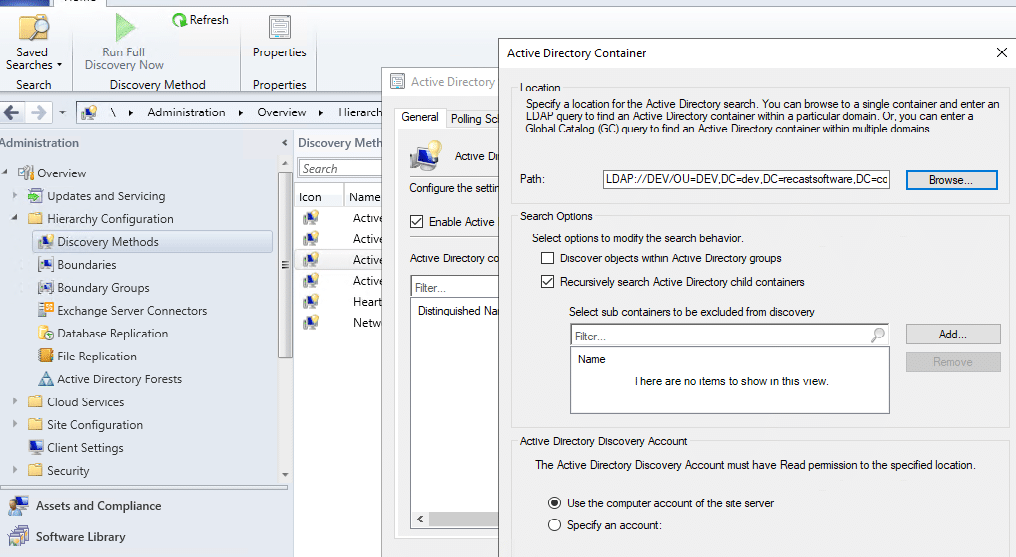
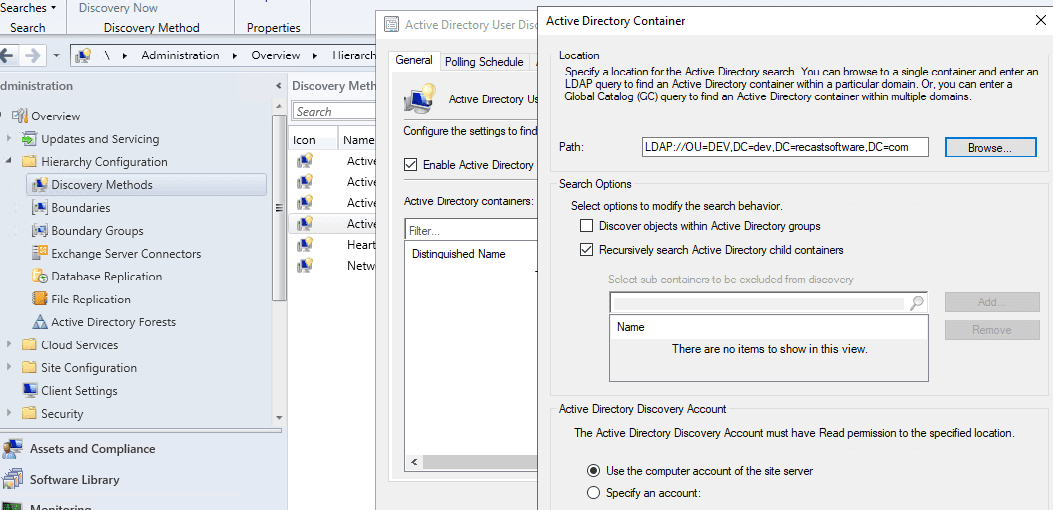
- Discovery Settings (to find clients / users / groups)
- Distribution Point Settings (And DP Groups)
- Setup Boundaries
- Setup Client Settings
- Setup Accounts
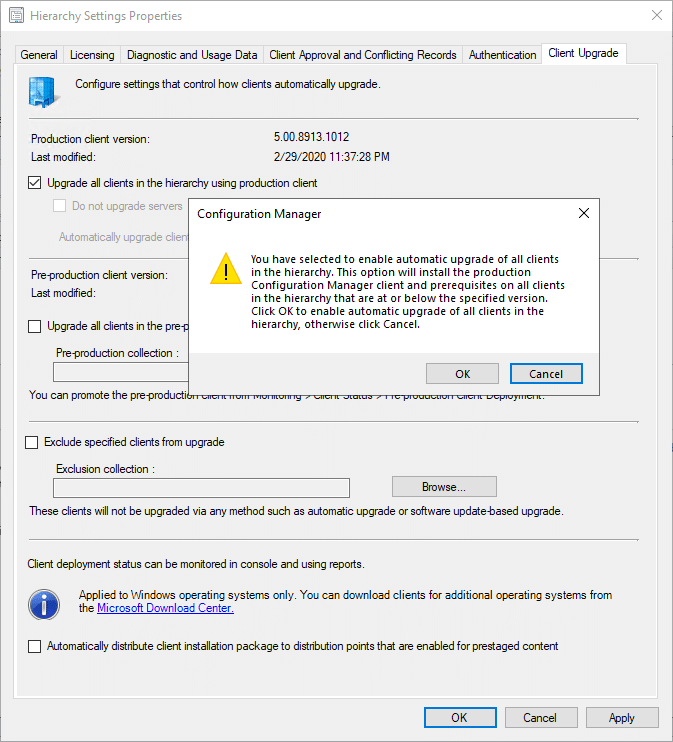
Hierarchy Settings

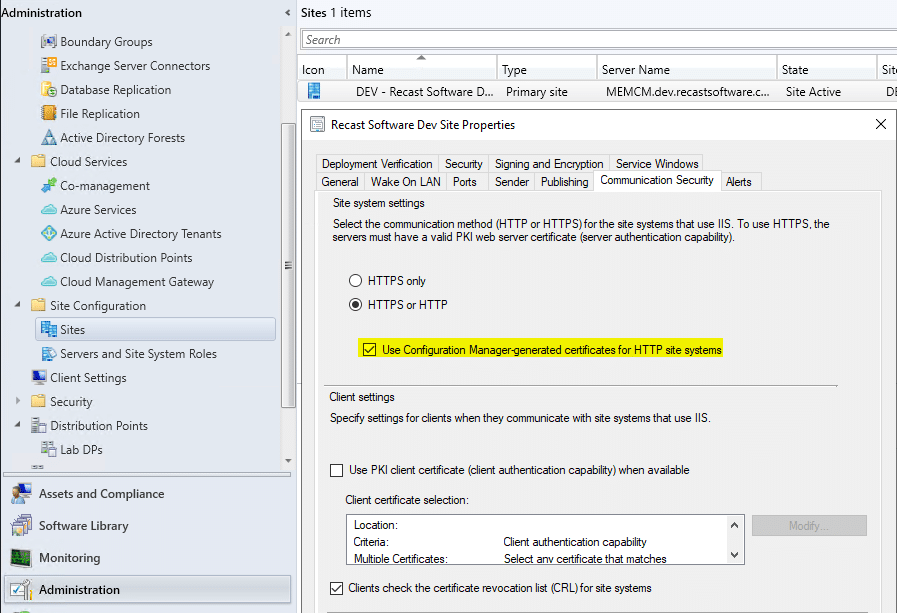
In the Site Settings:
Discovery Settings

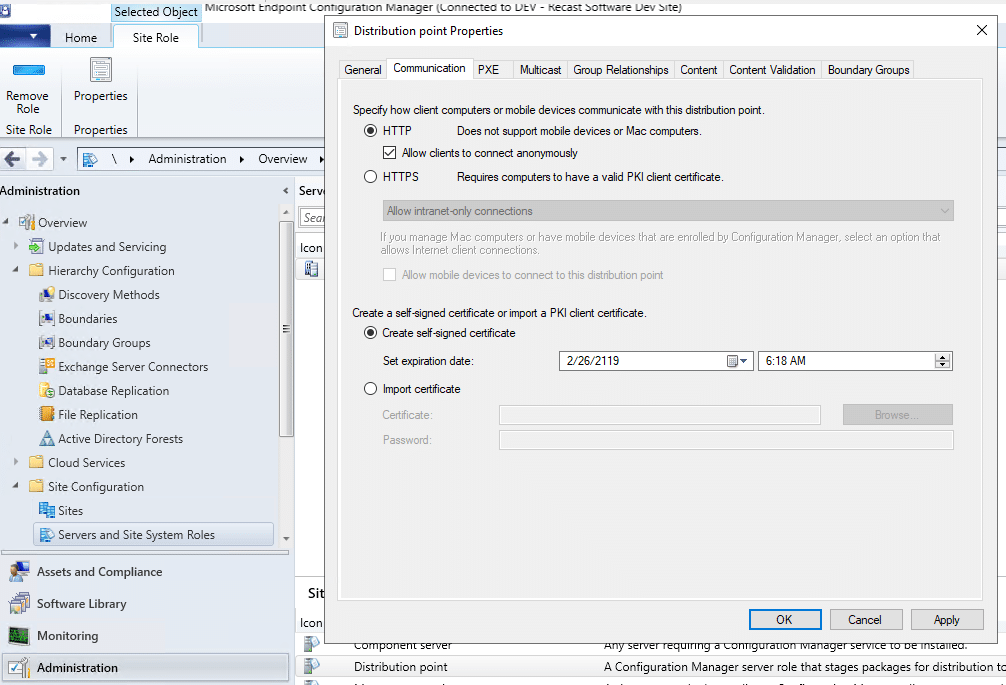
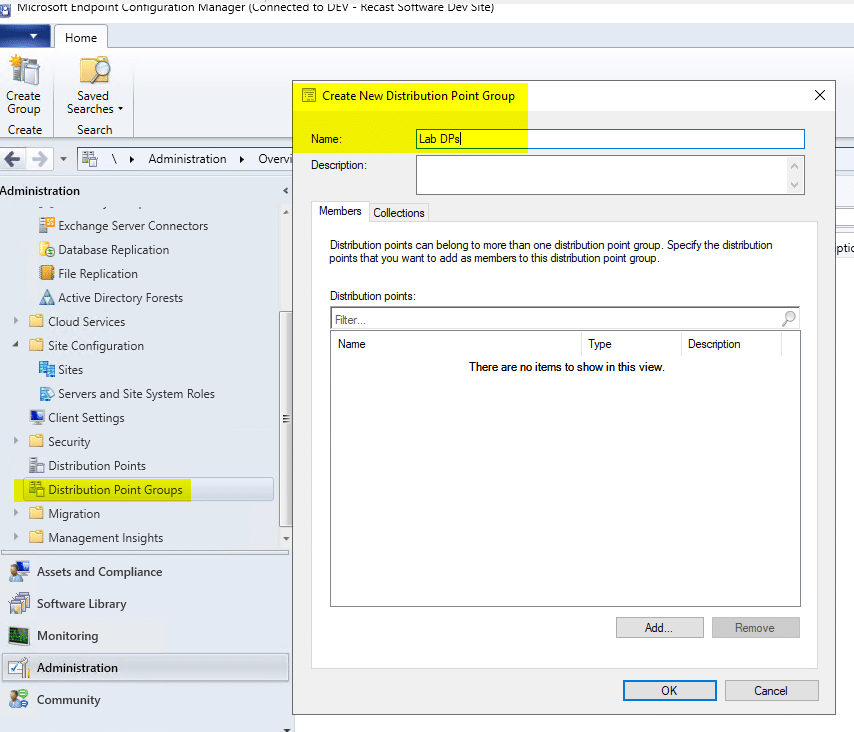
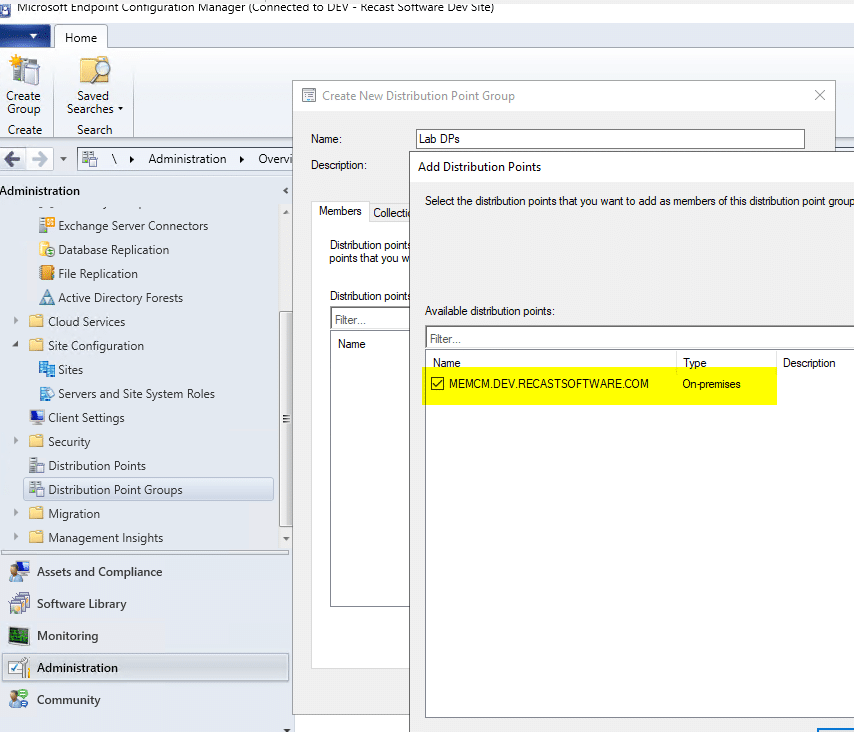
Distribution Point Settings (And DP Groups)
In Administration, Site Configuration, Servers, and Site System Roles, get the properties of the DP Role

With a DP, you’ll want to add it to a DP Group. Makes life easier in the future if you add DPs, Replace DPs, or just generally during deployments.
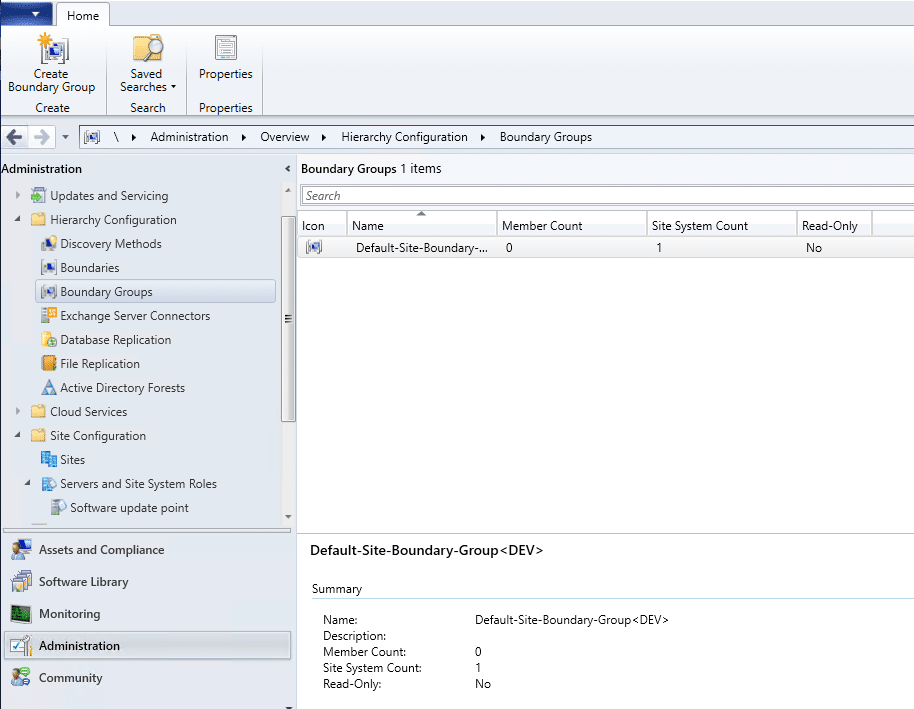
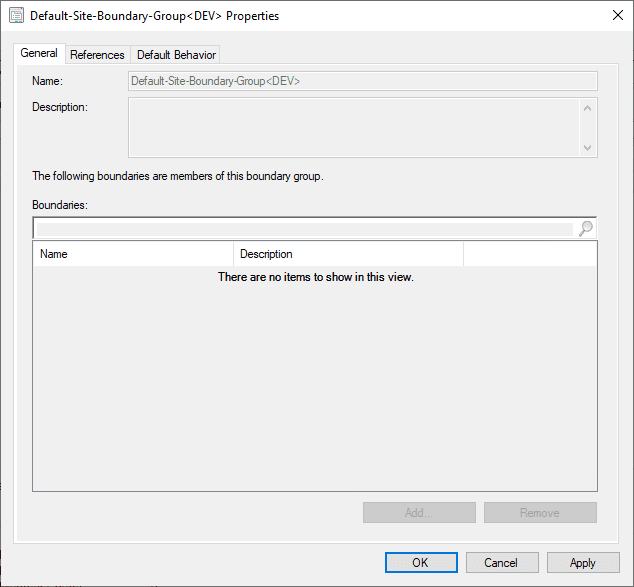
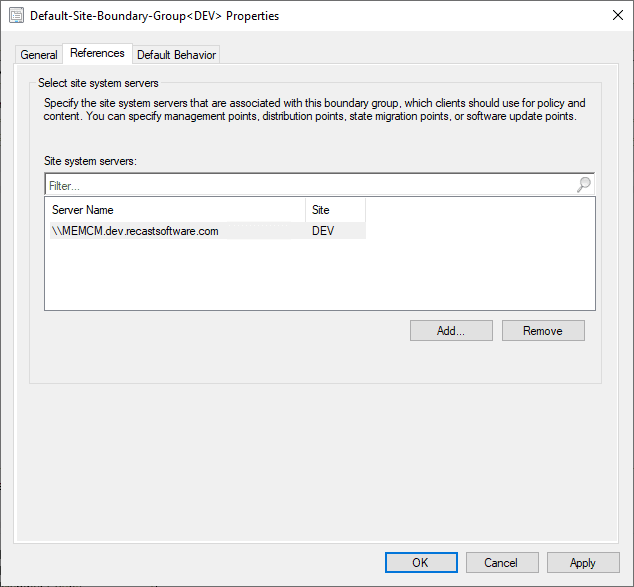
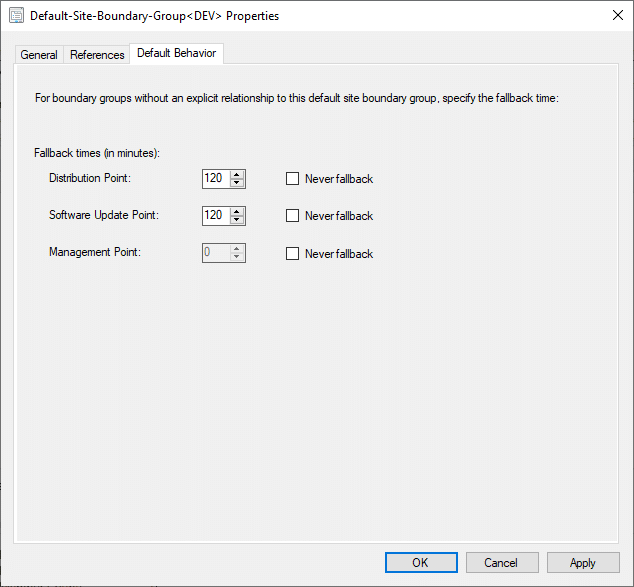
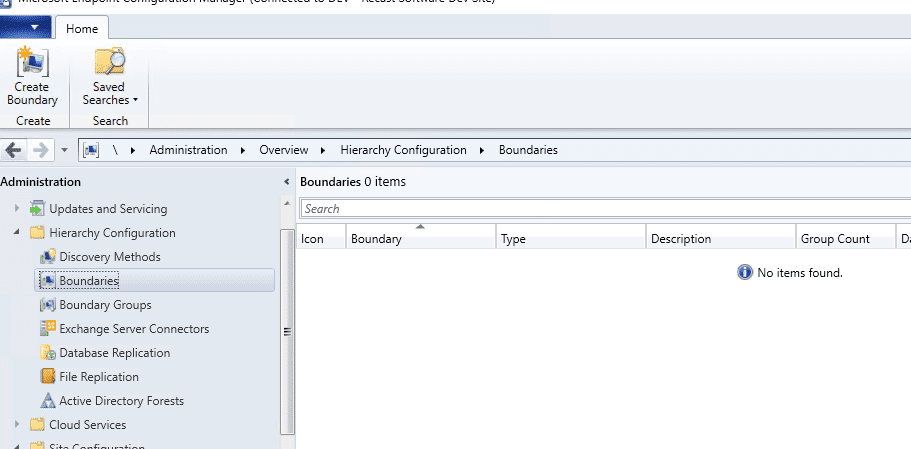
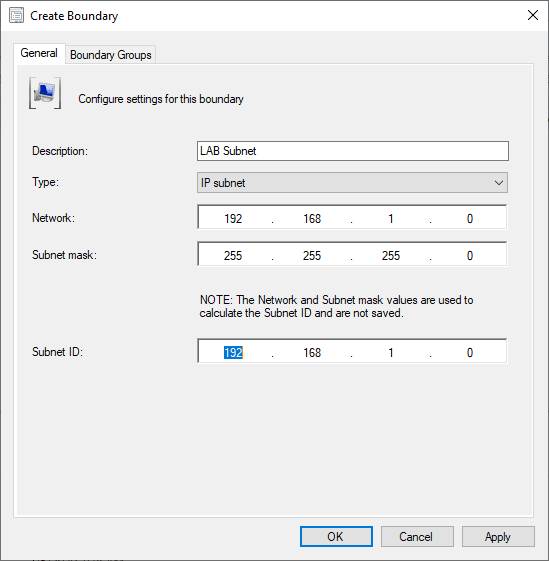
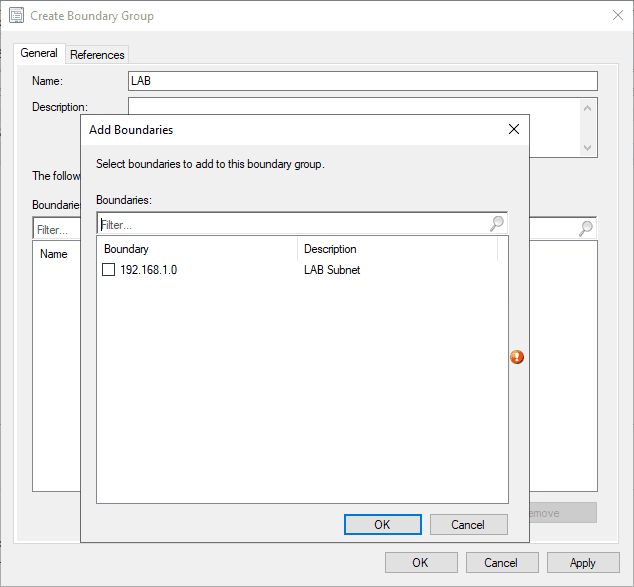
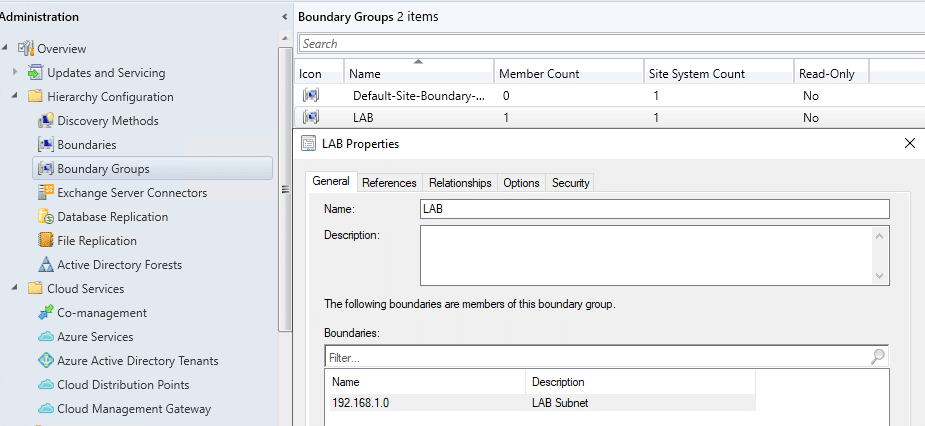
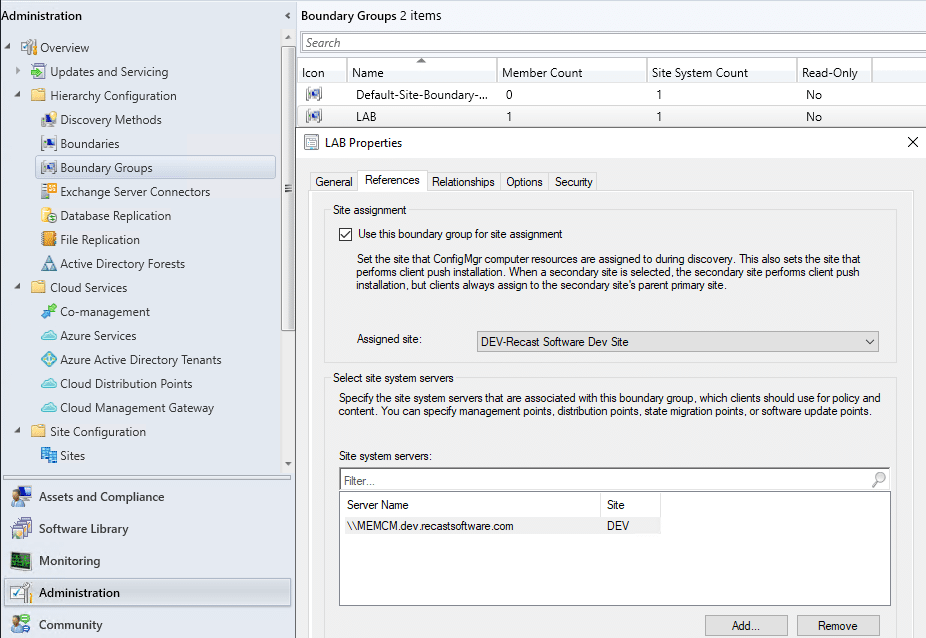
Boundaries and Boundary Groups
By default, you’ll have the Default Site Boundary Group. Machines in this Group will be assigned your Site Code (DEV). By default, there are also no servers servicing this group, so I’ve added our server. At this point for OSD, I did not need to make any additional boundaries or groups, however, when I went to install apps, I had trouble until I created a boundary and group.
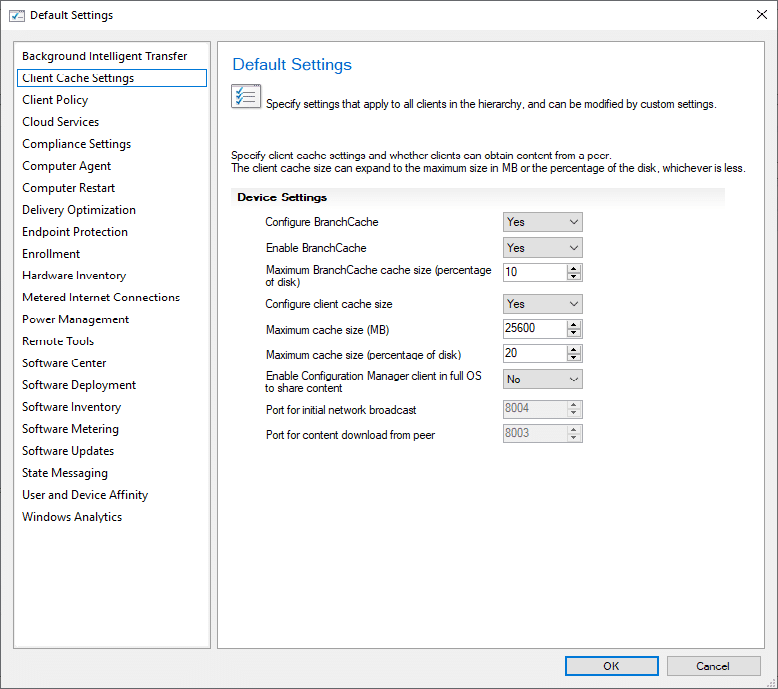
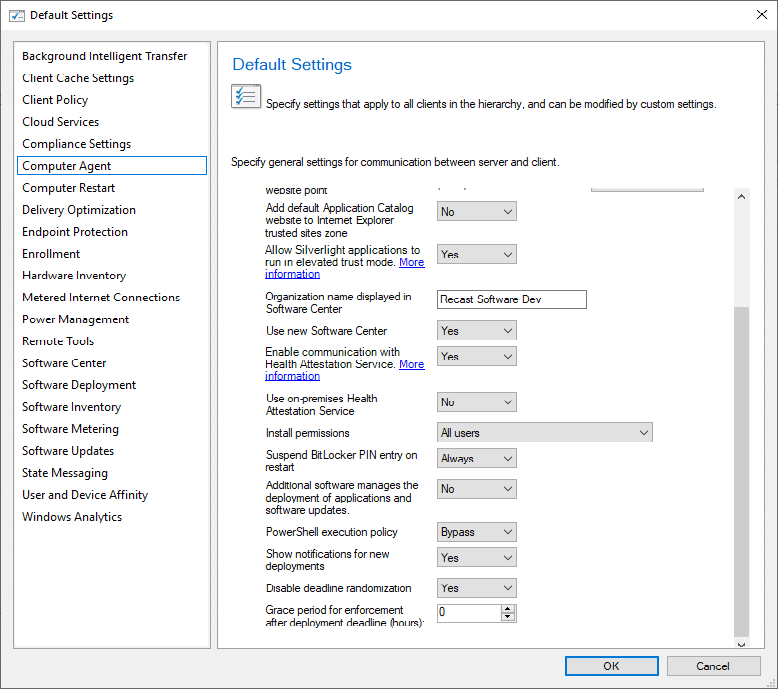
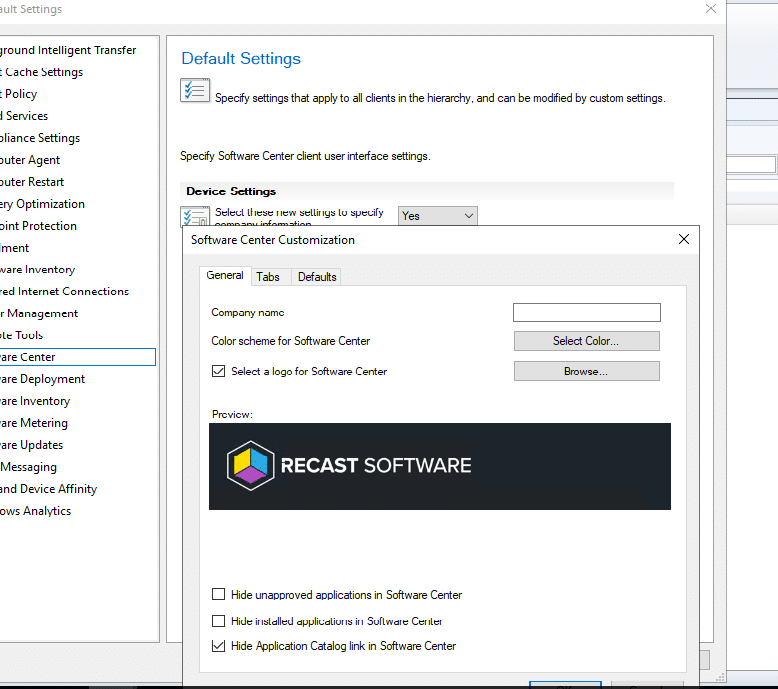
Client Settings
This is very basic and just enough to get you going and add a little pretty to the experience.
That’s actually it, for now, I’ll come back later and set up Remote Control among other things. But just to get this lab going, I don’t care as much about those for now.
Accounts
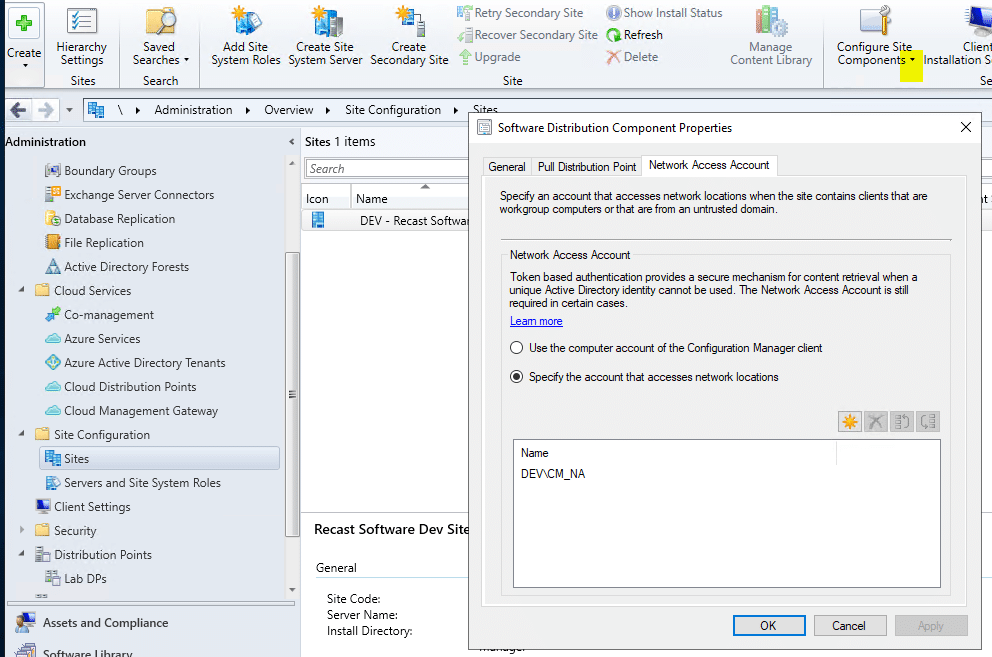
I was trying to apply a WIM Directly from the DP (Without downloading during OSD), and that seemed to not work until I did this. However, since that isn’t the normal way for OSD, I’d suggest you see how far you can go without adding this.
Building a ConfigMgr Lab from Scratch Series
Series Introduction – Building a CM Lab from Scratch
- Setting up your Domain Controller
- Creating a Router for your Lab using Windows Server
- Certificate Authority – On Domain Controller [Optional]
- ConfigMgr Server Pre-Reqs (Windows Features)
- Configuration Settings (AD & GPOs)
- Source Server (File Share)
- ConfigMgr SQL Install
- ConfigMgr Install
- ConfigMgr Basic Settings – You are Here
- ConfigMgr Collections & App Deployment
- ConfigMgr OSD
- ConfigMgr Reporting Services
- Cloud Management Gateway (CMG) – Certs PreReq
- Cloud Management Gateway (CMG) – Azure Subscription
- Azure Services Connection
- Setting up CMG in the Console
- Cloud Management Gateway (CMG) – Post CMG Config
- Cloud Management Gateway – Client CMG Endpoints