Endpoint Insights
Configuration Baseline Remediation: Part 2 – Create the Baseline
Topics: Endpoint Insights
Part II: Configuration Baseline Remediation
Create the Baseline
In my last post, I showed you how to create a Configuration Item to remediate the EnableLinkedConnections registry entry. Now that this is done, I will show you how to create the baseline and then deploy it.
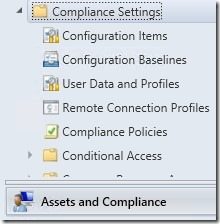
1. In the Configuration Manager console, under the Assets and Compliance workspace, expand Compliance Settings and select Configuration Baselines. From the ribbon, click Create Configuration Baseline.
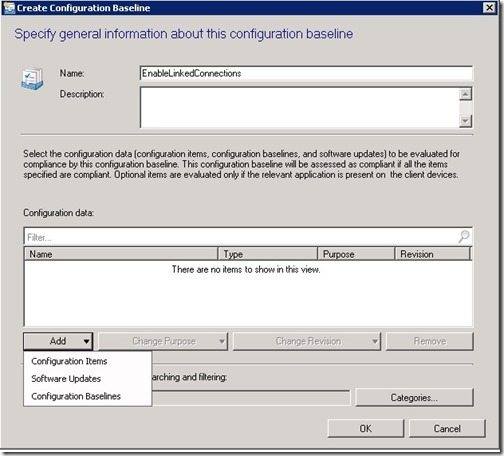
2. Give your new baseline a name. Click the Add drop-down button and choose Configuration Items.
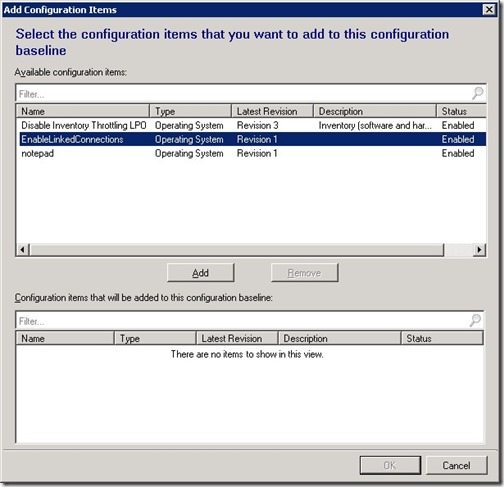
3. Select the configuration item (in this case it’s the one I created in my previous post) and then click Add.
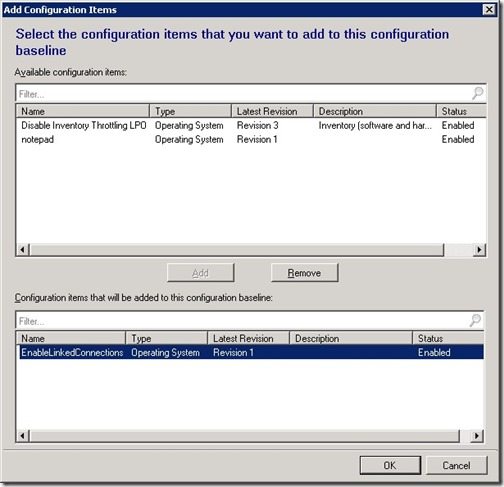
4. Click OK. Now the baseline is created.
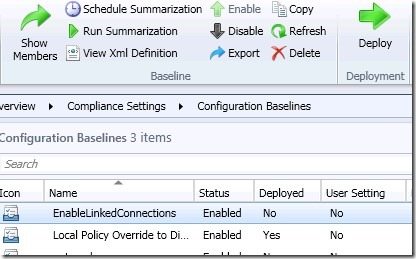
5. Select the newly created baseline, and choose Deploy from the ribbon.
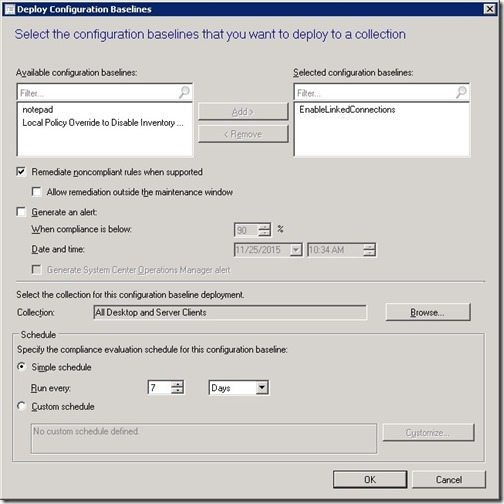
6. Select Remediate noncompliant rules when supported.
Choose the collection you want to deploy the baseline to. In my case I chose All Desktop and Server Clients.
Click OK. The baseline is now deployed.
Once the baseline was created and then deployed, I checked one of my client systems. In this case a Windows 7 box.
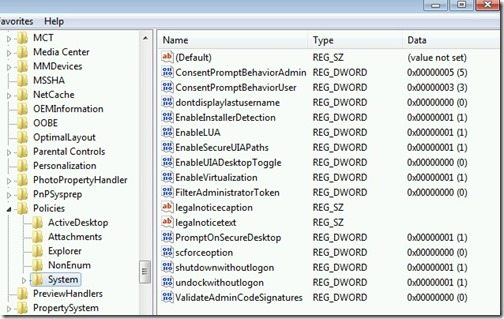
Opening up Regedit, I saw that the EnableLinkedConnections registry value was not there.
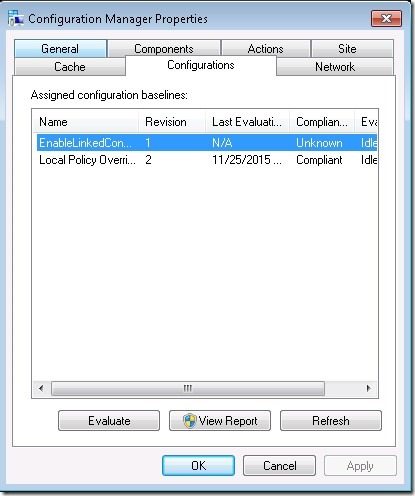
After a Machine Policy is run, the baseline will show up. You may need to hit refresh for it to show. Once it shows up, hit Evaluate.
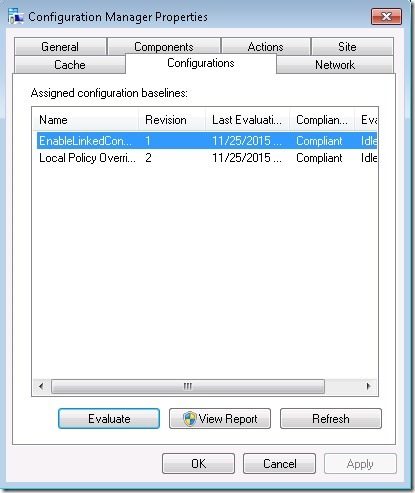
After the evaluation runs, the baseline should come back as Compliant.
Let’s check the registry.
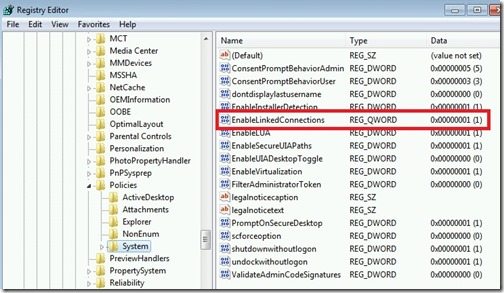
Success! The registry value was added.
The last step is to restart the computer so the new registry value can take effect.
For Window 8, 8.1, Server 2012, and Server 2012 R2, there is a known issue with the EnableLinkedConnections registry entry. Hotfixes and more information can be found here.


